


Dubbing/Editing
110
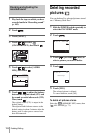
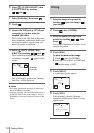
6 Select (STANDARD SET), then
[USB-PLY/EDT] by touching
/ and .
7 Select [PictBridge], then touch .
8 Touch .
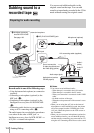
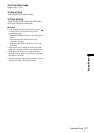
9 Connect the USB jack (p. 137) of your
camcorder to a printer using the
supplied USB cable.
The location of the USB jack of the printer
differs depending on the model. Refer to the
operating instructions supplied with your
printer for details on operation.
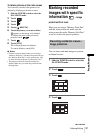
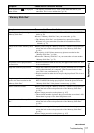
10Select (PICT. APPLI), then
[PRINT] by touching / and .
When connection between your camcorder
and printer is complete, appears on the
screen.
One of the images stored on the “Memory
Stick Duo” will be displayed.
b Notes
• We cannot guarantee the operation of models that
are not PictBridge compatible.
• You cannot connect your camcorder to the printer if
[USB-PLY/EDT] in the menu settings is not set to
[PictBridge]. Follow the instructions shown on the
screen.
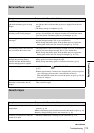
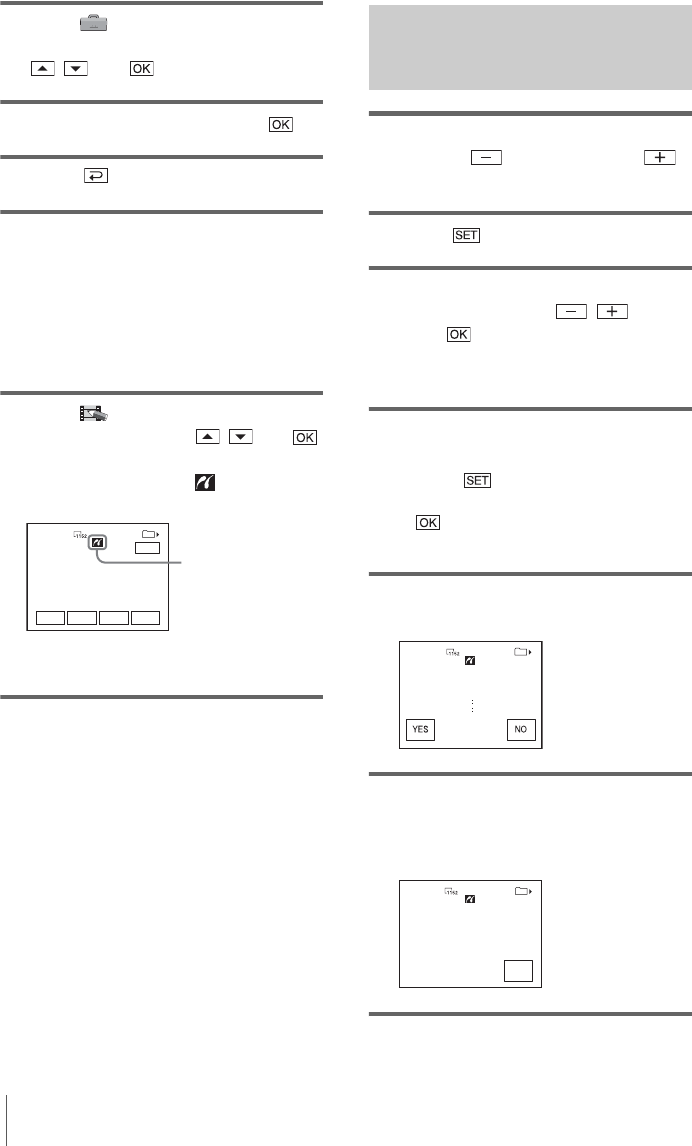
Printing
1 Select the image to be printed by
touching (previous image)/
(next image).
2 Touch , then [COPIES].
3 Select the number of copies to be
printed by touching / , then
touch .
You can set a maximum of 20 copies of one
image to be printed.
4 Touch [END].
To print the date on the image
1 Touch , then [DATE/TIME].
2 Select [DATE] or [DAY & TIME] and
.
The default setting is [OFF].
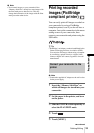
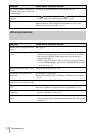
5 Touch [EXEC].
A confirmation screen appears.
6 Touch [YES].
When printing is finished, [Printing...]
disappears and the image selection screen
appears again.
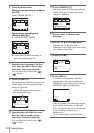
PRINT
101-0001
EXECSET
+
-
101
1/10
END
PictBridge
connecting
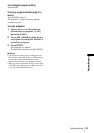
PRINT
COPIES 1
DATE/TIME OFF
Print this?
101-0001
101
1/10
PRINT
101-0001
CANCEL
101
1/10
Printing...
Keep USB cable connected.