


Recording
Recording
31
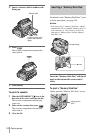
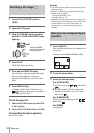
2 Touch [SELF-TIMER].
If the item is not displayed on the screen,
touch / . If you cannot find it, touch
[MENU], and select it from the
(CAMERA SET) menu.
3 Touch [ON], then .
appears.
4 Press REC START/STOP.
You will hear a beep sound counting down
for about 10 seconds (The count down
indication begins from 8).
The recording starts.
To stop recording, press REC START/
STOP.
To cancel the count down
Touch [RESET] or press REC START/STOP.
To cancel the self-timer
Follow steps 1 and 2, then select [OFF] in step
3.
Recording still
images
– Memory photo recording
You can record still images on a “Memory
Stick Duo.” Before recording, follow steps 1
to 7 in “Getting started” (p. 15 to p. 25).
z Tip
• Performing Easy Handycam operation, even first time
users can record easily. For details, see page 35.
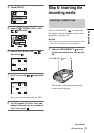
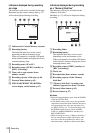
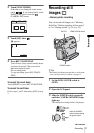
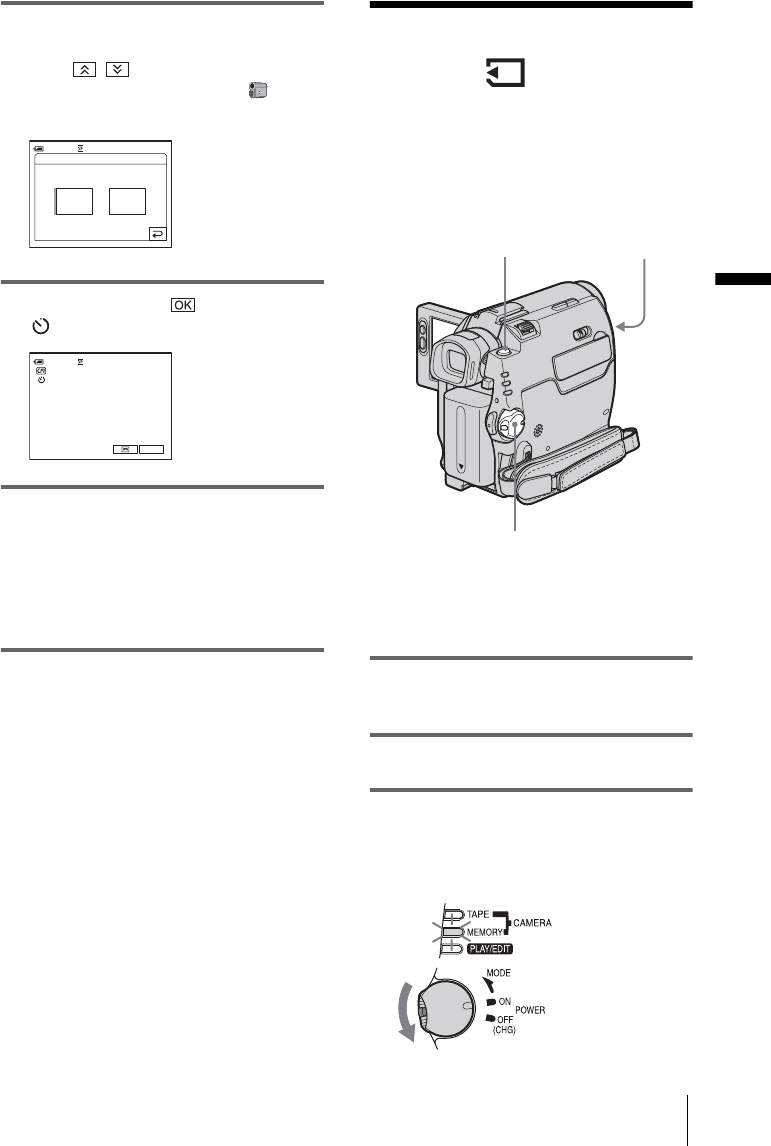
1 Set the LENS COVER switch to
OPEN.
2 Open the LCD panel.
3 Slide the POWER switch repeatedly
until the CAMERA-MEMORY lamp
lights up.
The selected recording folder is displayed.
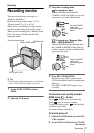
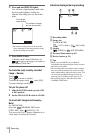
SELF–TIMER: OFF
ONOFF
0:00:0060 min STBY
0:00:00STBY
P-MENU
60min
POWER switch
PHOTO LENS COVER switch
Slide the POWER
switch while pressing
the green button.
,continued