


Dubbing/Editing
Dubbing/Editing
99
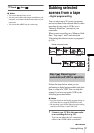
To set the [IR SETUP] code
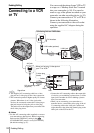
When you connect with an A/V connecting
cable, you need to check the [IR SETUP] code
signal to see if your VCR can be operated by
your camcorder (infrared ray emitter).
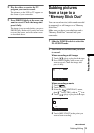
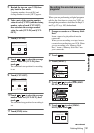
1 Touch , then [IR SETUP].
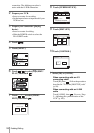
2 Select the [IR SETUP] code of your VCR
with
/, then touch .
For the [IR SETUP] code of your VCR,
refer to “[IR SETUP] code list” (p. 99).
When there is more than one code listed for
the manufacturer of your VCR, try each
code and find the most appropriate one.
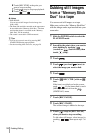
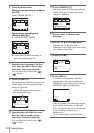
3 Touch [PAUSEMODE].
4 Select the mode to cancel recording
pause on the VCR, then touch .
Refer to the operating instructions supplied
with your VCR for details on operation.
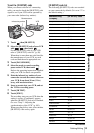
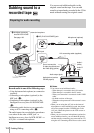
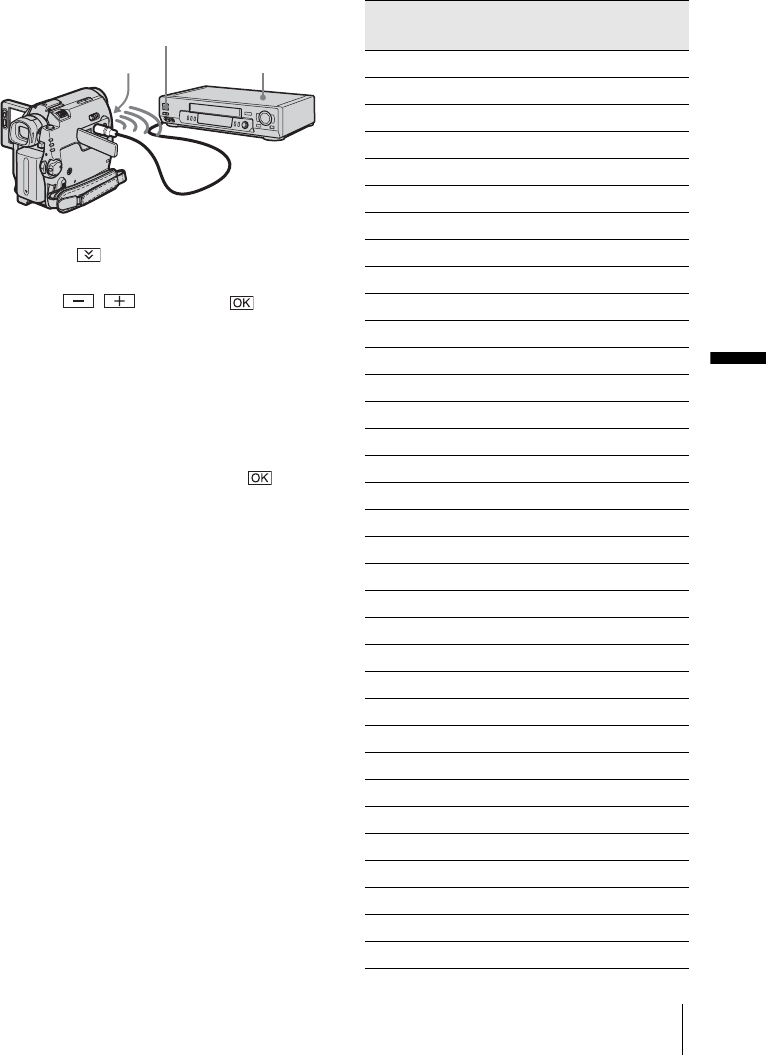
5 Point the infrared ray emitter of your
camcorder towards the remote sensor on
your VCR, from about 30 cm (12 in.)
away, with no obstructions.
6 Insert a cassette into your VCR, and set
the VCR to recording pause.
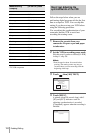
7 Touch [IR TEST].
8 Touch [EXEC].
The recording starts on your VCR when the
setting is correct. [Completed.] appears
when the [IR SETUP] code test is finished.
Go on to “Step 2 : Adjusting the
synchronization of the VCR” (p. 100).
When recording fails to start, select another
[IR SETUP] code and try again.
[IR SETUP] code list
The following [IR SETUP] codes are recorded
on your camcorder by default. (It is set at “3” as
the default setting.)
Infrared ray emitter
VCR
Remote sensor
Manufacturing
company
[IR SETUP] code
Sony 1, 2, 3, 4, 5, 6
Aiwa 47, 53, 54
Akai 50, 62, 74
Alba 73
Amstrad 73
Baird 30, 36
Blaupunkt 11, 83
Bush 74
CGM 36, 47, 83
Clatronic 73
Daewoo 26
Ferguson 76, 83
Fisher 73
Funai 80
Goldstar 47
Goodmans 26, 84
Grundig 9, 83
Hitachi 42, 56
ITT/Nokia Instant 36
JVC 11, 12, 15, 21
Kendo 47
Loewe 16, 47, 84
Luxor 89
Mark 26*
Matsui 47, 58*, 60
Mitsubishi 28, 29
Nokia 36, 89
Nokia Oceanic 89
Nordmende 76
Okano 60, 62, 63
Orion 58*, 70
Panasonic 16, 78
Philips 83, 84, 86
Phonola 83, 84
,continued