77
Utilizing the media
6 When [Completed.] appears,
touch .
b Notes
• Do not apply shock or vibration to your
camcorder, and do not disconnect the AC
Adaptor during formatting.
• Even the images protected with another device
against accidental deletion are also deleted.
• Do not attempt the following operations when
[Executing...] is on the screen:
– Operate the POWER switch or buttons
– Eject the “Memory Stick PRO Duo” while
formatting the “Memory Stick PRO Duo”
A DVD-R/DVD+R DL cannot be
formatted. Replace it with a new
disc.
If you format a finalized disc
Formatting deletes all movies on a finalized
disc. One of the following icons, or
, appears on the screen, but there is
no need to finalize the disc again before
playing the disc on an AVCHD format
compatible player.*
When formatting a disc of the SD
(standard definition) image quality
• In the case of a DVD-RW (VIDEO
mode), the disc is unfinalized and it has to
be finalized again to enable the disc to be
played on another device.
• In the case of a DVD-RW (VR mode)/
DVD+RW, formatting deletes all images
on a finalized disc. One of the following
icons, or , appears on the
screen, but there is no need to finalize the
disc again before playing the disc on other
devices.*
* To create a disc menu (DVD menu) on a
DVD+RW or DVD-RW with HD (high
definition) image quality, finalize the disc again
(p. 71).
1 Connect the AC Adaptor to the
DC IN jack on your camcorder
and the wall outlet (wall socket).
2 Turn on your camcorder.
3 Insert the disc to be formatted
into your camcorder.
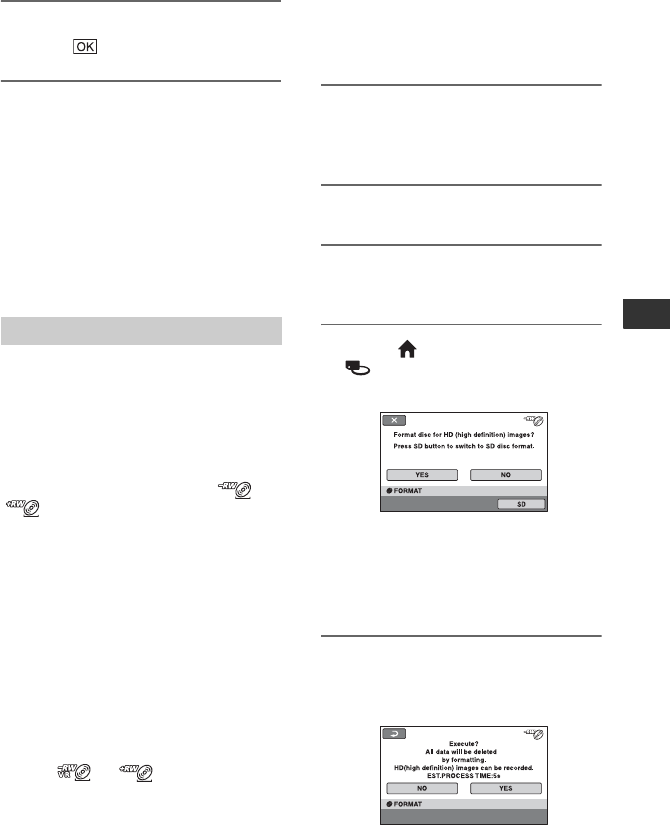
4 Touch (HOME) t
(MANAGE MEDIA) t [MEDIA
FORMAT] t [DISC].
b Notes
• The screen message will be different if the disc
was formatted with SD (standard definition)
image quality at the previous formatting. Follow
the procedures on the screen.
5 Touch [YES].
To record with SD (standard definition)
image quality, touch [SD].
Formatting the disc
Continued ,


