Administrating the Camera
Configuring the System — System setting Page
17
Schedule
Displays the Schedule setting page.
See “Setting the Schedule — Schedule setting Page” on
page 39.
Activity detection
Displays the Activity detection setting page.
See “Setting the Activity Detection Function — Activity
detection setting Page” on page 40.
Pop-up
Displays the Pop-up setting page.
See “Showing the Pop-up — Pop-up setting Page” on
page 41.
Buttons common to every setting page
The following buttons are displayed on the setting pages
where they are necessary. The functions of the buttons
are the same on every setting page.
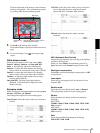
Click this button to validate the settings.
Click this button to invalidate the set values and return to
the previous settings.
Click this button to return to the top of the setting page.
General notes on setting pages
• After changing a setting on a setting page, wait at least
10 seconds before turning off the power of the camera.
If the power is turned off immediately, the changed
setting may not be stored correctly.
• When you display the Area setting page or Activity
detection setting page, the size of the image on the
main viewer page may change for a while. This is not
a problem.
Configuring the System
— System setting Page
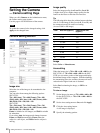
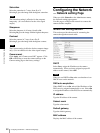
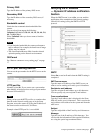
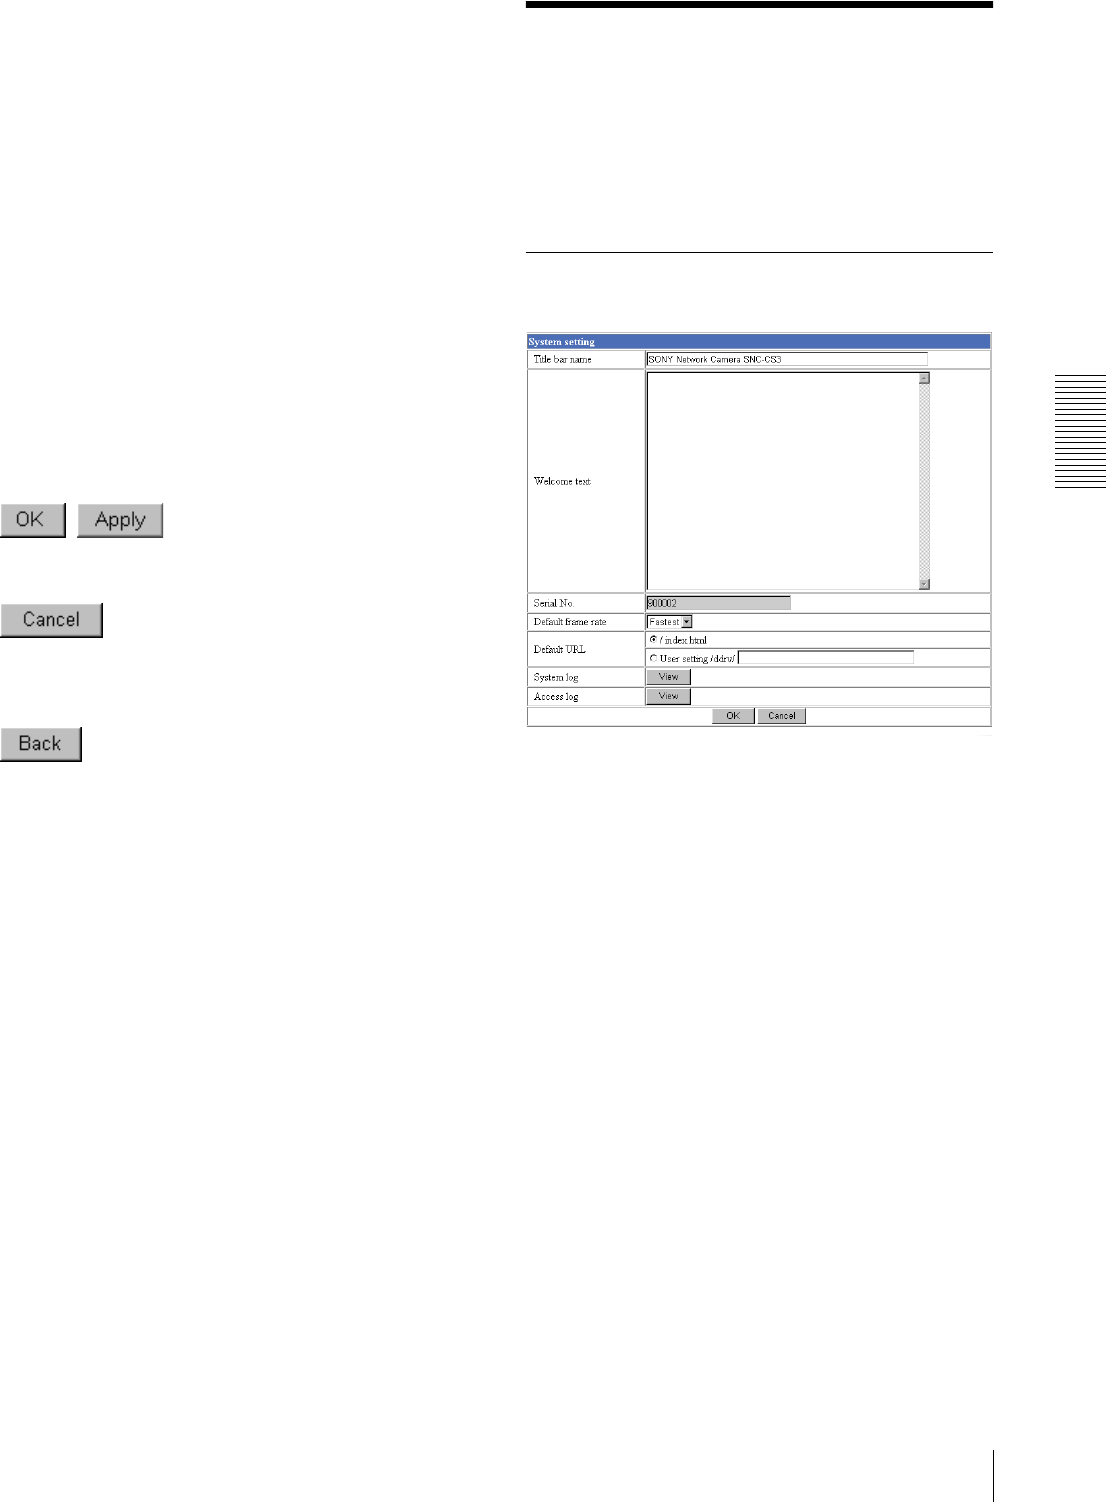
When you click System on the Administrator menu, the
System setting page appears.
Use this page to perform the principal settings of the
software.
System setting Section
Title bar name
Type a name to display on the title bar up to 32
characters.
Welcome text
Type a text to show on the welcome page, in HTML
format, up to 1,024 characters. Use the <BR> tag for a
line break. (A line break is equivalent to 2 characters.)
Serial No.
Displays the serial number of the camera.


