Others
Storing an HTML File in the Built-in Flash Memory
48
Storing an HTML File in
the Built-in Flash
Memory
You can display the favorite homepage that you have
created when you enter the IP address of the camera in
the Address box of the browser.
This section explains how to store the HTML file of the
homepage created using the CGI commands in the built-
in flash memory.
To select the display of the created homepage, see
“Default URL” on page 18.
Notes
• Administrator access rights are required for this
operation.
• The file size of the homepage to be stored in the flash
memory should be 2.4 MB or less.
• The free space of the built-in memory should be 2.5
MB or more.
• Disable the Image memory function (page 35).
• Make sure that a firewall, etc. is not blocking the
HTTP port and FTP port. (If you are not sure, consult
your network administrator.)
• When you finish storing in the flash memory, the
camera will restart automatically. Do not turn off the
power of the camera until the camera has restarted
completely.
1
Insert the supplied CD-ROM disc into your CD-
ROM drive.
2
Double-click the Homepage folder in the CD-ROM
drive.
3
Double-click CustomHomepageInstaller.exe.
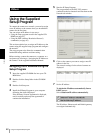
The installer starts and notes are displayed.
4
Read the notes carefully, and click Next.
The Software License Agreement is displayed.
5
Read the agreement carefully, select Agree if you
accept it, then click Next.
6
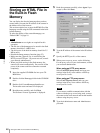
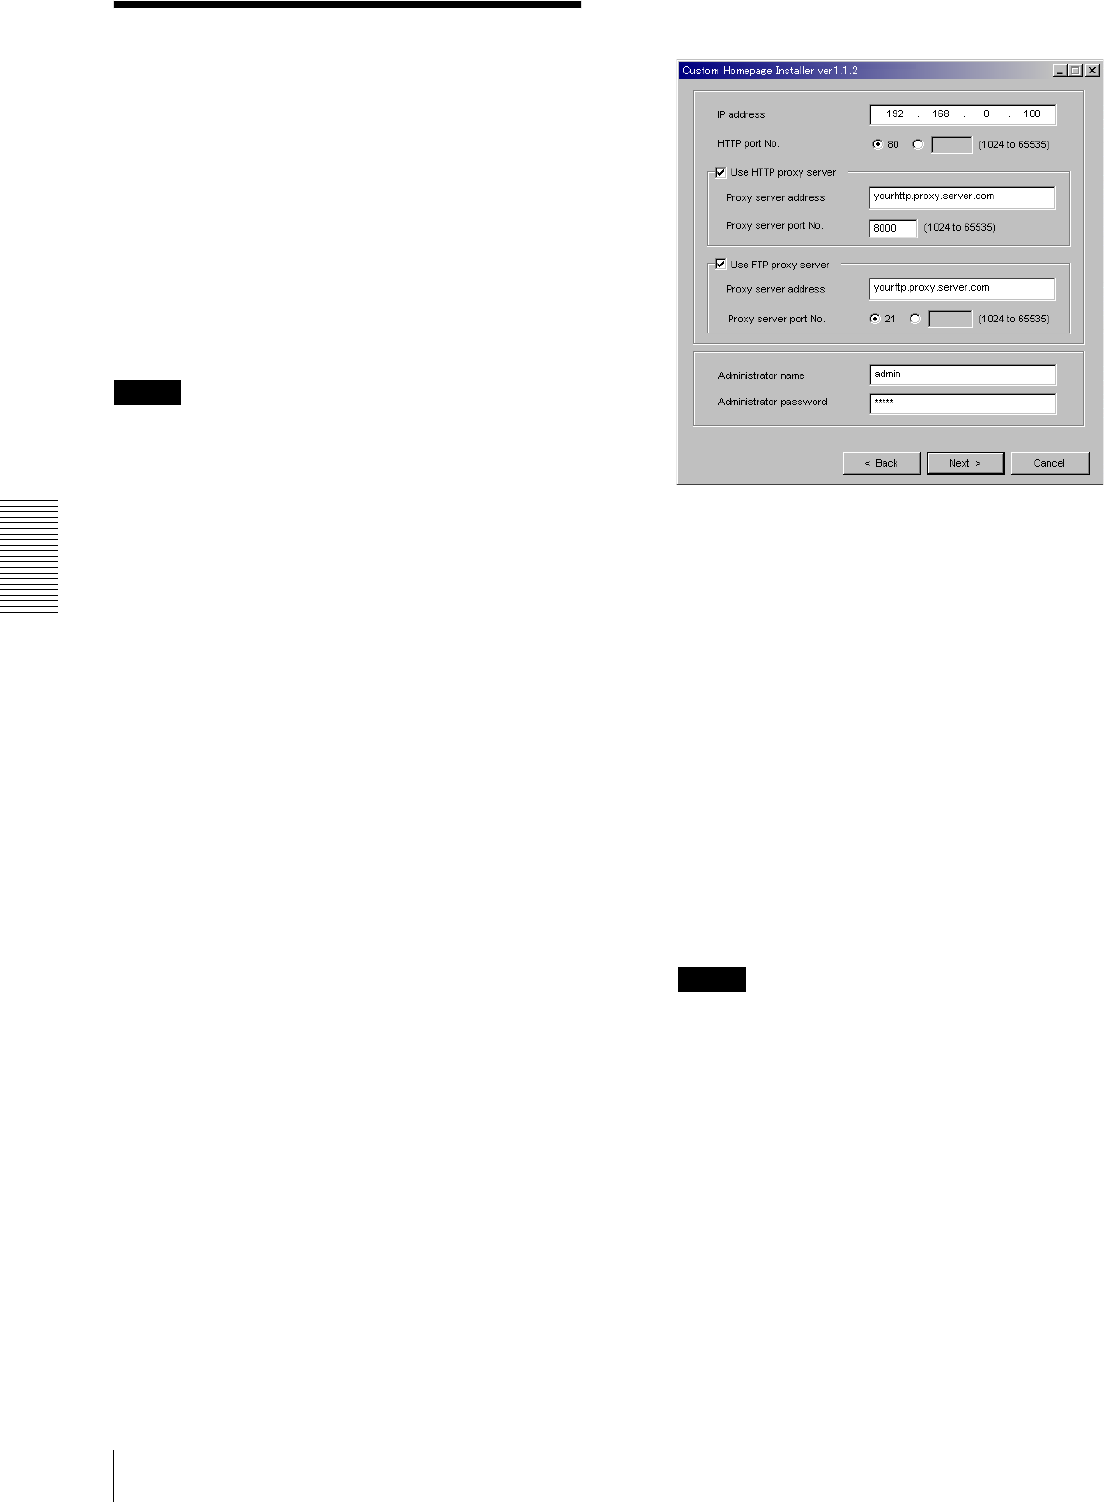
Type the IP address of the camera in the IP address
box.
7
Specify the HTTP port No. of the camera.
8
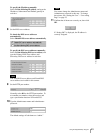
When you use a proxy server, set the following:
For the proxy server of your environments, consult
your network administrator.
When using an HTTP proxy server:
Select Use HTTP proxy server, and type your
settings in the Proxy server address and Proxy
server port No. boxes.
When using an FTP proxy server:
Select Use FTP proxy server, and type your
settings in the Proxy server address and Proxy
server port No. boxes.
Note
If you cannot establish communication with the
camera with the proxy server being used, connect
the camera to the local network and run the installer
without using the proxy server.
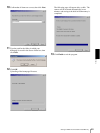
9
Type the Administrator name and Administrator
password.


