


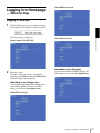

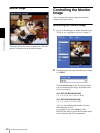
Operating the Camera
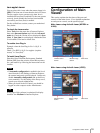
Configuration of Main Viewer
21
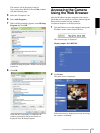
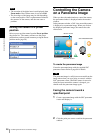
Control panel
Click to display the following control panel.
You can control pan, tilt, zoom, and focus of the camera.
(page 24)
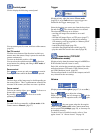
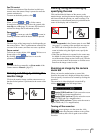
Pan/Tilt control
Click the arrow button of the direction in which you
want to move the camera. Keep it pressed to move the
camera continuously.
To return to the home position, click .
You can select the operation mode of the 8-direction
arrow buttons for panning and tilting in PTZ mode of
the System menu.
Zoom control
Press to zoom out, and press to zoom in.
Zooming continues while the button remains pressed.
Note
The four edges of the image may be dark depending on
the zoom position. This is a phenomenon related to the
structure of the camera, and does not cause a problem.
Focus control
To focus on a nearby object, press . To focus on a
distant object, press .
By pressing , the focus is set to the
optimum position.
Note
To control the focus manually, set Focus mode of the
Camera menu to Manual. (page 37)
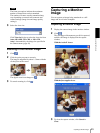
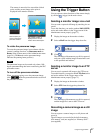
Trigger
(Displayed only when the camera Viewer mode
(page 56) is set to Full and one or more triggers are
enabled in the Trigger menu (page 73).)
Select the function you want to use from the drop-down
list and click . The selected function is activated.
The selectable functions are as follows:
– send the still image files attached to an e-mail
(page 27)
– send the still image files to an FTP server (page 27)
– record the still image files in the built-in memory,
ATA memory card (not supplied) or “Memory Stick”
(not supplied) (page 27)
– control the alarm output (page 28)
– switch the Day/Night function on/off (page 28)
– play the audio file stored in the camera (page 28)
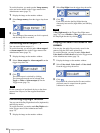
Transmission (TCP/UDP
transmission mode)
(Displayed only when the camera image is in MPEG4 or
H.264 and the ActiveX viewer is used.)
Each click switches the transmission mode of the video/
audio data between TCP mode, UDP (Unicast) mode,
and UDP (Multicast) mode. (page 29)
The last selected mode is saved in the computer, and will
stay selected for the next startup.
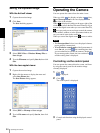
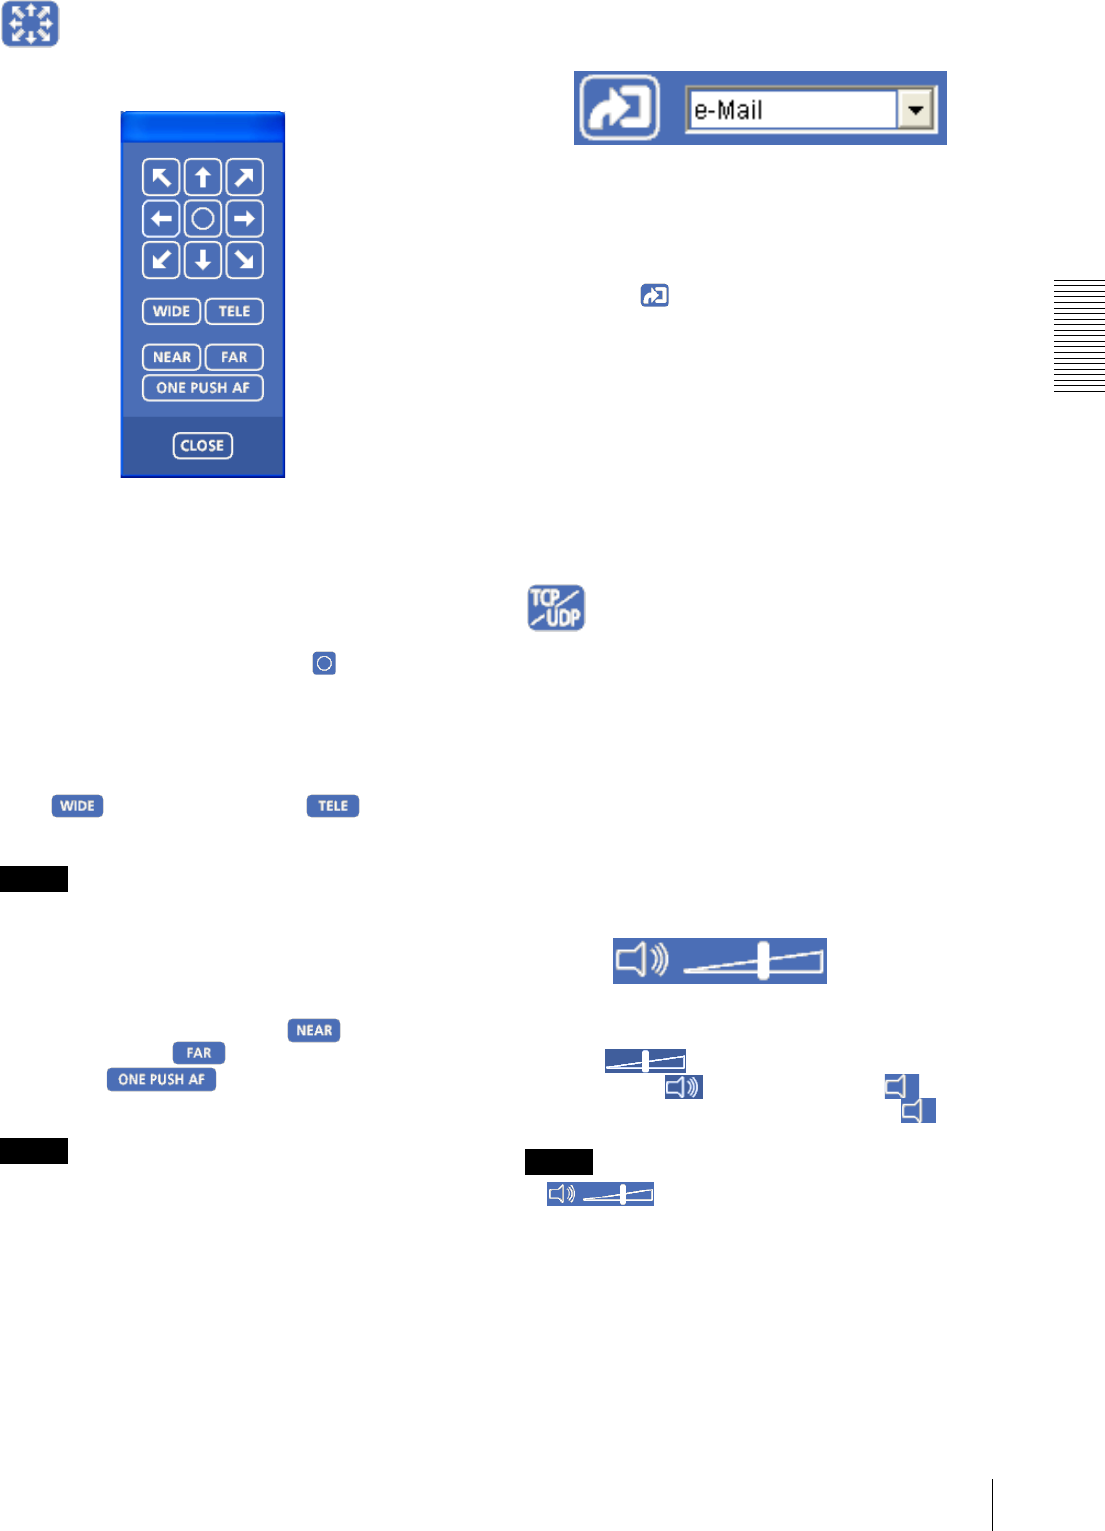
Volume
(Displayed when Microphone (page 37) is set to On.)
Drag the bar to adjust the volume.
When you click , the icon changes to and the
audio output stops. To output the audio, click again.
Note
If does not appear when the Java applet
viewer is used, Audio codec in the Camera menu may
not be set to G.711 (64 kbps) (page 38), or Java may not
be installed correctly.
To check if Java is installed correctly, refer to “Java
applet viewer” of “About viewers” on page 18.