27
GB
Preparations
6 Set the year using the 4(UP)/$(DOWN) buttons
and then press the EXECUTE button.
The month can now be set.
7 Set the month, day, hour, minutes and seconds in
the same way as explained in step 5.
8 Select “Date Form” using the 4(UP)/$(DOWN)
buttons and then press the EXECUTE button.
You can now select the date display format.
9 Select the date display format using the 4(UP)/
$(DOWN) buttons and then press the EXECUTE
button.
You can choose from the following 3 date display
formats. [yyyy] indicates year, [mm] indicates
month and [dd] indicates day.
yyyy-mm-dd (ex:1999-07-04)
dd-mm-yyyy (ex:04-07-1999)
mm-dd-yyyy (ex:07-04-1999)
•
CAM
•
PLAY
•
OFF
MENU
EXCUTE
EXIT
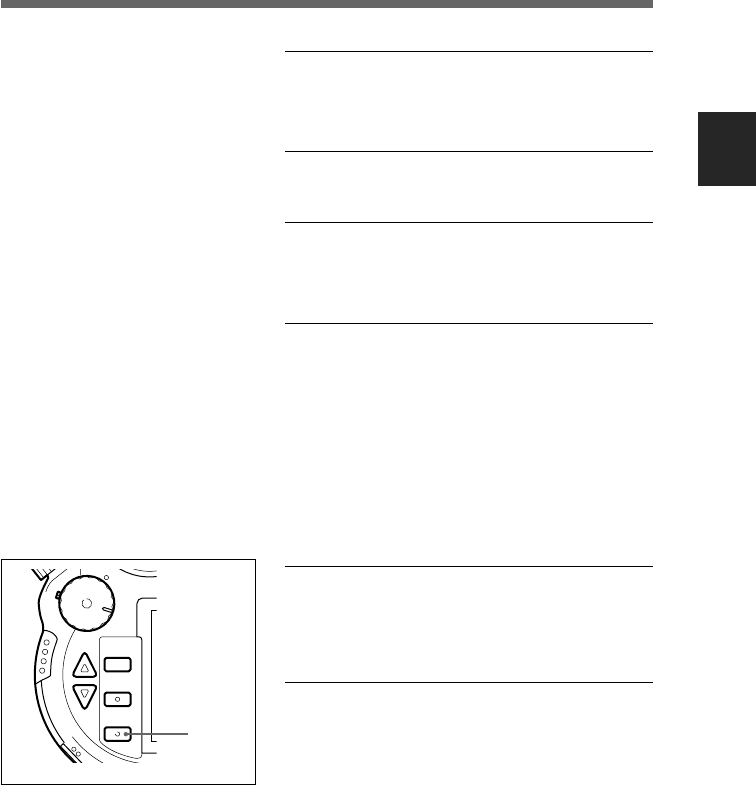
10 Press the EXIT button.
The time and date are set and the menu returns on
the LCD monitor.
11 Press the EXIT button.
The menu disappears from the monitor.
Keeping correct time
A separate lithium button battery is used by the
camera to power the internal clock. When turning
the power dial to CAM or PLAY from OFF, if the
message “Date & Time not set” appears, it is time
to charge the lithium button battery.
Inquire about charging the battery at the store
where you bought the camera or at any Sony
service center.
10,11


