


34 Recording Images onto a CD-R/RW (Making a ”Folder“)
Editing images in a folder (continued)
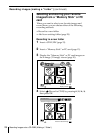
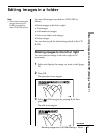
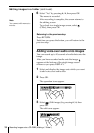
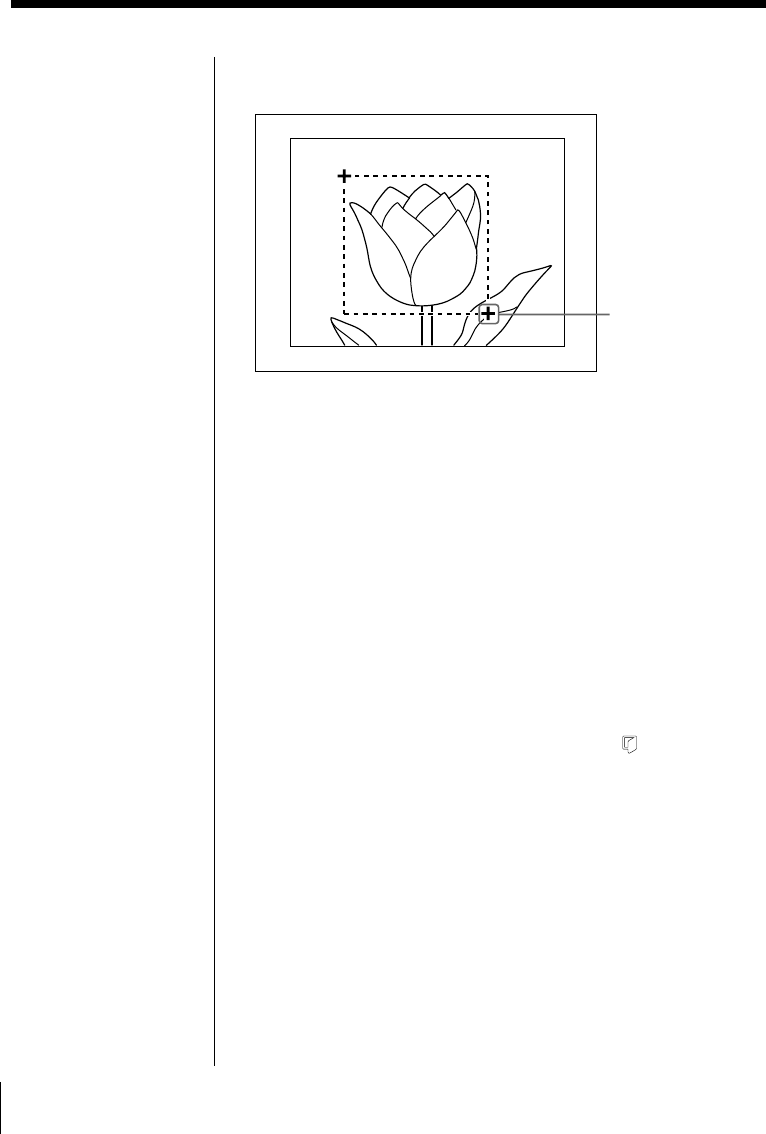
2 Select the ending point by pressing C/X/x/c.
The trimming frame appears.
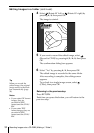
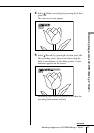
3 Press OK.
The trimming area is set.
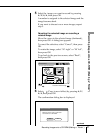
6 Select “Select” by pressing X/x, then press OK.
The confirmation dialog box appears.
To cancel the trimming area, select “Cancel” and do
step 5 again.
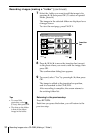
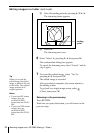
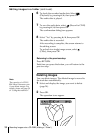
7 To record the edited image, select “Yes” by
pressing C/c, then press OK.
The edited image is recorded.
After recording is complete, the screen returns to
the editing screen.
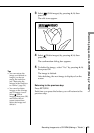
To go back to a single image screen, select
(Close), then press OK.
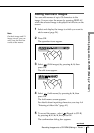
Returning to the previous step
Press RETURN.
Each time you press the button, you will return to the
previous step.
Tip
When you record the
edited image, the edited
image is added to the end
of the folder. The original
image remains in its
original position.
Notes
• If you trim GIF format
images, they are
recorded in JPEG
format onto the CD-R/
RW.
• If you trim TIFF format
images, they are
recorded in JPEG
format onto the CD-R/
RW.
ending
point