Customizing Your Camcorder
54
Using the (TAPE
SET) menu
– FRAME REC/
INT.REC, etc.
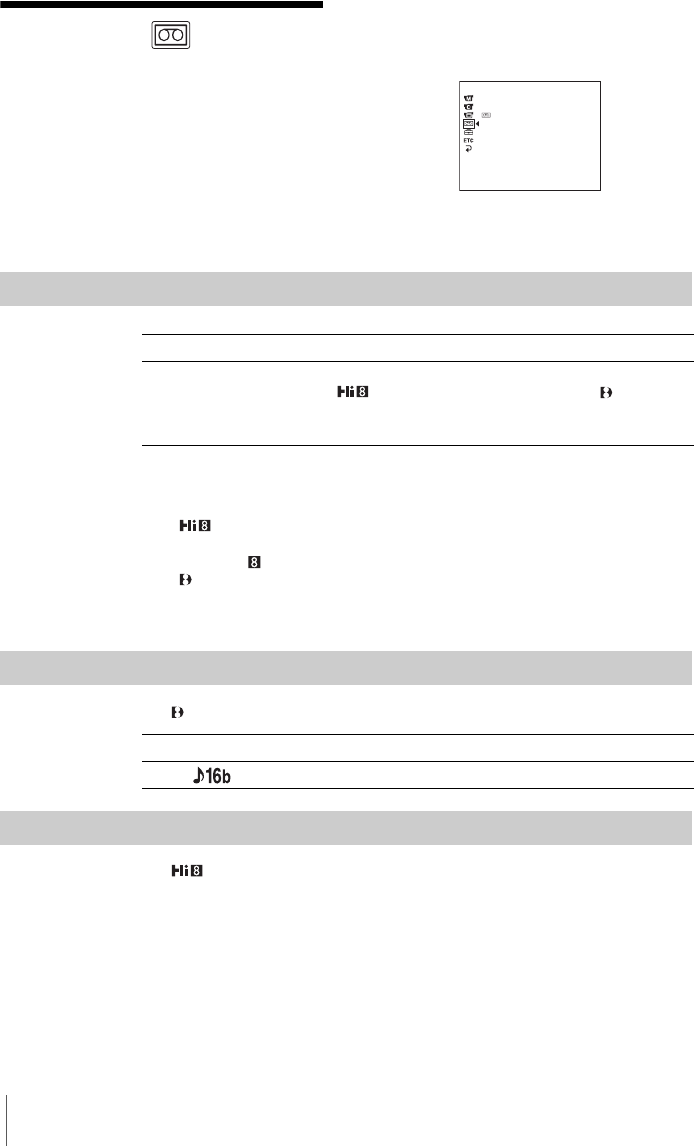
You can select items listed below in the TAPE
SET menu. To select items, see “Changing the
menu settings” (p. 43).
The default settings are marked with G. The
settings you can adjust vary depending on the
power mode of your camcorder. The screen
shows the items you can operate at the moment.
Unavailable items will be grayed out.
REC MODE
b Notes
• If you record in the LP mode, a mosaic-like noise may appear or sound may be interrupted
when you play back the tape on other camcorders or VCRs.
• For TRV228E/428E:
When you record a tape in the LP mode on your camcorder, recording is carried out in the
standard 8 mm system.
• For TRV255E/265E:
When you mix recordings in the SP mode and in the LP mode on one tape, the playback
picture may be distorted or the time code may not be written properly between the scenes.
AUDIO MODE
For TRV255E/265E:
ORC TO SET
For TRV228E/428E:
You can automatically adjust the recording condition to get the best possible
recording.
When you select [ORC TO SET] in the menu settings, [START/STOP KEY]
appears. Press REC START/STOP. [ORC] appears on the screen and adjustment
starts. Your camcorder returns to the standby mode when adjustment is complete.
It takes about 10 seconds for adjustment.
b Notes
• Each time you eject a cassette, this setting will be canceled.
TAPE SET
REC MODE
AUDIO MODE
REMAIN
FRAME REC
INT. REC
[
MENU
]
: END
GSP ( SP ) Select to record in the SP (Standard Play) mode on a cassette.
LP ( LP ) Select to increase the recording time from that of the SP mode (2 times
longer for TRV228E/428E, 1.5 times longer for TRV255E/
265E) (Long Play). The use of Sony cassettes is recommended to get
the most out of your camcorder.
G12BIT Select to record in the 12-bit mode (2 stereo sounds).
16BIT ( ) Select to record in the 16-bit mode (1 stereo sound with high quality).


