


Dubbing/Editing
70
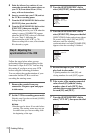
5 Point the infrared ray emitter of your
camcorder towards the remote sensor on
your VCR, from about 30 cm (12 in.)
away, with no obstructions.
6 Insert a cassette into your VCR, and set
the VCR to recording pause.
7 Turn the SEL/PUSH EXEC dial to select
[IR TEST], then press the dial.
8 Turn the SEL/PUSH EXEC dial to select
[EXECUTE], then press the dial.
The recording starts on your VCR when the
setting is correct. [COMPLETE] appears
when the [IR SETUP] code test is finished.
Go on to “Step 2: Adjusting the
synchronization of the VCR” (p. 70).
When recording fails to start, select another
IR code and try again.
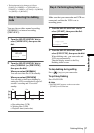
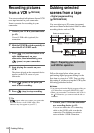
Step 2: Adjusting the
synchronization of the VCR
Follow the steps below when you are
performing digital program editing for the
first time to a tape in a VCR. You can skip
this setting if you have set up your VCR
before using the following procedure.
You can adjust the synchronization of your
camcorder and the VCR to avoid not
recording the starting scene.
1 Remove the cassette from your
camcorder. Prepare a pen and paper
to take notes.
2 Set the VCR to recording pause mode.
Skip this step if you have selected [i.LINK]
in step 9 on p. 69.
b Note
• Run the tape for about 10 seconds before
pausing. The starting scenes may not get
recorded when you start recording from
the beginning of the tape.
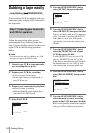
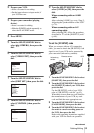
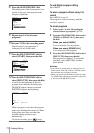
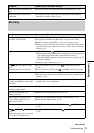
3 Turn the SEL/PUSH EXEC dial to
select [ADJ TEST], then press the dial.
4 Turn the SEL/PUSH EXEC dial to
select [EXECUTE], then press the dial.
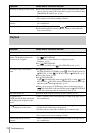
[EXECUTING] flashes and a picture (about
50 seconds long) with 5 [IN] and [OUT]
indicators each for adjusting
synchronization is recorded. [COMPLETE]
appears when the recording is finished.
5 Rewind the tape on your VCR, then
play back in slow mode.
5 opening numbers for each [IN] and
closing numbers for each [OUT] appear.
6 Take a note of the opening numerical
value of each [IN] and the closing
number value of each [OUT], then
calculate the average numerical value
for each [IN] and [OUT].
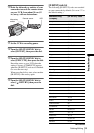
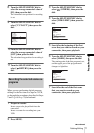
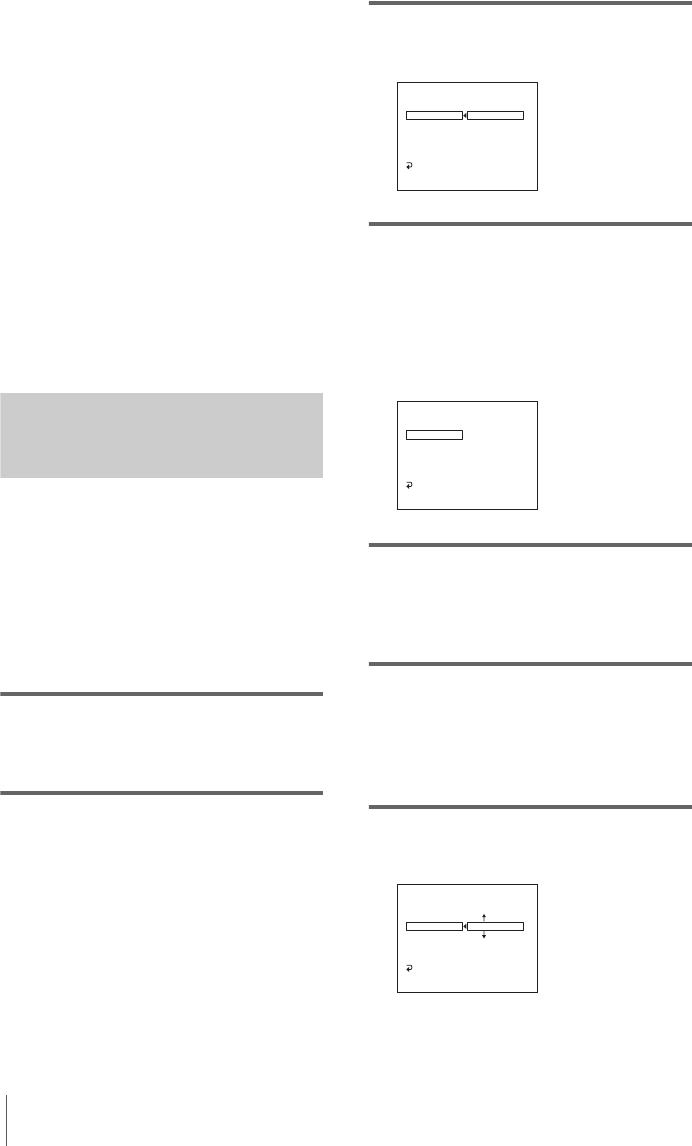
7 Turn the SEL/PUSH EXEC dial to
select [”CUT-IN”], then press the dial.
VIDEO EDIT
EDIT SET
CONTROL
ADJ TEST
”CUT–IN”
”CUT–OUT”
IR SETUP
PAUSEMODE
IR TEST
RETURN
RETURN
EXECUTE
ENGAGE
REC PAUSE
0
:
08
:
55
:
06
[
MENU
]
:
END
VIDEO EDIT
EDIT SET
CONTROL
ADJ TEST
”CUT–IN”
”CUT–OUT”
IR SETUP
PAUSEMODE
IR TEST
RETURN
COMPLETE
0
:
08
:
55
:
06
[
MENU
]
:
END
VIDEO EDIT
EDIT SET
CONTROL
ADJ TEST
”CUT–IN”
”CUT–OUT”
IR SETUP
PAUSEMODE
IR TEST
RETURN
0
0
:
08
:
55
:
06
[
MENU
]
:
END