


19
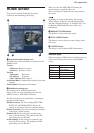
GUI application
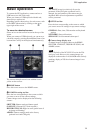
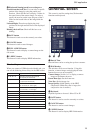
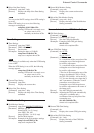
3 Horizontal binning/partial scan setting area
Partial Scan check-off box: You can select a specific
portion of the image by using the partial scan
function. Check off this box to display 2 sliders in
the outer frame of the camera image. In order to
specify the area for partial scan, drag any of the 2
sliders on the bottom sides of the image with the
mouse.
Left and Right: These boxes display the pixel
positions of the right and left lines of the displayed
image.
Binning check-off box: Check off this box to set
binning.
4 SAVE button
This button is used to save the currently set values.
5 CANCEL button
This button is used to cancel changes.
6 FULL SCREEN button
This button is used to display a camera image on the
full screen.
7 ? (HELP) button
This button is used to display HELP information.
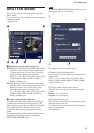
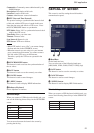
Shortcut keys
When you connect a USB keyboard with this unit, you
can use the following shortcut keys in the HRS screen:
Shortcut Applicable button
Alt + W, Alt + Z Vertical movement of the top slider
(W: Upward, Z: Downward)
Alt + I, Alt + M Vertical movement of the bottom slider
(I: Upward, M: Downward)
Alt + A, Alt + D Horizontal movement of the left slider
(A: To the left, D: To the right)
Alt + J, Alt + L Horizontal movement of the right slider
(J: To the left, L: To the right)
Alt + V To select Vertical Partial Scan
Alt + E To select Vertical Binning
Alt + P To select Horizontal Partial Scan
Alt + O To select Horizontal Binning
Alt + S SAVE
Alt + C CANCEL
Alt + F FULL SCREEN
Alt + H HELP
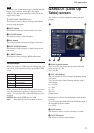
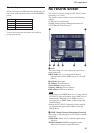
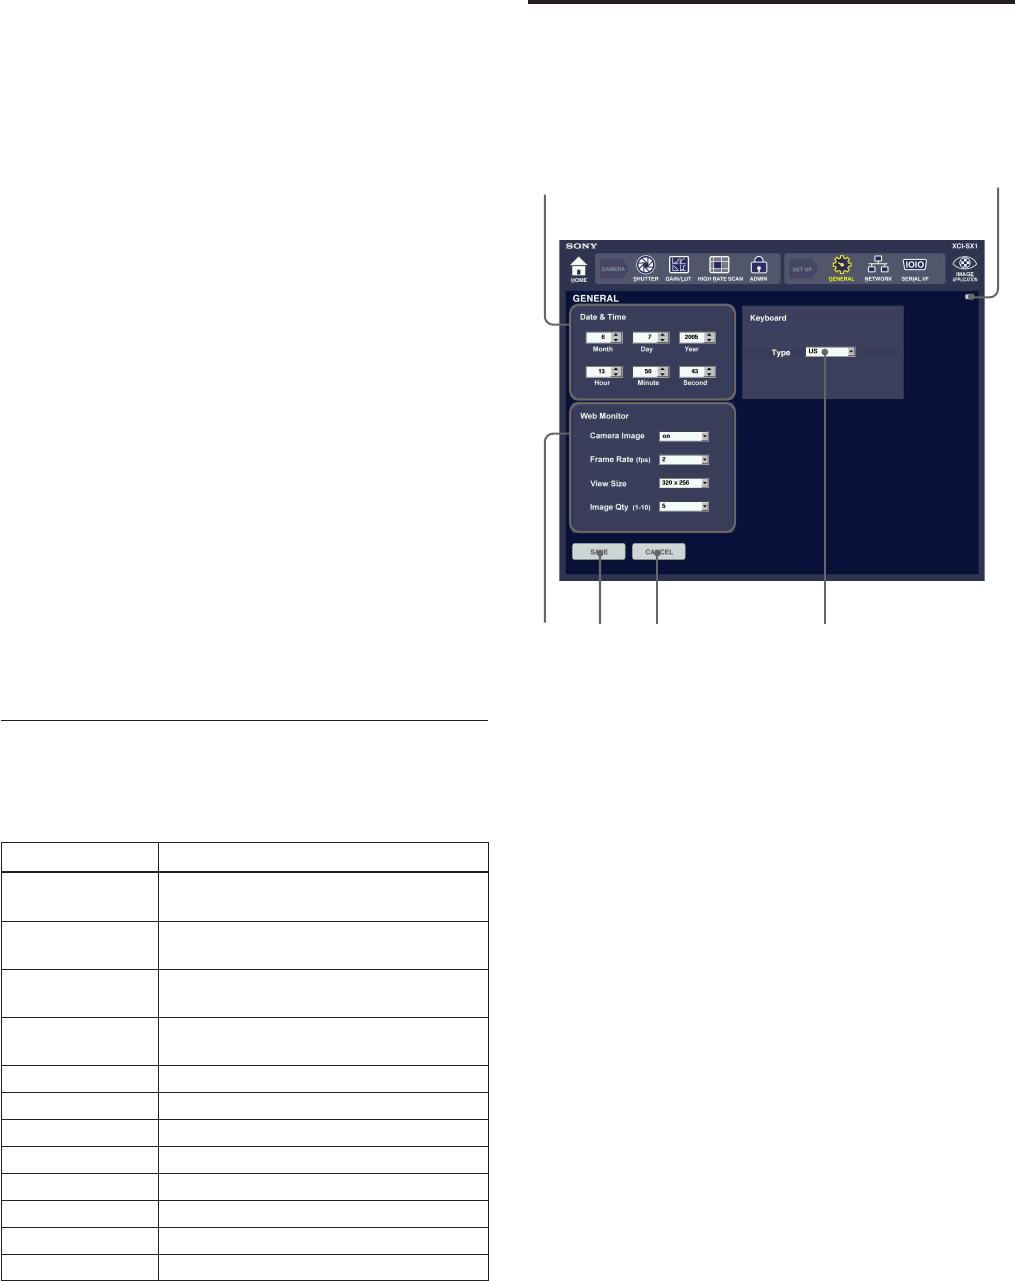
GENERAL screen
This screen is used for setting time, Web monitor
functions and keyboard.
1 Date & Time
Date and time can be set using the up down counters.
2 Web Monitor
This unit has a Web server function. Using this
function, a camera image can be displayed in the
Internet browser on an external PC.
Camera Image: Set this “on” to display a camera
image on the Internet browser.
Frame Rate (fps): Set the frame rate.
View Size: Set the image size.
Image Quality (1-10): Quality of the JPEG
compression (When the value is larger, the
compression rate is smaller.)
3 Keyboard
Keyboard options to be used. Select US or JP.
4 SAVE button
This button is used to save the currently set values.
5 CANCEL button
This button is used to cancel changes.
6 ? (HELP) button
This button is used to display HELP information.
1
2
3
4
5
6