Installation and Operation Guide
31
Browsing images from the IP camera
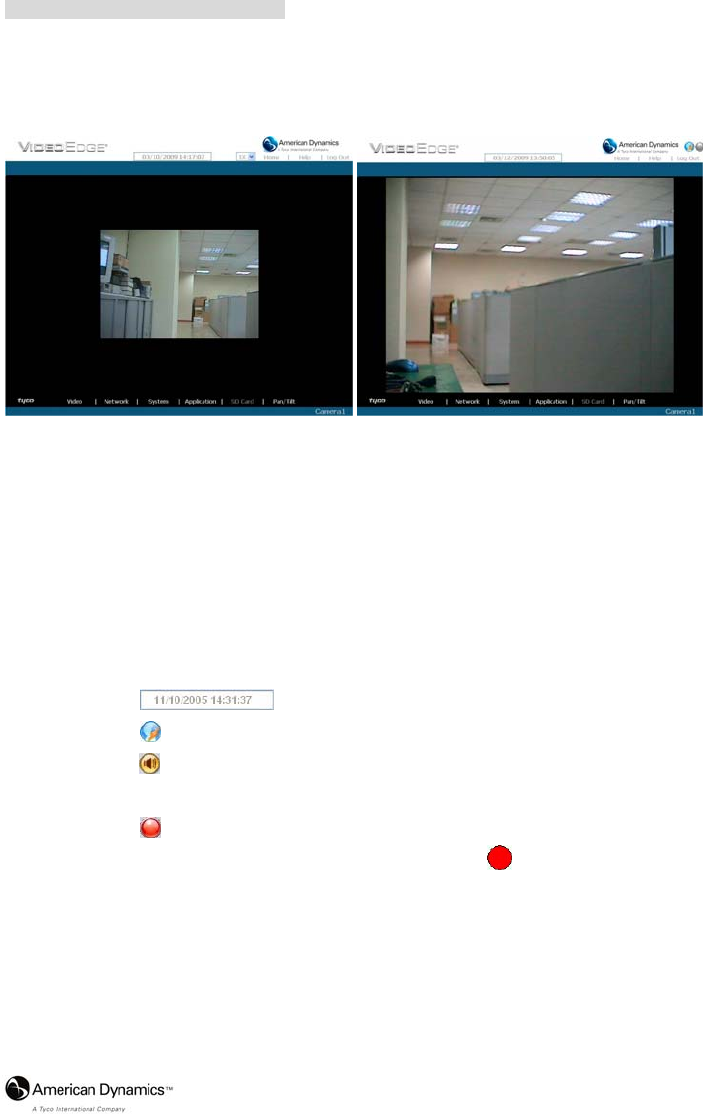
The images from the IP camera are displayed on the home page when online with the IP camera.
There are also additional settings provided on the home page. MJPEG mode or MPEG4 mode
display different display formats on their home page.
Homepage of MJPEG mode Homepage of MPEG4 mode
Click on the Video button to enter the image-setting page.
Click on the Network button to enter the network-setting page.
Click on the System button to enter the system-setting page.
Click on the Application button to enter the application-setting page.
Click on the SD card button to open the SD card- Filelist of the Memory Card window, if
the SD card is inserted.
Click on the Pan/Tilt button to change the Pan/Tilt/Zoom settings.
Click on the
button to change the time/date display mode.
Click on the
button to switch high/low speed network.
Click on the
button to play the live audio while the audio function is set to ON. Click once
again to deactivate.
Click on the
button to archive AVI videos into your PC. Click once again to deactivate.
In the recording mode, there will appear a red blinking icon
in the upper-right hand
corner of the image. The AVI file will be saved in the path of c:\ .
Digital zoom function: Click on the video display area, and it will show the zoom-in
images. Double click to see the maximum size. Click on the right mouse button on the
video display area, and it will show the zoom-out images. Double click the right mouse
button to come back to the normal size. (MPEG4 mode only)


