32
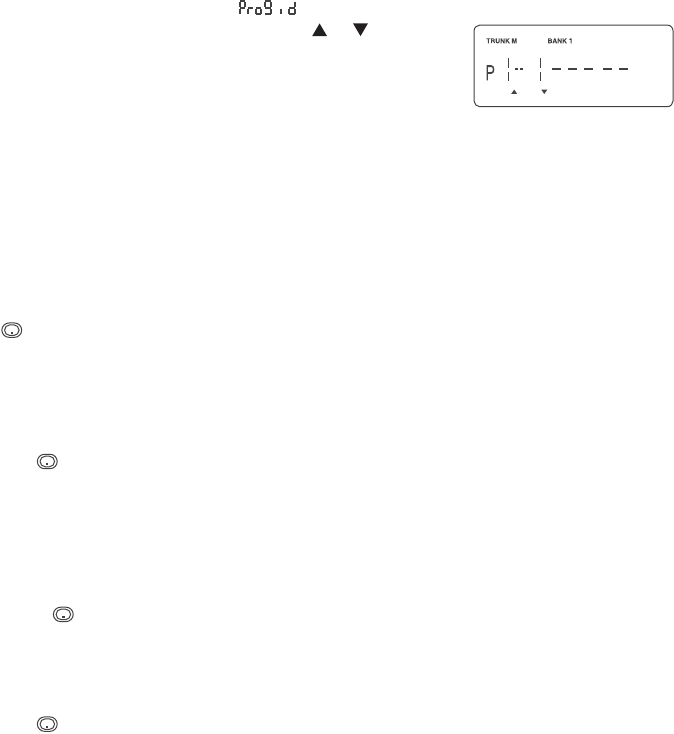
In order to program Talk Group ID’s, you must rst complete Step1–“Selecting Trunking
System Type”, page 30 and Step 2 – “Programming Trunking Frequencies”, page 31.
1. After programming a frequency, press HOLD/RESUME to return to the main screen of
system type selected and select . Then press E.
2. Select the Scan List location by using the or key.
3. Enter the Talk Group IDs for each trunk system as follows.
To enter a Type 2 Talk Group ID:
1. Enter the ID you want to store by using the keypad.
2. Press E.
To enter a Type 1 ID:
For a Type I ID, the Block number, Fleet number and Subeet number make up the Talk
Group ID number. For detail please see page 59.
1. Enter the ID you want to store by using the keypad (ID = Block number + Fleet number
+
(decimal key) + Subeet number).
2. Press E.
To enter a Full EDACS ID ®:
1. Enter the Agency number.
2. Press
(decimal key) for the “dash”.
3. Enter the Fleet number and Subeet number.
4. Press E.
To enter a Partial EDACS® ID:
1. Enter the Agency number you want to store.
Use the
(decimal key) for the “dash”.
2. Press E.
Or you can program all the Talk Group numbers within one eet of an Agency.
1. Enter the Agency number.
2. Press
(decimal key) for the “dash”.
3. Enter the Fleet number.
4. Press
E.
Hint:
Remember that Uniden’s AFS format allows you to enter full or partial EDACS IDs
for powerful exibility in all modes. Be sure to read the section “EDACS Reception”
on page 39 to learn how this works.
Note: The UBCT9 default to “AFS” talkgroup displays for EDACS ® only.
To enter a LTR ID:
For a LTR ID, the Area Code, Home Repeater number and ID make up the Talk Group ID.
UBCT9 OM 32 12/11/07 3:53:49 PM


