


19
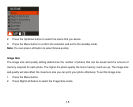
1. Press the Up/Down button to select ISO.
2. Press the Menu button.
3. Press the Up/Down button to se l e c t one of the options A ut o /100/200/400.
4. Press the Menu button to confirm, save and exit to standby mode.
5. The selected ISO icon appears on the left hand side of the LCD.
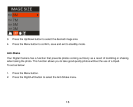
White Balance
This setting allows the camera to adjust the color of your photos according to the color of your light source.
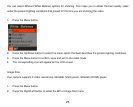
1. Press the Up/Down button to select the White Balance option.
2. Press the Menu button.
3. Press the Up/Down button to select one of the options Auto/Daylight/Cloudy/Incandescent/Fluorescent.
4. Press the Menu button to confi r m, save and exit to the camera standby mode.
5. The selected White balance icon appears on the top of the LCD.
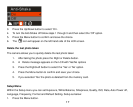
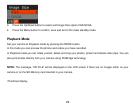
Sharpness
This setting allows you to adjust the sharpness of your images, making edges more or less distinct.
1. Press the Up/Down button u nt i l y o u select Sharpness.
2. Press the Menu button.
3. Press the Up/Down button to select one of the options Normal/Sharp/Soft.
4. Press the Menu button to confirm, save and exit to standby mode.