


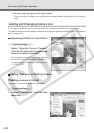


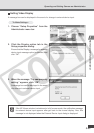

3-30
To Make Settings...
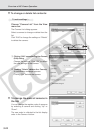
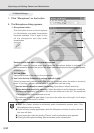
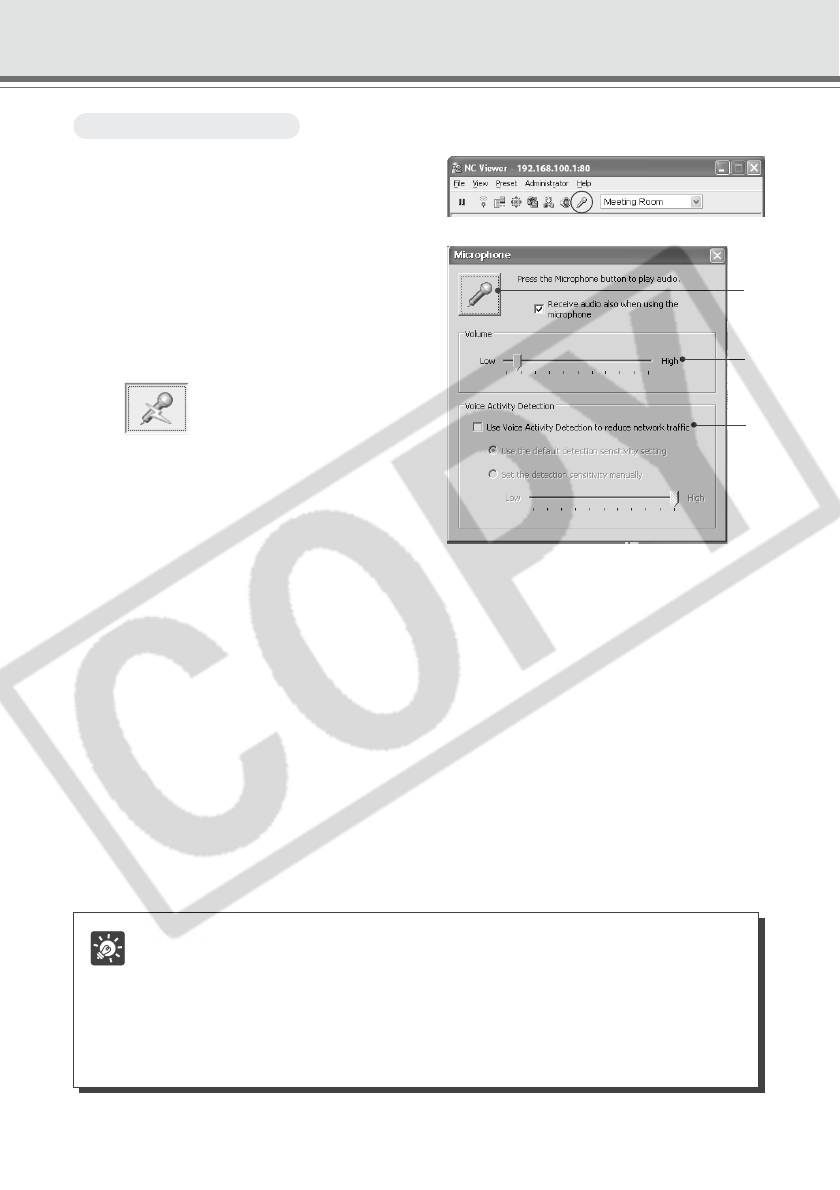
1. Click “Microphone” on the toolbar.
2. The Microphone dialog appears.
1 Microphone button
Click this button to turn on the microphone
for Administrator and audio transmission
becomes available. Click it again to turn
off the microphone and stop audio
transmission.
Receive audio also when using the microphone
Check this option to receive audio even when the Microphone button is activated. It is
recommended to uncheck this option if the audio from the microphone played on the speaker
is hard to hear.
2 Volume Slider
Adjust the volume of the input in the microphone.
3 Use Voice Activity Detection to reduce network traffic
Select to temporarily reduce audio data quantity to transmit when the audio is turned to
mute. In this way, you can reduce traffic on the network you are using.
Use the default detection sensitivity setting: Operates at default sensitivity.
Set the detection sensitivity manually: Adjust the slider to set the detection sensitivity.
The detection sensitivity gets lower if you move the slider bar to the left. The sound has
to be softer so that to be detected as mute.
The detection sensitivity gets higher if you move the slider bar to the right. It will detect
as mute even if the sound is louder.
Operating and Setting Camera as Administrator
Tip
● When the Viewer window is minimized, audio transmission pauses even if the
Microphone button is active.
● If you activate another application while the Microphone button is active, the task
bar icon will flash.
● If you pause the video by clicking “Pause”, audio transmission also pauses.
● Closing the Microphone dialog also terminates audio transmission.
2
3
1