3-2
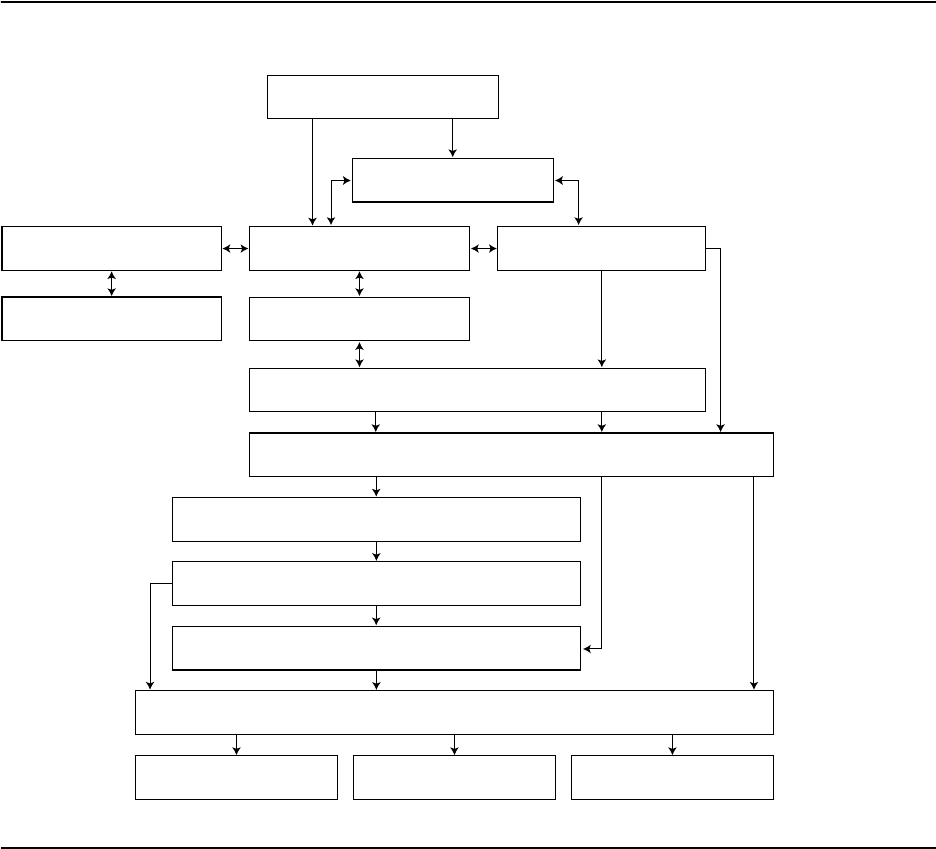
1. Flow of Scanner Operations
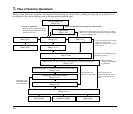
The procedure and screen transitions for the process from turning the scanner ON, to sending an image file are as follows. For
descriptions of the various settings, refer to the appropriate reference pages.
Turn the power ON
(See p. 3-3.)
No user is registered
* When no user is registered and only
the Shared Address Book and Shared
Job Button are used
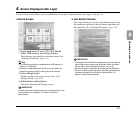
Home screen
(See p. 3-7.)
* Set the screen that appears after login in the user settings.
* When you use server authentication, the user that logged in
is registered automatically.
Job Button screen
(See p. 3-7.)
* Users restricted by [Use only Job
Buttons] in the function
restrictions cannot scan from the
Home screen.
Scanning starts immediately after a
job button is pressed.
User Settings screen
(See p. 3-8.)
Scan/Delivery Options screen
(See p. 3-24.)
Scan (The process after scanning differs depending on the Delivery Options)
(See p. 3-31.)
Scanning finishes (A document confirmation message appears)
(See p. 3-16.)
The document and
image are not checked
After scanning of the
document ends, the image is
sent as is and the process
ends.
Send/Image Confirmation screen
(See p. 3-17.)
Address Confirmation screen
(See p. 3-18.)
The image is sent
without the address
being confirmed.
Send (The screen displayed after sending differs depending on the Delivery Options)
(See p. 3-31.)
Home screen Job Button screen Login screen
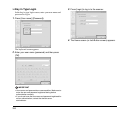
Login screen
(See p. 3-4.)
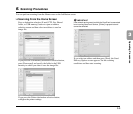
Address selection screen
(See p. 3-11.)
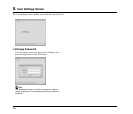
Password setting screen
(See p. 3-8.)
* Delivery Options
settings are also applied
to job buttons.
Users are registered (device/server authentication)


