


35
1
2
3
4
5
6
7
8
9
Cover
Before Use
Common Camera
Operations
Advanced Guide
Camera Basics
Auto Mode
Other Shooting
Modes
P Mode
Playback Mode
Setting Menu
Accessories
Appendix
Index
Basic Guide
Tv, Av, and M
Mode
Still Images
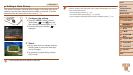
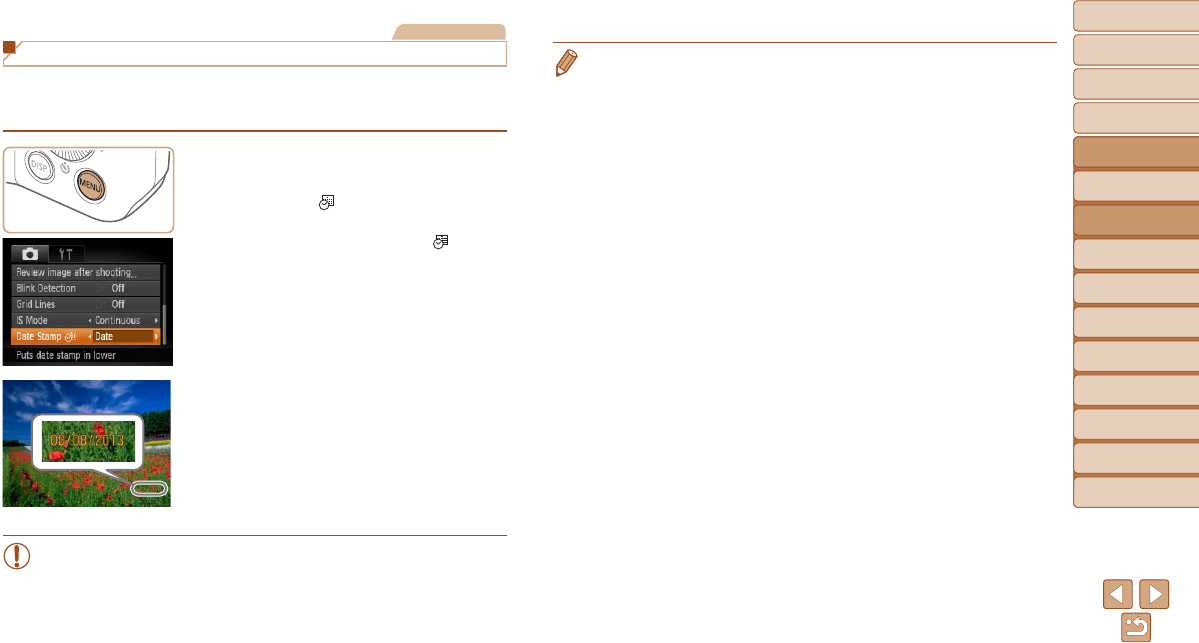
Adding a Date Stamp
The camera can add the shooting date to images, in the lower-right corner.
However,notethatdatestampscannotbeeditedorremoved,soconrm
beforehand that the date and time are correct (=
14).
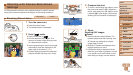
1 Congurethesetting.
Press the <n> button, choose
[Date Stamp
] on the [4] tab, and
then choose the desired option (=
24).
Once the setting is complete, [ ] is
displayed.
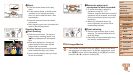
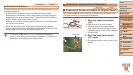
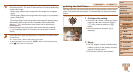
2 Shoot.
As you take shots, the camera adds the
shooting date or time to the lower-right
corner of images.
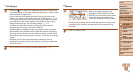
To restore the original setting, choose
[Off] in step 1.
•Date stamps cannot be edited or removed.
• Shots taken without adding a date stamp can be printed with one as follows.
However, adding a date stamp this way to images that already have one may
cause it to be printed twice.
- Print using printer functions (=
103)
- Use camera DPOF print settings (=
107) to print
- Use the software downloaded from the Canon website to print (=
100)