


14
Before Use
Basic Guide
Advanced Guide
Camera Basics
Auto Mode
Other Shooting
Modes
P Mode
Playback Mode
Setting Menu
Accessories
Appendix
Index
Before Use
Basic Guide
Advanced Guide
Camera Basics
Auto Mode
Other Shooting
Modes
P Mode
Playback Mode
Setting Menu
Accessories
Appendix
Index
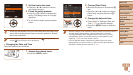
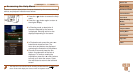
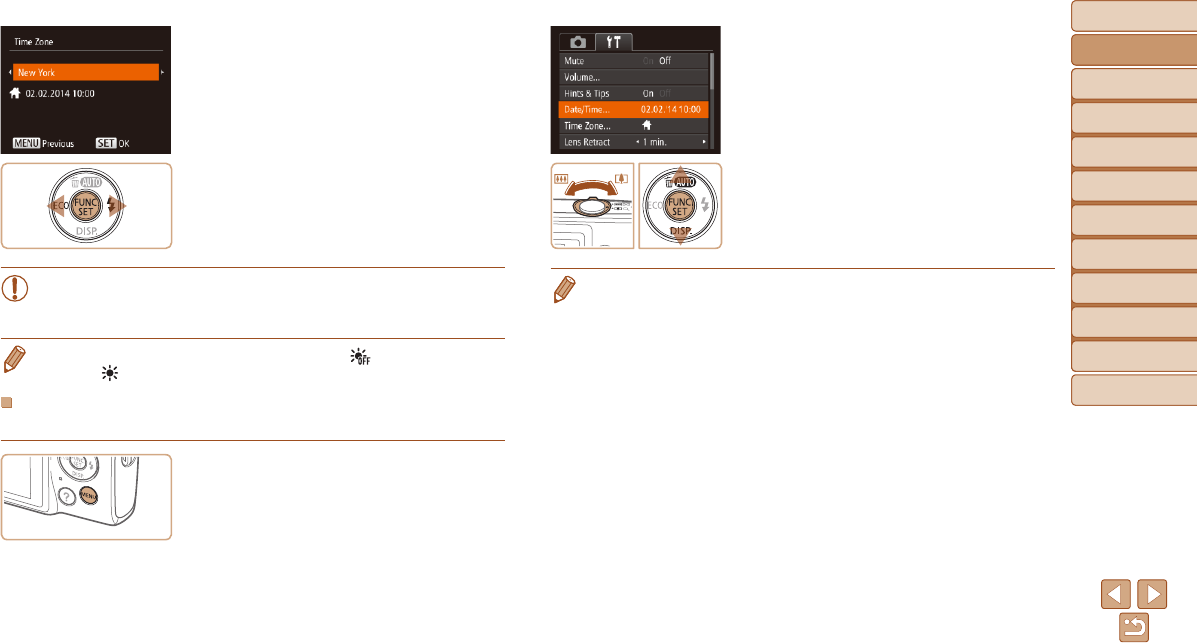
3 Set the home time zone.
Press the <q><r> buttons to choose
your home time zone.
4 Finish the setup process.
Press the <m> button to complete the
setting. The setting screen is no longer
displayed.
To turn off the camera, press the power
button.
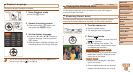
•Unless you set the date, time, and home time zone, the [Date/Time]
screen will be displayed each time you turn the camera on. Specify
the correct information.
• To set daylight saving time (1 hour ahead), choose [ ] in step 2 and then
choose [
] by pressing the <o><p> buttons.
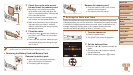
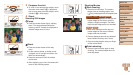
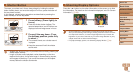
Changing the Date and Time
Adjust the date and time as follows.
1 Access the camera menu.
Press the <n> button.
2 Choose [Date/Time].
Move the zoom lever to choose the [3]
tab.
Press the <o><p> buttons to choose
[Date/Time], and then press the <m>
button.
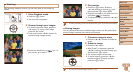
3 Change the date and time.
Follow step 2 in “Setting the Date and
Time” (=
13) to adjust the settings.
Press the <n> button to close the
menu.
• Date/time settings can be retained for about 3 weeks by the camera’s built-in
date/time battery (backup battery) after the battery pack is removed.
• The date/time battery will be charged in about 4 hours once you insert a
charged battery pack or connect the camera to an AC adapter kit (sold
separately, =
82), even if the camera is left off.
• Once the date/time battery is depleted, the [Date/Time] screen will be
displayed when you turn the camera on. Set the correct date and time as
described in “Setting the Date and Time” (=
13).