


94
Before Use
Basic Guide
Advanced Guide
Camera Basics
Auto Mode
Other Shooting
Modes
P Mode
Playback Mode
Setting Menu
Accessories
Appendix
Index
Before Use
Basic Guide
Advanced Guide
Camera Basics
Auto Mode
Other Shooting
Modes
P Mode
Playback Mode
Setting Menu
Accessories
Appendix
Index
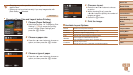
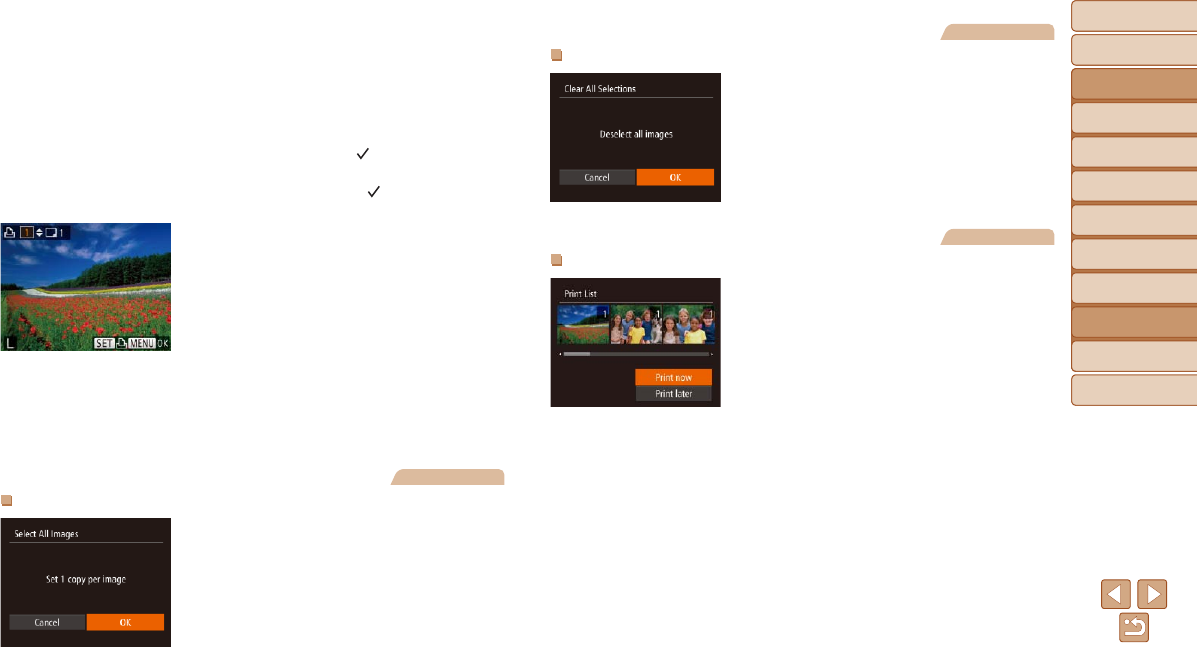
2 Choose an image.
Press the <q><r> buttons to choose an
image, and then press the <m> button.
You can now specify the number of
copies.
If you specify index printing for the image,
it is labeled with a [
] icon. To cancel
index printing for the image, press the
<m> button again. [
] is no longer
displayed.
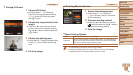
3 Specify the number of prints.
Press the <o><p> buttons to specify
the number of prints (up to 99).
To set up printing for other images and
specify the number of prints, repeat steps
2 – 3.
Printing quantity cannot be specied for
index prints. You can only choose which
images to print, by following step 2.
When nished, press the <n> button
to return to the menu screen.
Still Images
Setting Up Printing for All Images
Following step 1 in “Setting Up Printing
for Individual Images” (=
93), choose
[Select All Images] and press the <m>
button.
Press the <q><r> buttons to choose
[OK], and then press the <m> button.
Still Images
Clearing All Images from the Print List
Following step 1 in “Setting Up Printing
for Individual Images” (=
93), choose
[Clear All Selections] and press the <m>
button.
Press the <q><r> buttons to choose
[OK], and then press the <m> button.
Still Images
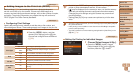
PrintingImagesAddedtothePrintList(DPOF)
When images have been added to the
print list (=
93 – 94), the screen
at left is displayed after you connect
the camera to a PictBridge-compatible
printer. Press the <o><p> buttons to
choose [Print now], and then simply press
the <m> button to print the images in the
print list.
Any DPOF print job that you temporarily
stop will be resumed from the next image.