


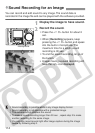

112
This prevents the image from being erased accidentally.
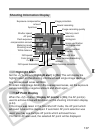
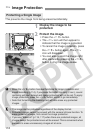
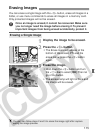
1
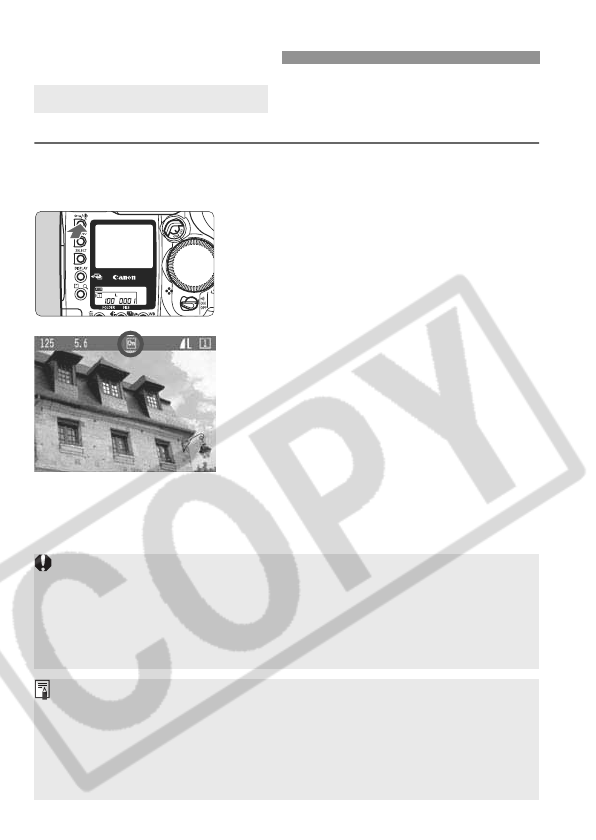
Display the image to be
protected.
2
Protect the image.
¡Press the <H> button.
s The <J> icon will then appear to
indicate that the image is protected.
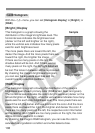
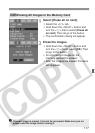
¡To cancel the image protection, press
the <H> button again. The <J>
icon will disappear.
¡You can also protect the image right
after capture by pressing the <H>
button during the image review.
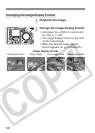
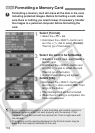
J Image Protection
Protecting a Single Image
¡ Since the <H> button has dual functions for image protection and
sound recording (p.114), if you press the button too long (2 sec.), sound
recording will start instead and image protection will not be set. To apply
image protection, press the <
H> button and let it go immediately.
¡ Note that formatting the memory card will also erase any protected
images.
¡ The image can be protected regardless of the display format.
¡ Protected images cannot be erased with the camera’s Erase function. To
erase protected images, first cancel the image protection.
¡ If you use “Erase all” (p.116, 117) when there are protected images, all
images except the protected ones will be erased. This is convenient when
you want to erase unnecessary images all at once.