


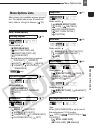

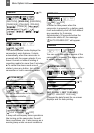
Menu Options Lists
Advanced Functions
43
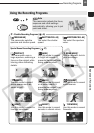
Display Setup (LCD Brightness, Language, etc.)
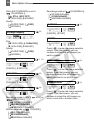
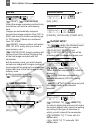
DISPLAY SETUP
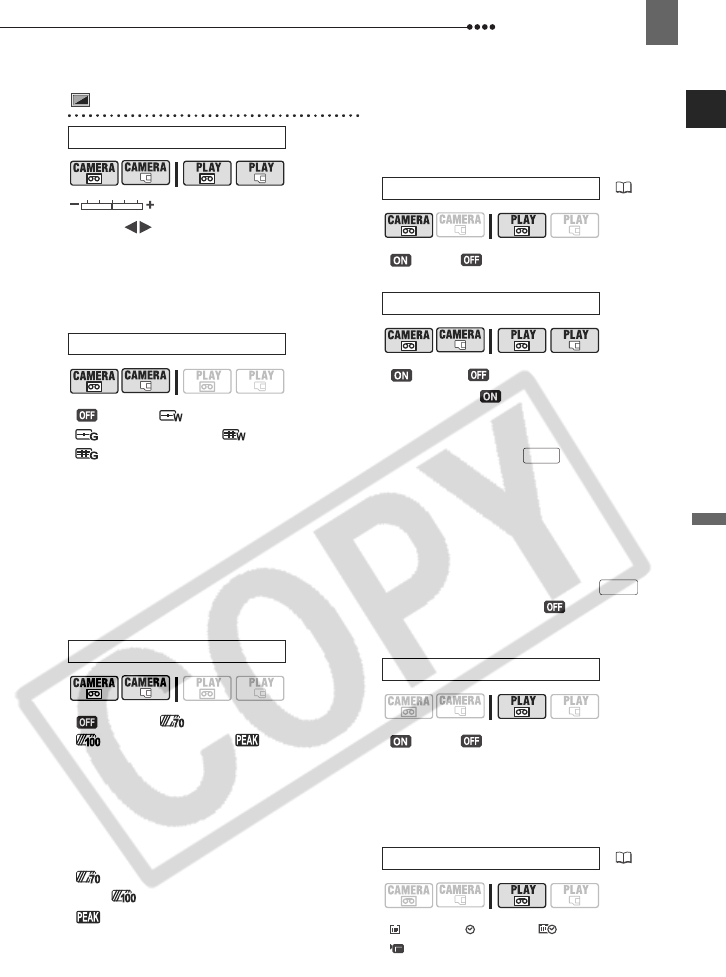
Adjust ( ) the brightness of the LCD
display with the joystick.
Changing the brightness of the LCD
display does not affect that of the
viewfinder or the recordings.
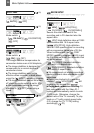
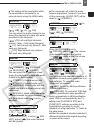
[ OFF], [ LEVEL(WHT)],
[ LEVEL(GRY)], [ GRID(WHT)],
[ GRID(GRY)]
You can display a grid or a horizontal line
at the center of the screen. The markers
are available in white or gray. Use the
markers as a reference to make sure your
subject is framed correctly (vertically and/
or horizontally).
Using the markers will not affect the
recordings on the tape or memory card.
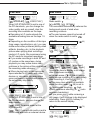
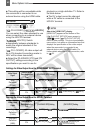
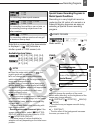
[ OFF], [ ZEBRA(70%)],
[ ZEBRA(100%)], [ PEAKING]
You can use the assist functions to make
sure you adjust the focus and exposure
correctly.
[ZEBRA]: A striped pattern (zebra
pattern) will appear over areas of the
picture that are overexposed (too bright).
[ ZEBRA(70%)] is more sensitive
than [ ZEBRA(100%)].
[ PEAKING]: The silhouettes of
objects in the picture will be emphasized
in order to allow you to focus manually
more easily.
Using the assist functions will not affect
the recordings on the tape or memory card.
[ ON], [OFF]
[ON]*, [ OFF]
When set to [ ON], the camcorder’s
on-screen displays will appear also on the
screen of a connected TV or monitor.
You can also use on the wireless
controller.
When the the data code is displayed on
the camcorder’s screen, the same
information will also appear on a
connected TV regardless of the [TV
SCREEN] setting. Turn off the data code
display by repeatedly pressing .
* The default value is [ OFF] in the
playback modes.
[ ON], [OFF]
When you start playing back a tape or
when the date of the recording changes,
the date and time will be displayed for 6
seconds.
[ DATE], [ TIME], [DATE & TIME],
[ CAMERA DATA]
BRIGHTNESS
MARKERS
ASSIST FUNC.
AUDIO LEVEL
( 61)
TV SCREEN
6SEC.DATE
DATA CODE
( 57)
DISP.
DISP.