


38 Photo Printing from Printed Photo or Film
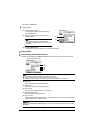
6 Gently close the Document Cover and press the Color button.
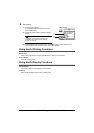
Printing Scanned Photographs
1
Prepare for printing.
(1) Scan a photo or a film.
See “Scanning a Photo” on page 35 or “Scanning a Film” on page 35.
(2) Load paper.
See “Loading Printing Paper” on page 9.
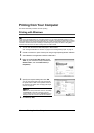
2 Select the print menu.
(1) Make sure that Select and print is selected, then press the OK button.
(2) Confirm the paper source, page size, media type, and other settings.
To change the settings, select the item and press the OK button.
(3) Select Next, and then press the OK button.
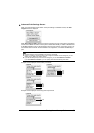
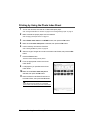
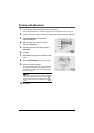
3 Select the photo to print and specify the number of copies for each photo.
(1) Use the Easy-Scroll Wheel or the [ or ] button to display a photo to print.
(2) Press the [+] or [-] button to specify the number of copies.
(3) Repeat steps (1) and (2) to specify the number of copies for each photo.
(4) Press the OK button.
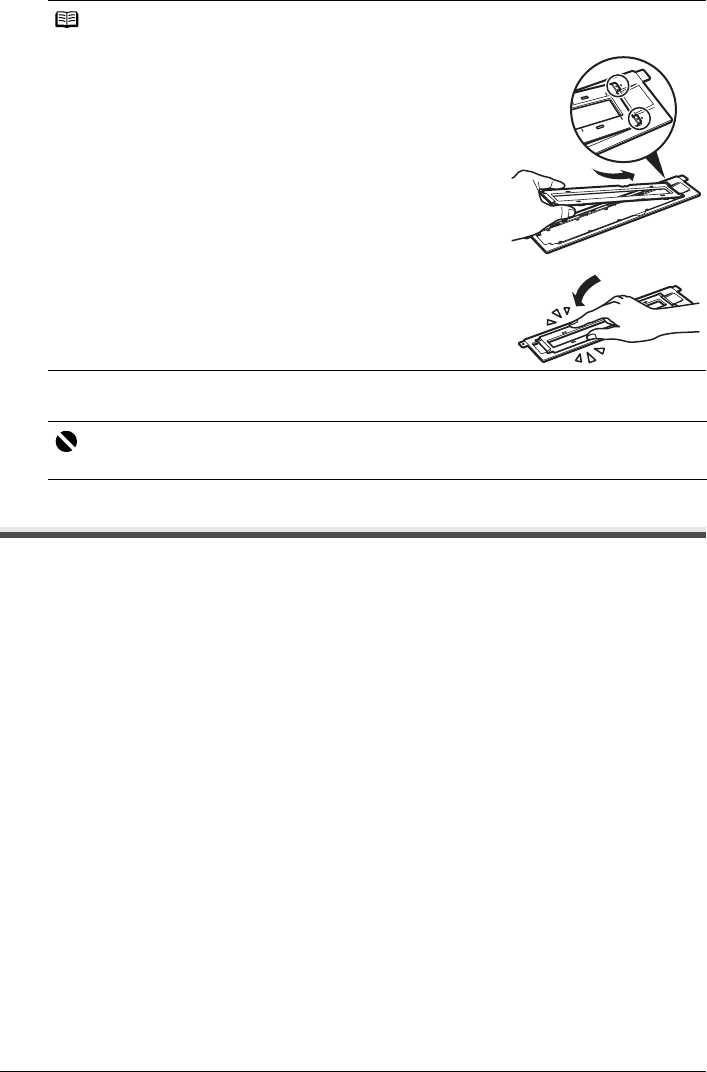
Note
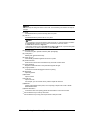
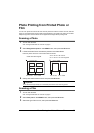
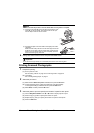
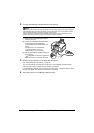
To attach the Film Strip Frame on the Film Guide after scanning slides is complete
(1) Align the circle marks (z) on the Film Strip Frame with the circle
marks (z) on the Film Guide, and insert the tabs on the tip of
the Film Strip Frame into the Film Guide.
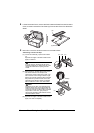
(2) Squeeze the edges of the Film Holder inward lightly and close it
completely.
Make sure that all the protrusions on the outer edges of the Film
Holder fit into the slots in the Film Guide when closing the Film
Holder. If the Film Holder does not close completely, press the
whole Film Holder gently downward.
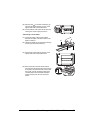
Important
Do not stare at the light directly for an extended period of time when scanning films.