8-1. System Setup
8-1-1. Camera Name
The camera name can be set on the “Camera
Name” field, and select “change “ to summit it .
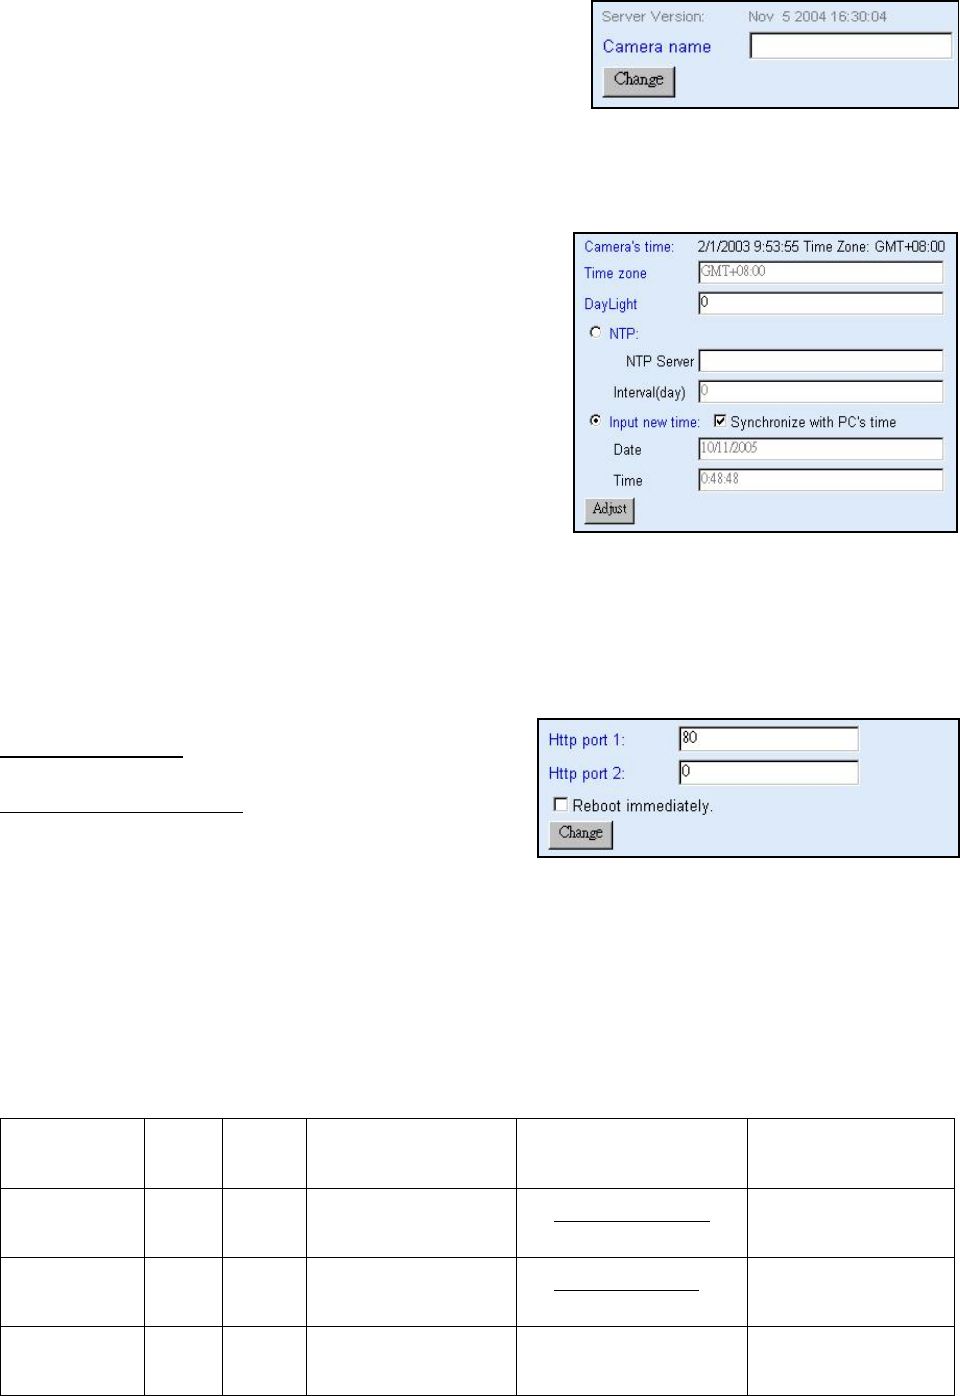
8-1-2. Camera’s time
Select “ NTP ” button
X Key in the Sever IP address like:
http://www.org.ntp.org Press ”adjust” to activate
Y After i-WATCHER get the time from NTP sever,
it will update the Camera’s time field.
Select “Input new time” button and click on
“Synchronize with PC’s time“
X Key in “mm/dd/yyyy” format into “Date“ field,
and “ hh:mm:ss ” by 24 hours format into
“Time“ filed!
Y Select the “Adjust” button to adjust the time!
8-1-3. Web Server Port Number
The implementation supports 2 HTTP port settings. The HTTP “Port 1” is set to 80; the
HTTP “Port 2” is set to 8080. The user can access the i-WATCHER by
http://xx.xx.xx.xx/ or
http://xx.xx.xx.xx:8080/
to access the i-WATCHER.
It is recommended to keep the HTTP “Port 1” as 80 to make sure the i-WATCHER can be
accessed by the default HTTP port setting access on the LAN. http://xx.xx.xx.xx/
If multiple i-WATCHERs are installed on the LAN, also required to be accessed from the
WAN, the HTTP “Port 2” can be changed as the virtual server port mapping to support
multiple i-WATCHERs. The following table lists example configurations.
Example:
IP-Cam IP
HTTP
port.1
HTTP
port.2
Virtual Server Port
Setting
Access IP-Cam on LAN
Access IP-Cam on
WAN
IP: 68.68.68.68
192.168.1.1 80 8080 8080 Î 192.168.1.1
http://192.168.1.1
http://192.168.1.1:8080
http://68.68.68.68
:8080
192.168.1.2 80 8081 8080 Î 192.168.1.1
http://192.168.1.2
http://192.168.1.1:8081
http://68.68.68.68
:8081
192.168.1.3 80 8082 8080 Î 192.168.1.1
http://192.168.1.3
http://192.168.1.1:8082
http://68.68.68.68
:8082
19


