


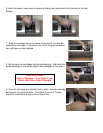
4. Insert the ink bags into the ink box by clipping them into the corresponding connectors attached
inside the box. Each section is marked with which color ink should be placed there.
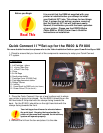
5. Once all ink bags are connected inside your Quick Connect
II™ ink box, you will need to obtain the small primer bottle to
prime each line.
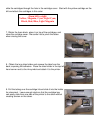
6. Take the cartridge in one hand and the priming bottle in the
other as shown in the picture to the right. Squeeze the priming
bottle to release all of the air and insert it into the bottom of the
cartridge to pull ink through the line and just bring ink into the
reservoir.
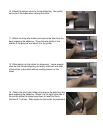
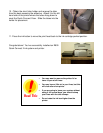
7. Once ink is in the reservoir, pinch together the clamp that’s
connected to the tube on the outside of the box. This will ensure
that no more ink will pull into the reservoir until you are ready for
it.
8. Do this for each cartridge.
9. Place the lid back onto the Quick Connect II™ ink box and
gently place the cartridges on top of the box while you are
completing the printer setup.
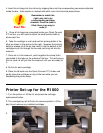
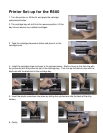
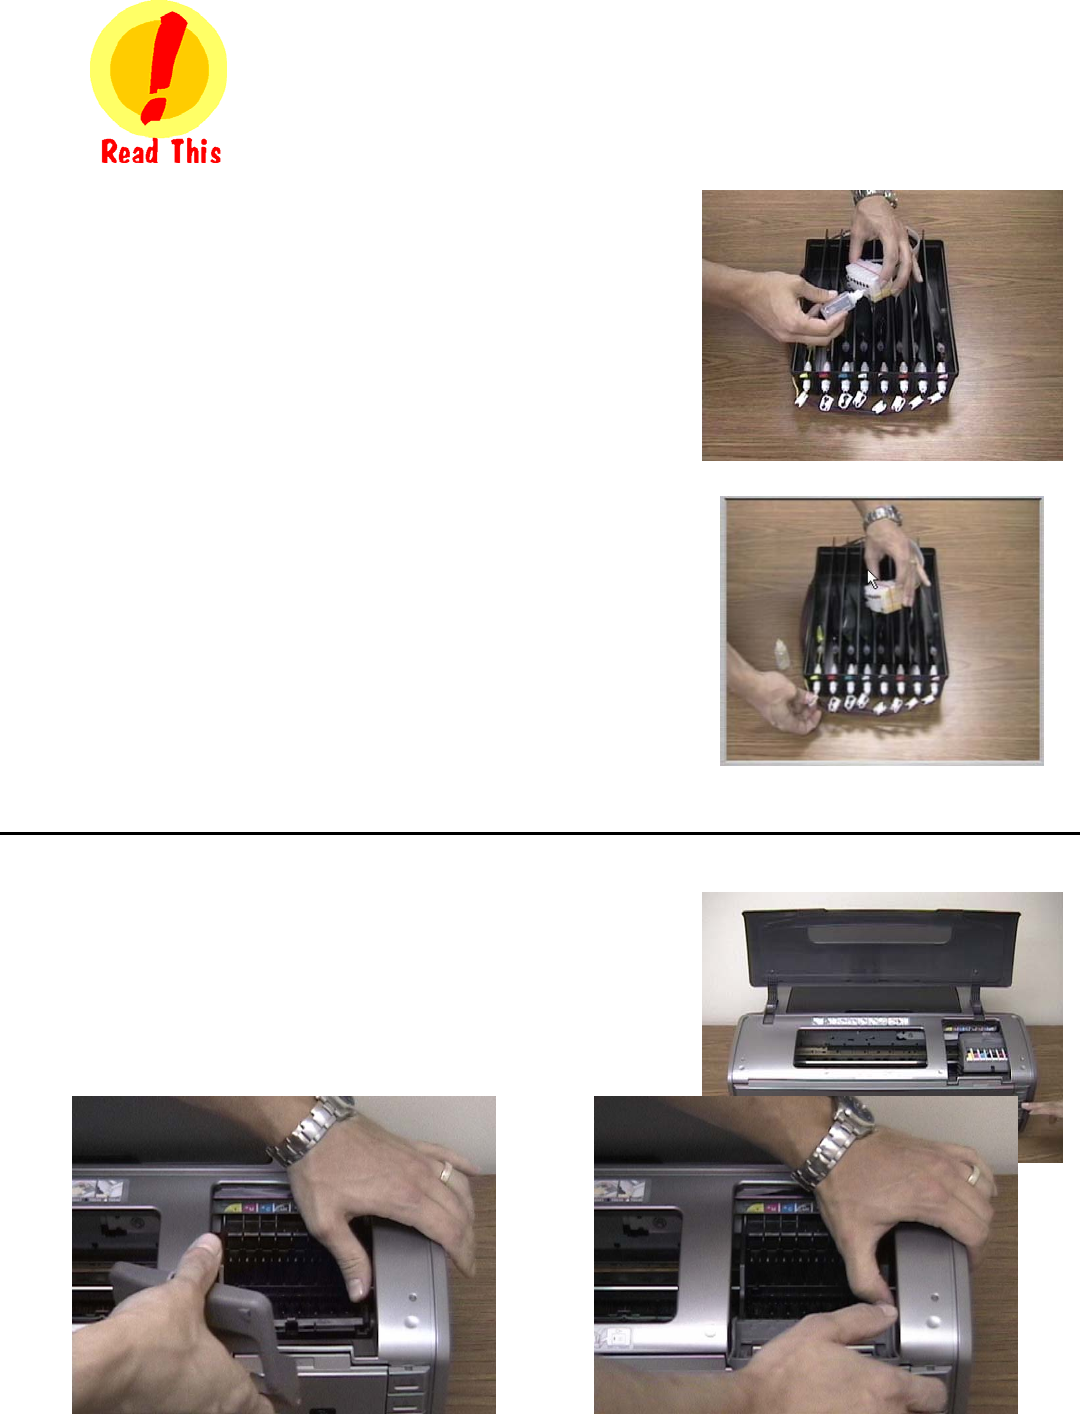
Printer Set-up for the R1800
1. Turn the printer on, lift the lid, and press the cartridge
replacement button.
2. The cartridge bay will shift into the remove position. Lift the
bay lid and remove any installed cartridges.
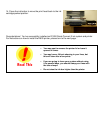
3.
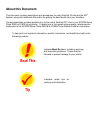
Remember to match the
right color ink to its
corresponding cartridge
chamber. Once the tube is
filled, there is no way to
undo it!