


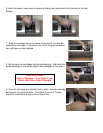
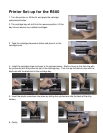
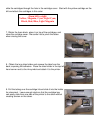
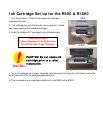

10. Obtain the short tube holder and remove the tabs
from the back exposing the adhesive. Attach it to the left
hand side of the printer where the tubes hang down to
meet the Quick Connect II box. Slide the tubes into the
holder for placement.
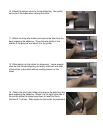
11. Press the ink button to move the print head back to the ink cartridge parked position.
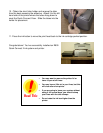
Congratulations! You’ve successfully installed an R800
Quick Connect II ink system and printer.
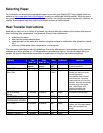
You may want to remove the printer lid or
leave it open at all times.
You may have a little air in your lines, but this
will clear after a few prints.
If you are going to leave your system without
using it for several days, you should clamp
your lines with the tube clamps.
Do not raise the ink box higher than the
printer.