Troubleshooting
If the camera cannot be
connected
If the language selection window does not
appear when you type the camera’s IP address
into the location bar of the web browser, check
the following items.
•
Is the Ethernet cable connected correctly?
If the cable is not connected correctly, the link
indicator at the rear of the camera will not be
illuminated. Check the cable connection.
Note: Cross-type and straight-type Ethernet
cables are available. To connect the
camera directly to a computer, you need
to use a cross-type cable.
•
Is the link indicator flashing?
If the link indicator is illuminated steadily, it
means that the cable is connected to the
camera but communication is not possible.
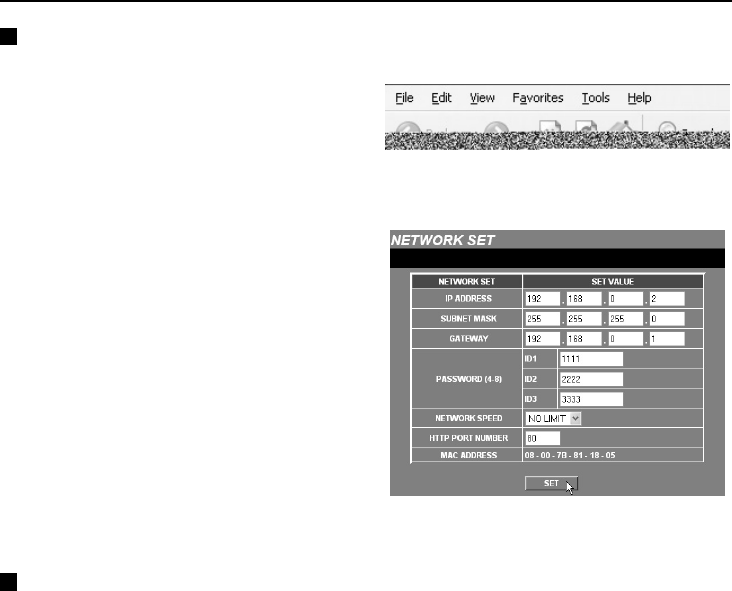
The default network settings for the camera are
as follows.
•
IP address: 192.168.0.2
•
Subnet mask: 255.255.255.0
•
Gateway: 192.168.0.1
•
Port number: 80
If you forget the IP Address
If you forget the camera’s IP address, you can
check it using the following procedure.
1
Set pin 1 of the PC/MODEM select switch
at the rear of the camera to the “ MODEM”
setting, turn off the camera’s power, wait
three seconds or more and then turn the
power back on.
2
Set pin 1 of the PC/MODEM select switch
at the rear of the camera to the “ PC”
setting, turn off the camera’s power, wait
three seconds or more and then turn the
power back on.
3
Set the computer’s IP address to
“ 192.168.0.✱” . (Enter a number that is 3 or
greater in place of “ ✱” .)
4
Start the web browser and point it to
“ http://192.168.0.2/” .
5
Check the network settings. (p. 18)
6
Turn off the camera’s power.
7
Return the computer’s IP address to its
original setting.
Note:
•
If the password for the Administrator level ID
has been changed, be careful not to forget
the password.
•
Check that none of the other devices that are
connected to the network have a duplicate IP
address of “192.168.0.2”.
L5AB2/US (VCC-WB2000) GB 2002, 7, 4
English
– 45 –


