


35
3
34
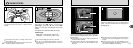
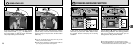
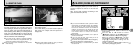
Use this mode for ordinary photography. The
flash fires automatically as required by the
conditions.
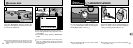
Auto Flash (no icon)
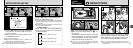
You can choose from 5 flash modes to suit your
shot. Each time you press the “e” flash button,
the flash mode shown on the LCD monitor
changes from Auto flash (no icon displayed) to “
o ” to “e ” to “p” to “m ”. The last mode
displayed is the selected mode.
●
!
When the flash mode is set to Suppressed Flash, the
camera becomes ready to shoot more quickly after
you switch it on.
●
!
If you switch from Suppressed Flash mode to
another flash mode, you may find that the displayed
image disappears and the screen goes dark
because the flash is charging. When this happens,
the viewfinder lamp flashes orange.
e
USING THE FLASH
3
Advanced
Features
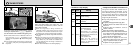
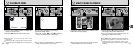
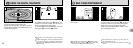
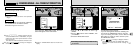
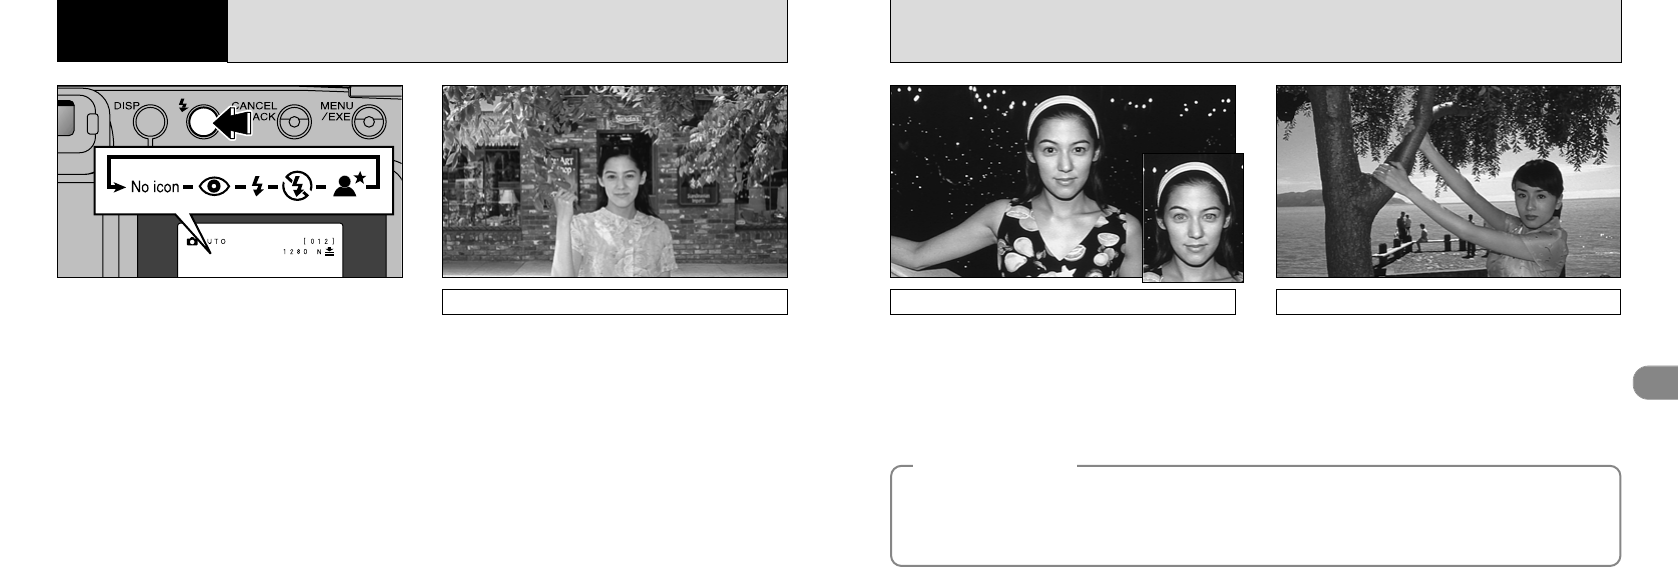
e Forced Flash
Use this flash mode to photograph backlit
scenes, such as a subject against a window or
in the shade of a tree, or to obtain the correct
colors when you are shooting under lighting
such as fluorescent tubes. In this mode, the
flash fires in bright as well as dark conditions.
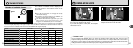
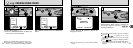
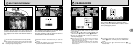
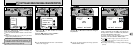
o Red-Eye Reduction
Use this mode to ensure that the subject's eyes
appear natural when photographing people in low-
light conditions.
The flash fires a pre-flash just before the picture is
taken and then fires again to take the actual picture.
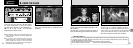
◆Red-Eye Effect◆
When you use the flash to photograph people in low-light conditions, their eyes sometimes appear red in the picture. This
is caused by the light of the flash reflecting off the inside of the eye. Use Red-Eye Reduction flash mode to effectively
minimize the likelihood of the red-eye effect.
Take the following measures also to make Red-Eye Reduction mode more effective:
●
Get the subjects to look at the camera.
●
Get as close as possible to the subjects.