


49
4
48
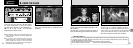
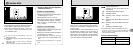
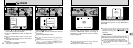
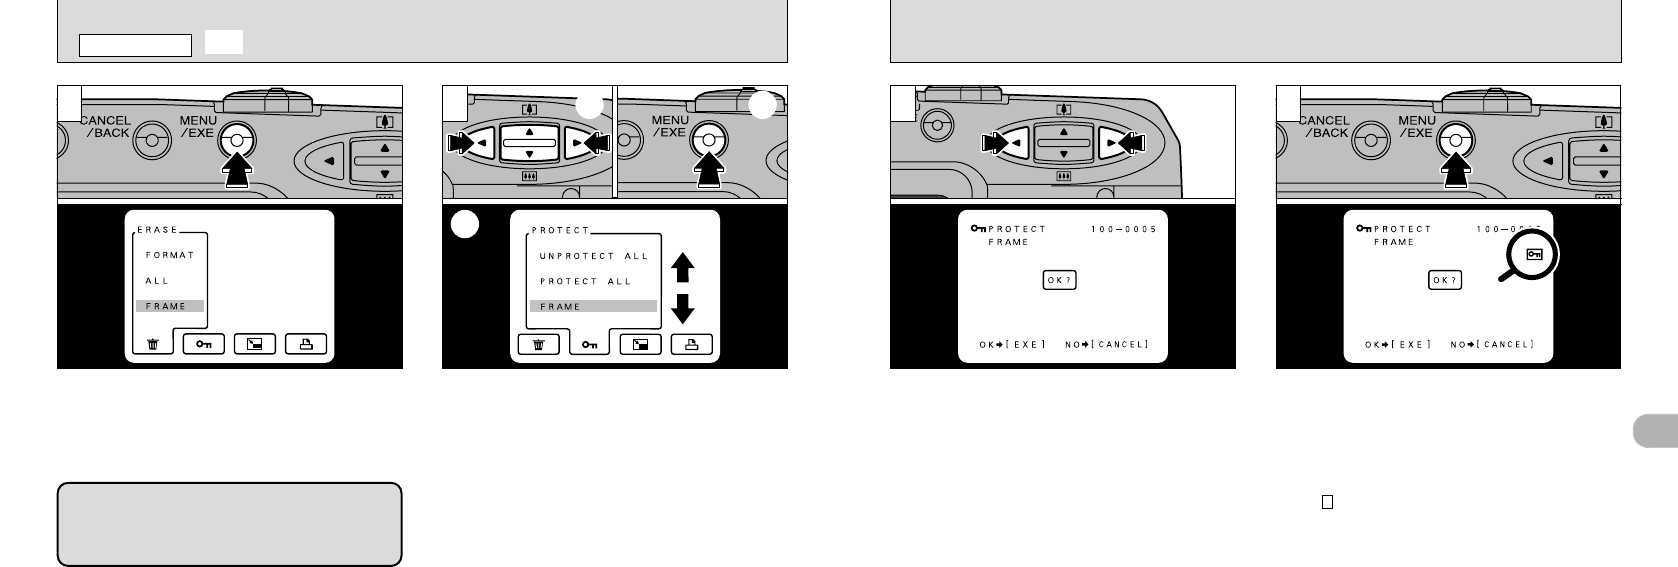
Use the “d” or “c” button to select the image to
be protected.
When the “MENU/EXE” button is pressed, the
image is protected and the “
h ” icon appears on
the right of the screen. To remove the protection,
press the “MENU/EXE” button again.
To finish setting and removing single-frame
protection, press the “CANCEL/BACK” button.
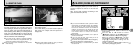
●
!
If you do not want to protect the image, press the
“CANCEL/BACK” button.
●
!
To protect another image, repeat the procedure from
step .
●
!
To cancel image protection at this point, press the
“CANCEL/BACK” button.
●
!
Formatting erases all images, including protected images
(➡P.46).
3
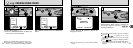
43
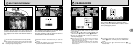
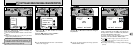
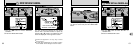
Press the “MENU/EXE” button to display the
menu on the LCD monitor.
●
!
Press the “CANCEL/BACK” button to exit the menu
display.
●
!
Multi-frame playback is an easy way to select
images to be protected (➡P.31).
➀
Use the “d” or “c” button to select
“g PROTECT”.
➁
Use the “ab” button to select
“
FRAME”.
➂
Press the “MENU/EXE” button.
1 2
“PROTECT” is a setting that prevents images
from being accidentally erased. However, the
FORMAT function erases all stored images,
including protected images (➡P.46).
●
!
If your SmartMedia holds more than 1,000 recorded
frames, refer to page 14.
➀ ➂
➁
h
SETTING AND REMOVING SINGLE-FRAME PROTECTION
PLAYBACK MENU