


58 59
4
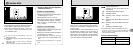
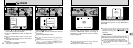
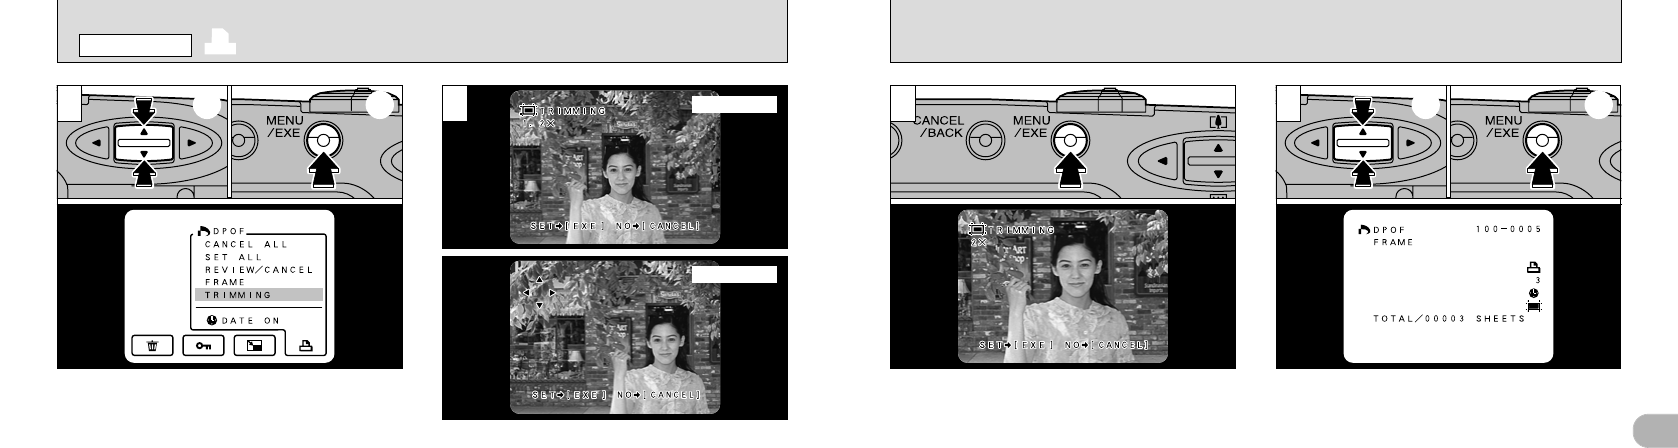
➀
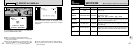
Use the “ab” button to select “TRIMMING”.
➁
Press the “MENU/EXE” button to switch to the
Trimming selection screen.
You can alternate between the Zoom and Shift
screens by pressing the “DISP” button.
Using the Zoom screen:
Use the “ab” button to zoom in and out.
(The zoom scale increases in increments of 0.2✕up to 2.0✕)
Using the Shift screen:
Use the “ab”, “c” and “d” buttons to shift the
position of the area to be trimmed.
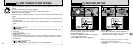
●
!
Display the frame to be trimmed before beginning
the above procedure (➡P.29).
●
!
Trimming can only be specified for images with a
File Size setting of 1280
✕960.
●
!
When images with File Size other than 1280✕960
are played back, TRIMMING does not appear on the
menu.
●
!
Trimmed images cannot be smaller than 640✕480
pixels.
●
!
After trimming, the aspect ratio of the image is 4:3,
which is the same as that of the recorded image.
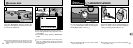
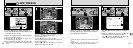
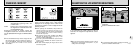
➀
Use the “ab” button to specify the number of
prints.
➁
Press the “MENU/EXE” button to confirm the
settings and return to the menu screen.
The “U” icon is displayed for the frame for
which trimming has been confirmed.
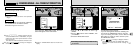
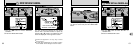
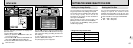
3
When you press the “MENU/EXE” button, the
cropping settings are determined as shown in
the image on the LCD monitor.
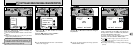
1 2 4
Zoom screen
Shift screen
➀ ➁
R
DPOF TRIMMING
PLAYBACK MENU
➀ ➁