101
Viewing Images
6
100
AC-5VH
(sold separately)
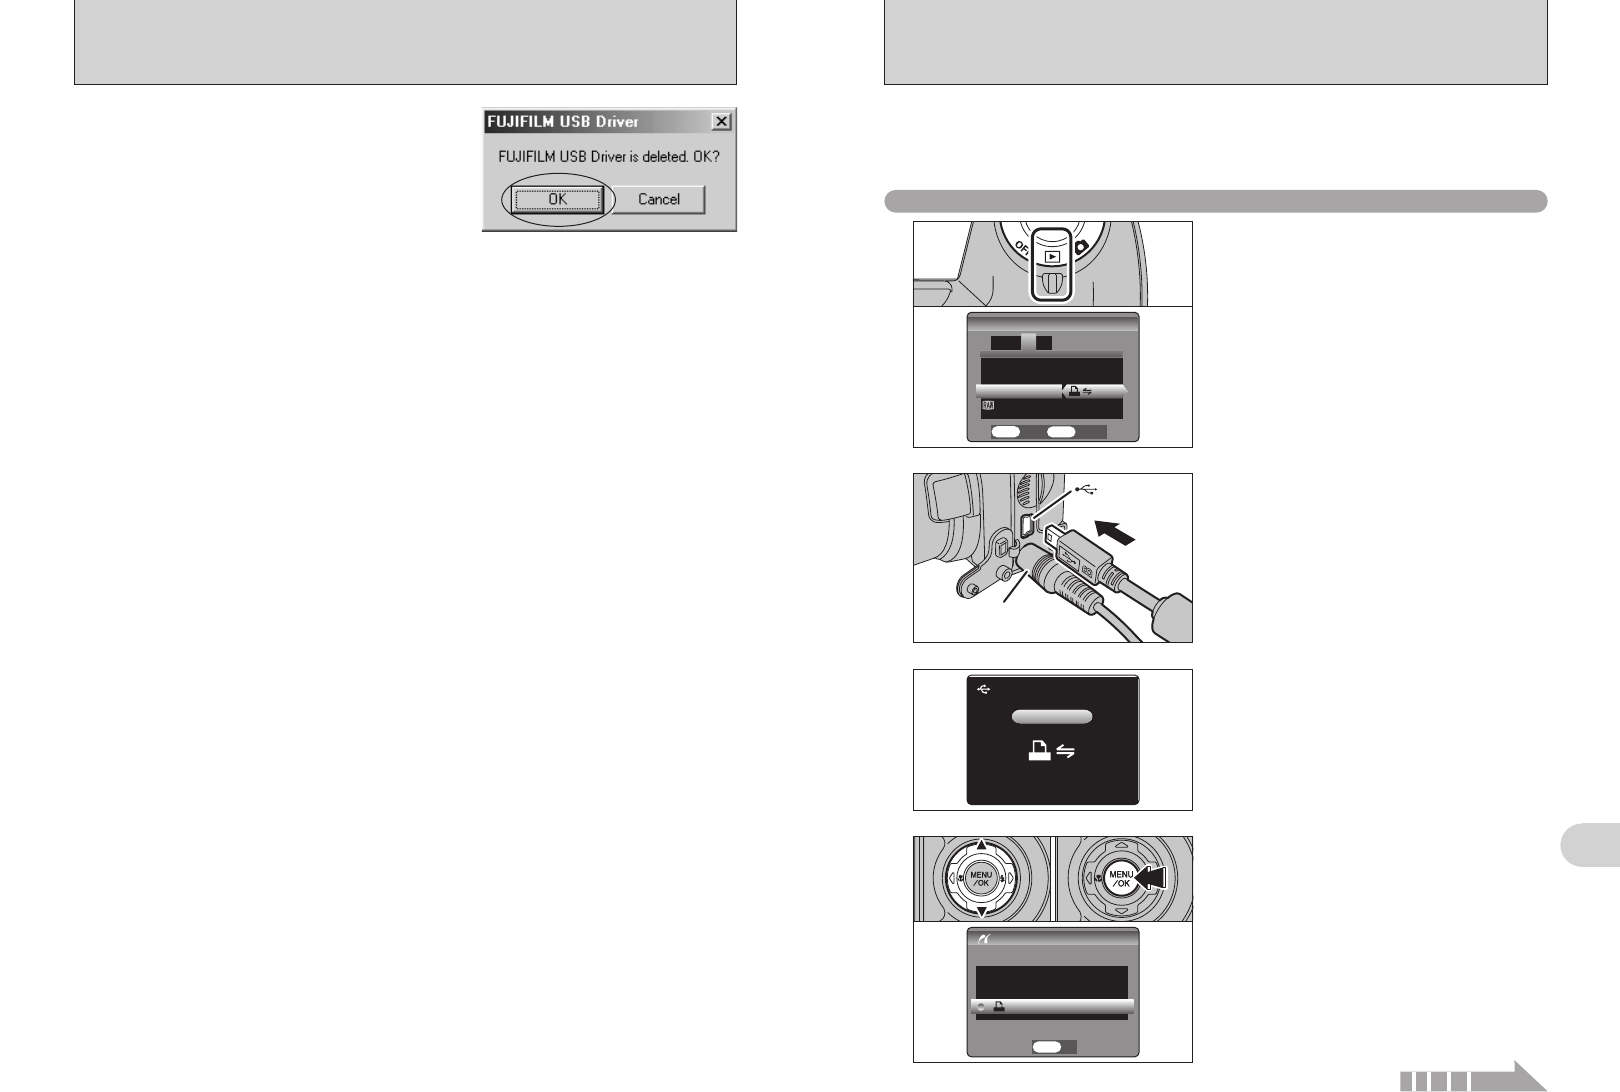
USB socket
2
1Connect the camera to the printer using the USB
cable (mini-B).
2Turn the printer on.
3
Set the Power switch to “w”.
“s” appears and then the menu is
displayed on the screen.
●
!
If the menu does not appear, check whether the USB mode
setting is
“®”.
●
!
Depending on the printer, some functions are disabled.
●
!
The camera cannot be used to specify printer settings such
as the paper size and print quality.
●
!
Please connect the AC power adapter AC-5VH (sold
separately) to your camera.
●
!
Use an xD-Picture Card that was formatted in the camera.
1Set the Power switch to “w” to turn the camera
on.
2Select “®” in “USB MODE” in the “SET-UP”
menu (➡P.80). Set the Power switch to “OFF” to
turn the camera off.
●
!
Do not connect to a PC when the USB mode setting is set to
“
®”. See P.114 if you connect to PC by mistake.
1
01
02
4
1Press “a” or “b” to select “u PRINT DPOF”.
2Press the “MENU/OK” button.
●
!
When “d ” appears, the DPOF settings are
not specified.
●
!
To use DPOF printing, the DPOF settings must be specified
on FinePix S5100/FinePix S5500 beforehand (➡P.72).
●
!
Even when “WITH DATE” is specified in the DPOF settings,
the date is not inserted from printers that do not support date
printing.
01 02
When a printer that supports PictBridge is available, images can be printed by connecting the
camera directly to the PictBridge-compatible printer without using a PC.
●
!
In PictBridge function, images photographed on other than a camera may not be printed.
6.4
CONNECTING THE CAMERA DIRECTLY TO THE PRINTER
—
PictBridge FUNCTION
6.4.1
Specifying images for printing on the camera
6.3 USING FinePixViewer
Macintosh
5When the message appears, click the [OK] button.
Check your selection carefully since the process
cannot be cancelled once you click the [OK] button.
6Automatic uninstallation begins.
When uninstallation ends, click the [OK] button.
Mac OS 9.2
Mac OS X
■ Uninstalling FinePixViewer
Quit FinePixViewer. Then drag the installed FinePixViewer folder to the Trash and select “Empty
Trash” in the “Special” menu.
■ Uninstalling Exif Launcher, FinePixViewer
1After you have quit Exif Launcher in “Exif Launcher Settings” in the FinePixViewer “Settings”
menu, move the Exif Launcher file from the “Startup Items” folder in the System folder to the
Trash. Then select “Empty Trash” in the “Special” menu.
2After you have exited FinePixViewer, drag the installed FinePixViewer folder to the Trash. Then
click “Empty Trash” in the “Special” menu.
Continued


