


26 27
Using
the Camera
VIEWING YOUR IMAGES
(
PLAYBACK
)
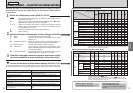
PLAYBACK MODE
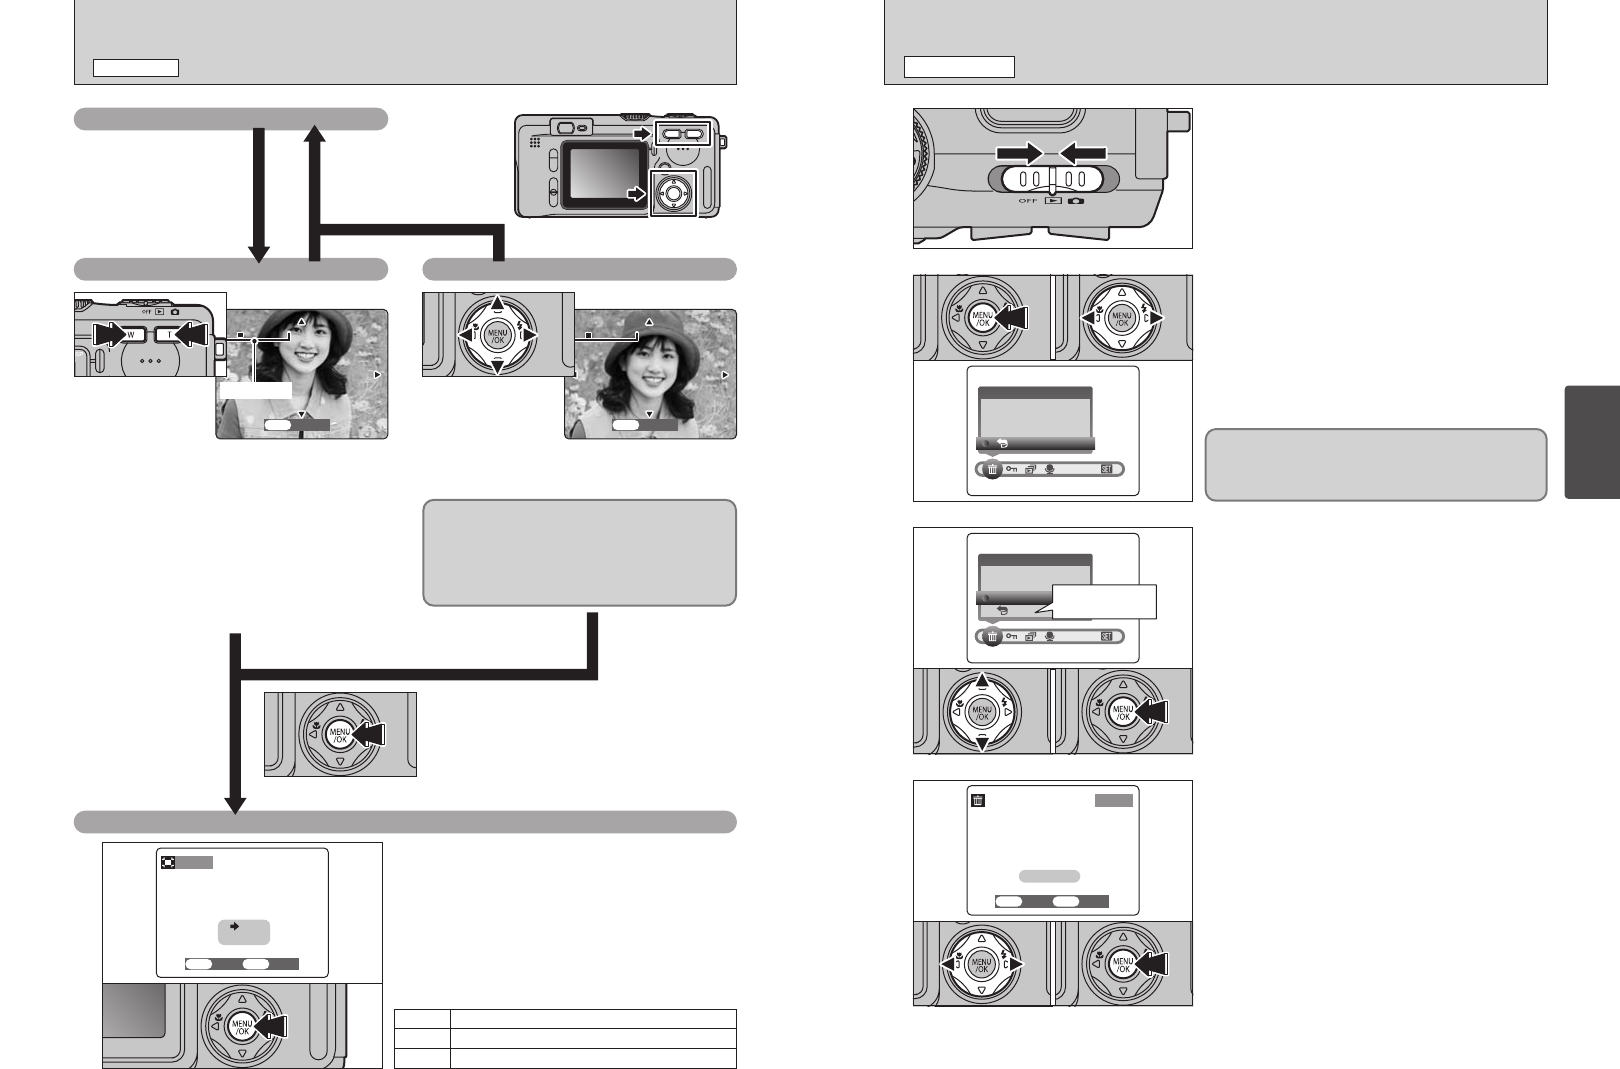
ERASING IMAGES
(
ERASE FRAME
)
PLAYBACK MODE
1
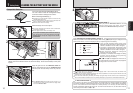
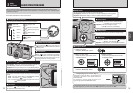
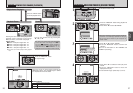
Set the Power switch to “w”.
2
3
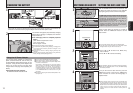
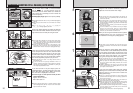
1Press the “MENU/OK” button during playback to
display the menu.
2Press “d” or “c” to select “o” ERASE.
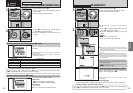
Note that mistakenly erased images cannot be
recovered. You should copy important files that you
do not want to be erased to your computer or
another media.
4
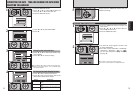
1Press “d” or “c” to select the frame (file) to be
erased.
2Press the “MENU/OK” button to erase the
displayed frame (file).
To erase another image, repeat steps 1 and 2.
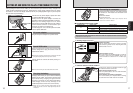
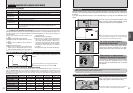
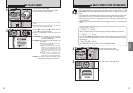
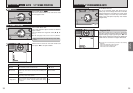
Playback Zoom
Pressing the zoom button during single-frame
playback zooms (enlarges) the still image.
When you do this, a zoom bar is displayed.
h Zoom scales
5 2832 × 2128 pixel images: Max. 18×
3 2048 × 1536 pixel images: Max. 13×
2 1600 × 1200 pixel images: Max. 10×
1 1280 × 960 pixel images: Max. 8×
●
!
You cannot use multi-frame playback during playback
zoom.
Panning
You can view another area by pressing “a”,
“b”, “d”, or “c”.
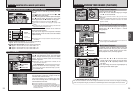
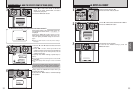
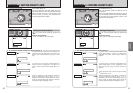
Trimming
Check the size of the saved image and press the
“MENU/OK” button. The cropped image is added
as a separate file in the final frame.
Press the “MENU/OK” button
to crop the image.
■ Image Sizes
The size of the saved image varies depending
on the zoom ratio. If the image size is
1 or
less, the “
ΩTRIMMING” display disappears
and you cannot save the image trimmed. For
CCD-RAW files, “
ΩTRIMMING” is not
displayed and trimmed images cannot be saved.
Zoom bar
Single-frame Playback
Press the “BACK” button
to cancel playback zoom.
3
Best for A5 to A4 size prints
2
Best for A6 to A5 size prints
1
Best for A6 size prints
01 02
01 02
Return to single-
frame playback
1Press “a” or “b” to select “FRAME”.
2Press the “MENU/OK” button to confirm the
selection.
See P.61 for information on “ALL FRAMES” and
“FORMAT” (initializing).
01 02