SKU 67139 For technical questions, please call 1-800-444-3353. Page 15
NETWORK SETUP
The 67139 allows you to view your
DVR through the Internet. This is
especially useful for remote security
monitoring.
Set up the unit using a TV monitor so
you can view the Main Menu during
set up. You will not need the TV moni-
tor once the set up is complete.
What you will need to set up The
DVR Online
You will need:
The DVR connected to a router.
The router connected to the Inter-
net.
A PC or laptop that is connected to
the same router as the DVR.
A compatible web browser (instruc-
tions were developed with a com-
mon web browser , other brows-
ers may not be compatible).
A genuine and fully updated version
of Windows XP or Vista.
Note: The computer and DVR need to be
connected to the same router. The
computer is required at the location
to view the DVR for initial set up, but
is not needed for remote access once
the unit is set up and working prop-
erly.
Connecting Your DVR to the
Router
Power off the DVR by removing the 1.
power cable from the back of the
DVR.
Connect the network cable (sold 2.
separately) to the back of the DVR in
the Ethernet port.
Connect the other end of the network 3.
cable to an available port on the
router. The port should be labeled 1-4
or 1-8.
Power on the DVR by reconnecting 4.
the power cable on the back of the
DVR.
A green light should light up on the 5.
back of the DVR at the Ethernet con-
nection and also at the port on the
router.
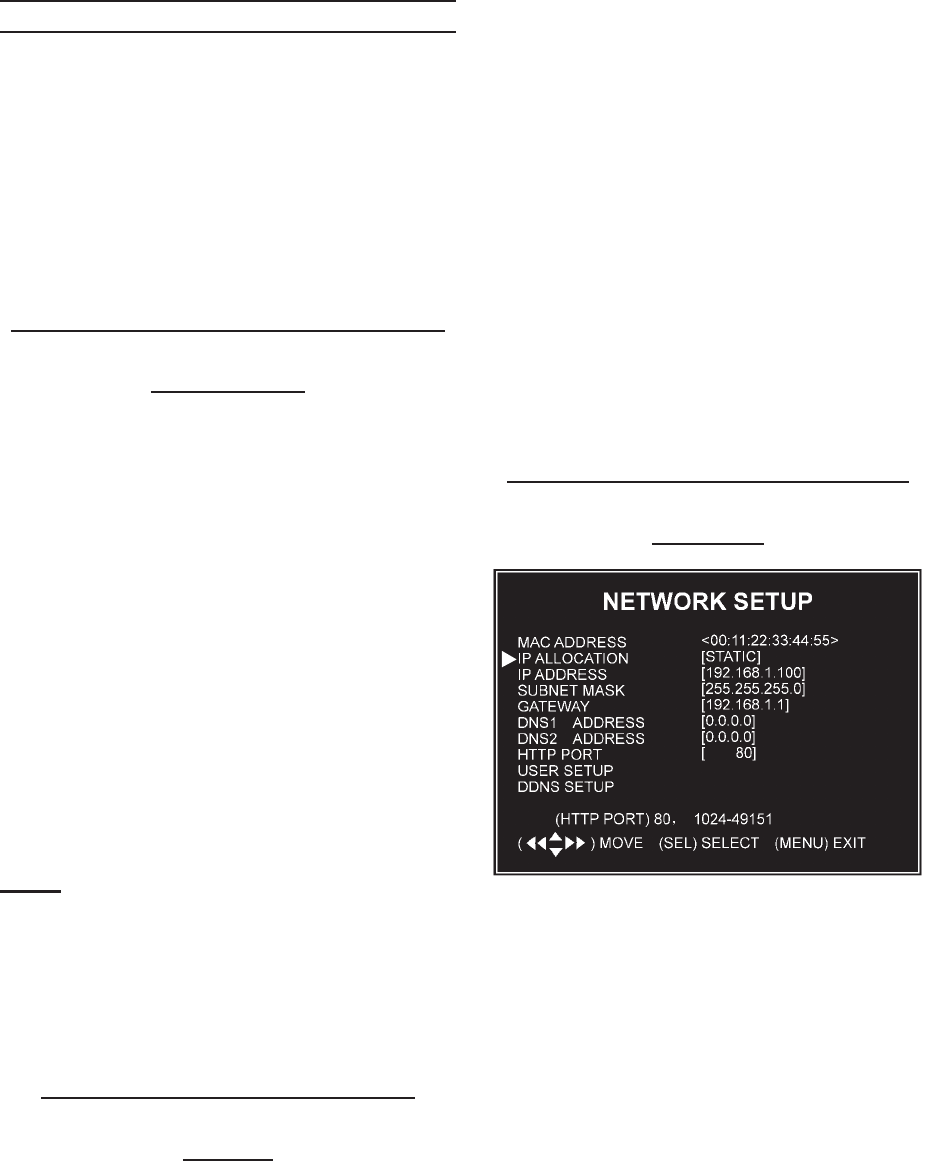
Finding your DVR’s Internal IP
Address
By default, the DVR IP mode is set to
Static. Changing the Static to DHCP,
will cause the DVR to automatically
retrieve an IP address from the con-
nected router. Unless your network
requires a static IP address, leave the
DVR IP Allocation set as DHCP.
To retrieve the address information:
Press Menu.a.
Move the cursor next to Network b.
Setup and press Select.
REV 10h


