SKU 67139 For technical questions, please call 1-800-444-3353. Page 22
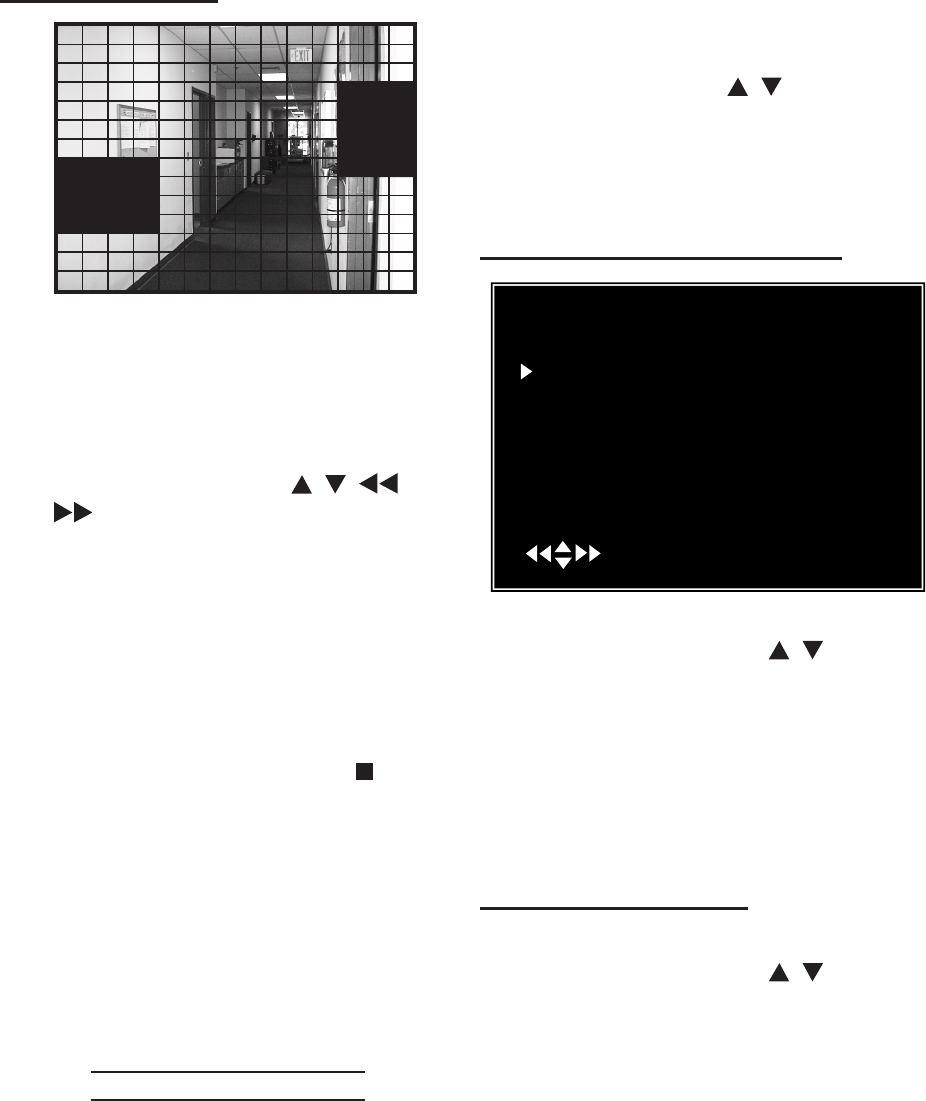
AREA SELECTION
This sub-menu shows the camera’s
view broken up into a grid. You
choose which sections of the image
detect motion.
To set individual blocks of the screen:1.
Press the arrow keys [a.
, , and
] to select a block in the grid
Press the [SEL] button to toggle be-b.
tween showing the image in the block
(motion is detected where the image
can be seen), or shading the image in
the block (motion will not be detected
in theses areas).
To disable all areas of the screen 2.
. The
screen will be completely shaded.
To have all of the camera’s viewing 3.
area detect motion, select QUAD. All
of the screen will be in view.
Press [MENU] to exit sub-menu. 4.
Press [MENU] twice more to go back 5.
to the Main Menu.
HARD DRIVE SETUP
The Hard Drive Setup sub-menu al-
lows you to set whether to overwrite
old video once the hard drive is full,
and it allows you to format the hard
drive.
It also shows hard drive size and how
much memory is used.
In the Main Menu, press the up or 1.
down arrow keys [
, ] to select
“Hard Drive Setup”.
Press [SEL] to enter the Hard Drive 2.
Setup sub-menu.
OVERWRITE ENABLE/DISABLE
Hard Drive Setup
WRITE ENABLED [
MAXT STM250310AS
MASTER HDD SIZE 250203MB
MASTER HDD USED 124931MB 50%
T
SLAVE HDD SIZE N/A
SLAVE HDD USED
N/A
SLAVT
( ) (SEL)SELECT (MENU)EXIT
1. In the Hard Drive Setup sub-menu,
press the arrow keys [ , ] to select
Press [SEL] to switch between the 2.
video when the hard drive is full, and
the hard drive is full.
MASTER HDD FORMAT
In the Hard Drive Setup sub-menu, 1.
press the arrow keys [ , ] to select
“Master HDD Format”.
Press [SEL] to Format the hard drive. 2.
This will erase all recorded video
from the hard drive and will make the
hard drive readable by the DVR.
You will be prompted for a password 3.
before formatting. The default pass-
word is “111111”.
