SKU 67139 For technical questions, please call 1-800-444-3353. Page 16
Check that the “IP Allocation” is set c.
to DHCP.
Write down your IP address, sub-d.
net Mask, Gateway and HTTP Port
(default is 80). This information will
be used in the next few steps to view
the DVR on your computer and the
Internet.
Go to the User Setup menu and e.
write down the admin ID and admin
password. The default is “admin”
and “111111”.
Note: If your router does not support
DHCP, contact your network admin-
istrator to supply you with your IP
information. If the DVR needs to store
PPPoE (DSL/ADSL) settings, contact
your ISP (Internet Service Provider)
for the proper settings.
Preparing Your Computer for
Viewing the DVR
Installing Software
The Software CD includes a PC view-
er program for the DVR (DxClient
2.7.1). This program is for backing up
may also need to change the security
settings of the web browser.
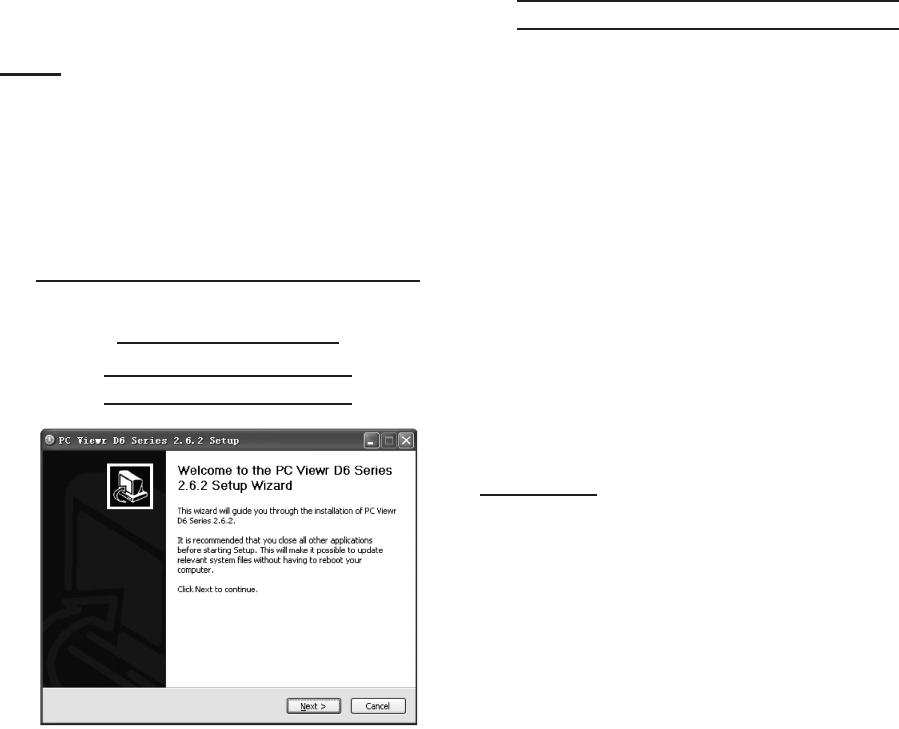
To install the PC Viewer program:
Insert Software CD into your com-1.
2.
Double click on “DxClient 2.7.1-3.
ENG”.
Run the “Install” program.4.
installation.
Adding DVR to Trusted Sites
Every computer that is accessing
to download and run ActiveX con-
trols. This is a one time change and
only needs to be made on the com-
puter that is accessing the DVR. This
can be done by changing your web
browser settings so it only affects
change the setting for all websites.
It is recommended that you only
change the setting for your trusted
sites.
CAUTION: Lowering the safety settings of
your computer can open your com-
puter up to viruses. Do this at your
own risk.
To add the DVR’s IP address to the
Trusted Sites on a common web
browser:
1.
2.
3.
Click on SECURITY Tab.4.
Click on TRUSTED SITES.5.
Click on SITES button.6.
REV 10h


