


55
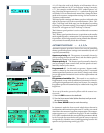
ON.OFF
(PROFILES/ESC)
�
�
1 2
3
4
5
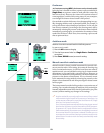
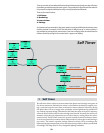
Profiles
The profiles feature allows rapid access to pre-determined combinations
of settings that increase the speed and security of workflow. One exam-
ple might be in a social situation where there might be a need for formal
outdoor portraiture followed by informal indoor handheld flash-assisted
wide-angle shots, both situations requiring very different settings in a
stressful environment. By predetermining the relevant settings required
beforehand for each situation, they can be saved collectively as a profile.
By calling up the profile, you can then be assured that all the settings are
correct at the press of one button.
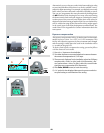
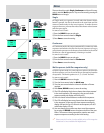
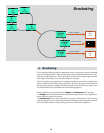
For example, you might choose – autofocus single, bracketing, pro-
grammed exposure, etc – for outdoors. Once set, you would click on the
red PROFILES button, select a profile name and press SAVE. A new name
can be entered for the new profile - ‘Outdoors’, for instance - and saved
again. New settings are made for the indoor shots changing to flash, Pv
setting, etc and the procedure repeated. By simply accessing ‘Outdoors’
or ‘Indoors’ in the profile list, all the relevant settings will be instantly and
correctly implemented to match the situation.
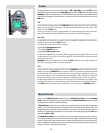
There are four profiles: Standard, Full auto, Studio and Fill flash. All
except Standard can be changed and renamed.
The pre-set profiles feature the following:
Standard: normal flash, autofocus (single), single drive, autoexposure
(aperture priority), average metering, user button -None
Full auto: normal flash, autofocus (single), single drive, programmed ex-
posure, centre weighted metering, user button -None
Studio: normal flash, manual focus, single drive, manual exposure, spot
metering. user button - AF drive
Fill flash: normal flash (-1.7EV), autofocus (single), single drive, autoex-
posure, average metering.
All user profiles can be restored to default values again simply by remov-
ing the battery and holding down the MENU and DRIVE buttons togeth-
er and while keeping them depressed, replace the battery. There will be an
audible signal that denotes the restoration.
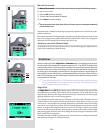
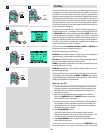
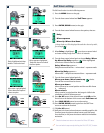
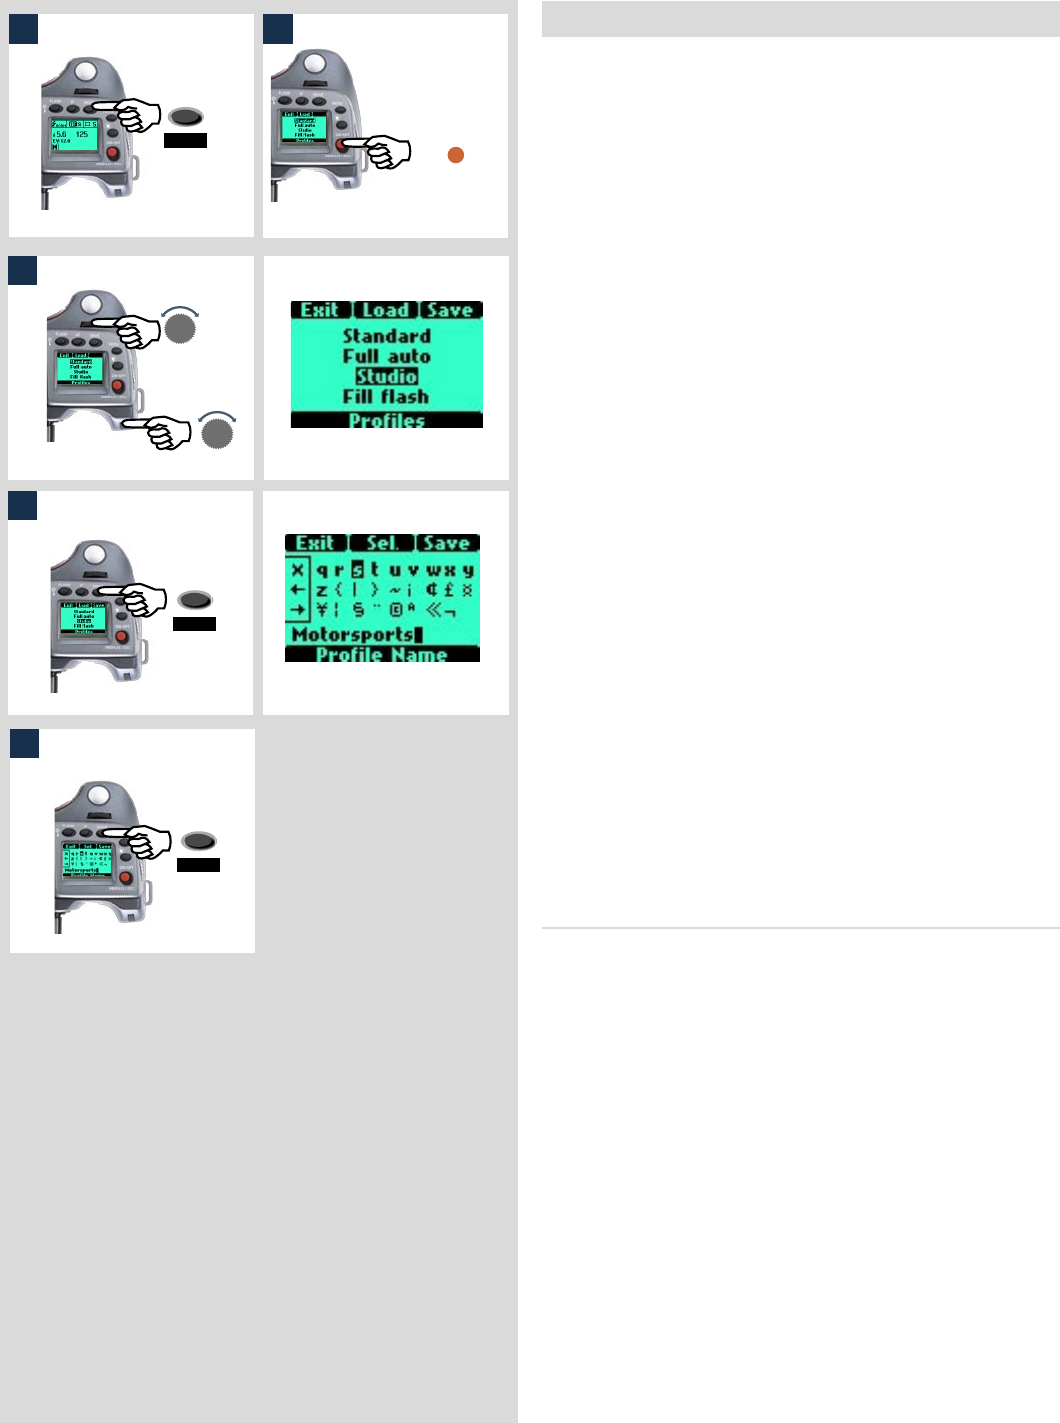
Making a profile
1) Activate the camera and go through the various settings (for
example, autofocus, aperture priority, fill flash exposure com-
pensation, etc.) you require for the particular purpose and
save them as you go.
2) When all the required settings have been made, click (not
press!) the PROFILES button (ON.OFF button) on the grip
and the profile screen will appear.
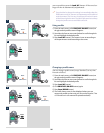
3) Use either the front or rear control wheel to scroll through the
list of profiles. Choose a profile name (except Standard). You
can either save the new settings under this name or change
the name you want to change.
4) Press Save (DRIVE button).
The Profile name screen is then displayed where you can
rename the profile to what suits you (see section Imprint / Text
4.2.2 further on in this manual for procedure details).
5) Press Save (DRIVE button) to keep the combination of set-
tings with the new name.
To use a profile from the main screen, press the PROFILES button
to reach the profiles screen again. Scroll down the list to the profile