


17
RECORDING
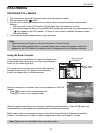
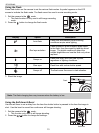
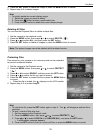
Using the Manual mode
You can manually set the shutter speed and aperture to achieve a particular effect.
NOTE: If the image would be underexposed or overexposed and correct exposure cannot be
obtained, press the shutter release button halfway, the exposure value display on the LCD
monitor turns red.
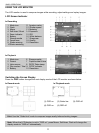
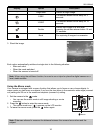
Setting the Resolution and Quality
You can select lower image resolution and quality to decrease the image size to capture more images.
Choose a suitable setting according to the desired image quality and purpose.
Resolution
Option Description
640
320
160
10M
3648x2736 - Suitable for printing large size paper.
3:2
640
320
160
3648x2432 - Printing in 3:2 ratio.
8M
640
320
160
3264x2448 - Suitable for printing normal size paper.
5M
640
320
160
2560x1920 - Suitable for printing on A4 paper.
640
320
160
3M
2048x1536 - Suitable for printing on A5 paper.
VGA
640
320
160
640x480 - Suitable for attaching to e-mails or using in websites.
Quality
Option Description
640
320
160
Stores the image with an extremely low compression.
640
320
160
Stores the image with a low compression.
640
320
160
Stores the image with normal compression.
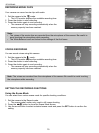
Setting the Movie Size
Movie clips can be shot with different size.
Option Description
640
640
640
320
160
640x480 - Suitable for viewing on TV.
640
320
320
320
160
320x240 - Suitable for viewing on PC.
640
320
160
160
160
160x128 - Suitable for attaching to e-mails or using in websites.
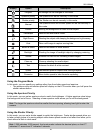
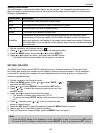
Setting the Stabilizer
Use this function to create smooth, gliding shots when you’re walking or moving around, reducing the
camera shakes. It only works when the memory card has been inserted and the camera is ensured to
set in video mode.
Option Description
Off Turn off the frame stabilizer.
On
Helps you to prevent camera shake. When you turn on this function, the frame range
becomes narrow and preview frames may not display smoothly.