


28
MAKING CONNECTIONS
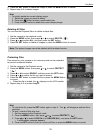
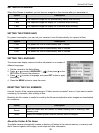
FORMATTING THE MEMORY
To erase all data stored in the memory card if you are using a card, or all data stored in the internal
memory if there is no card inserted.
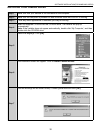
1. Set the camera to the Setup Menu .
2. Press
640
320
160
or
640
320
160
to select FORMAT (
640
320
160
) then press
640
320
160
or the SET button.
3. Press the SET button to start format, or press the MENU button to cancel it.
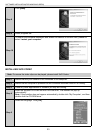
• A “BUSY...PLEASE WAIT” message displays and the memory card is starting format.
• A “COMPLETED” message displays when finish formatting.
Note: All data will be deleted including protected ones. Be sure to download important files to
your computer before formatting.
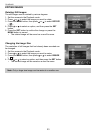
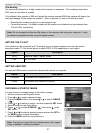
RESETTING TO DEFAULT SETTINGS
You can reset the entire menu and button operation settings to initial default.
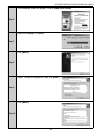
1. Set the camera to the Setup Menu.
2. Press
640
320
160
or
640
320
160
to select RESET ALL (
640
320
160
) then press
640
320
160
or the SET button to launch the submenu.
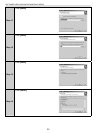
3. Press
640
320
160
or
640
320
160
to select YES then press the SET button to reset all settings.
Note:
The following settings do not change with this procedure:
• Date & Time setting
• Language setting
• TV out setting
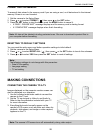
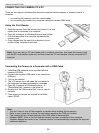
MAKING CONNECTIONS
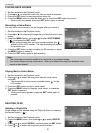
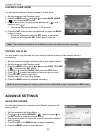
CONNECTING THE CAMERA TO A TV
Images displayed on the camera’s monitor screen can
also be displayed on a television.
1. Use the included audio/video cable to connect the
camera to the TV set.
2. Set the TV input signal to Video In and Audio In.
Refer to the documentation included with your TV
for more information.
3. Everything that would normally appear on the
camera’s LCD screen, such as photo and video clip
playback, slide shows, and image or video capture,
appears on the TV.
Note: The camera LCD screen turns off automatically during video output.