8 EN
MAJOR FEATURES
Cassettes marked and can be used with this camcorder.
Integrated Auto Light
(
੬ pg. 27)
Program AE with Special
Effects (
੬ pg. 29)
Ⅲ Electronic Fog Filter
Ⅲ ND Effect
Ⅲ Sepia
Ⅲ Twilight
Ⅲ Sports
Ⅲ Nega/Posi
Ⅲ 1/2000 sec. High Speed Shutter
Super VHS-ET (੬ pg. 15)
Digital Still Camera Built-in
(PC communication capable)
(
੬ pg. 20 – 22, 44 – 51)
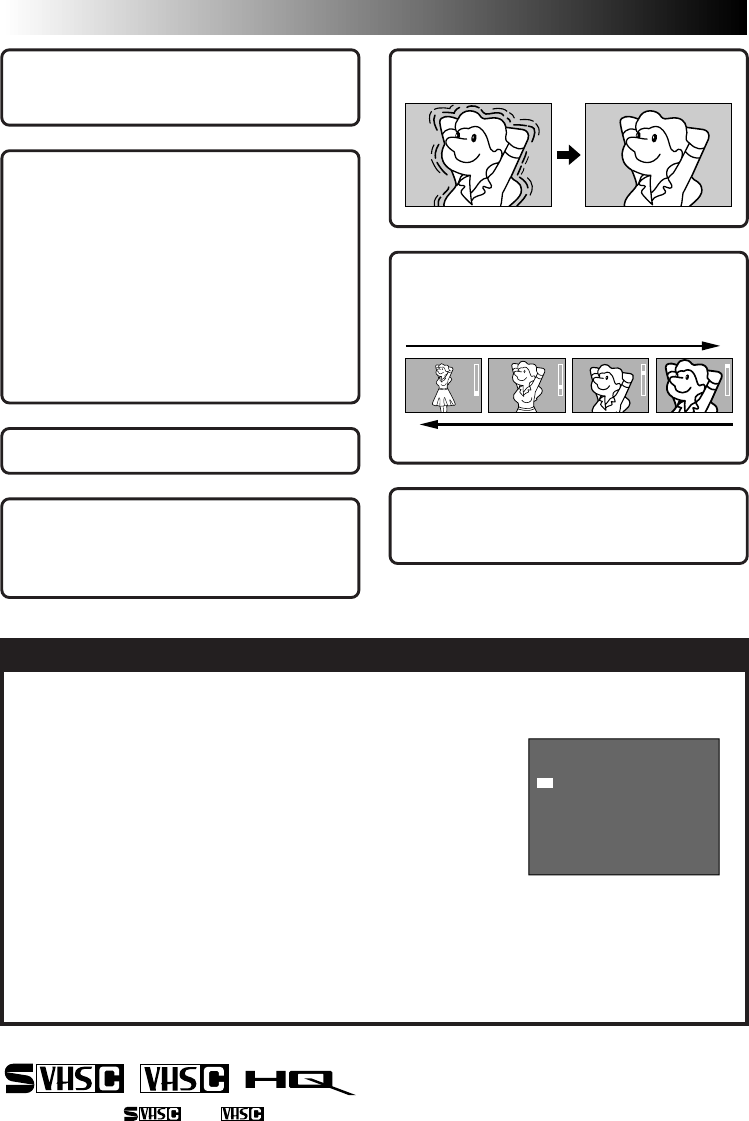
Picture Stabilizer (੬ pg. 25)
Digital Hyper Zoom
(
੬ pg. 25)
Zoom in
Zoom out
TBC (Time Base Corrector)
(
੬ pg. 40)
NOTES about Automatic Demonstration
Automatic Demonstration takes place when ”DEMO MODE” is set to ”ON”
(factory-preset).
Ⅲ
Available when the System Select Switch is set to “VIDEO” and the
Power Switch is set to ”AUTO” or ”PRO.”.
Ⅲ
Operating the Power Zoom Lever during the demonstration stops the
demonstration temporarily. If the Power Zoom Lever is not moved for
more than 1 minute after that, the demonstration will resume.
Ⅲ
To cancel Automatic Demonstration, set the Power Switch to “PRO.”
and press MENU while the demo is in progress. This takes you directly
to the demo mode’s Setting Menu (so you will not have to go through
the main Menu Screen.) Rotate the Select Wheel to select “OFF” and
press it. The Menu Screen appears with the highlight bar on “RETURN”.
Press it to close the Menu Screen.
* ”DEMO MODE” remains ”ON” even if the camcorder power is turned off.
NOTE:
When a tape whose Erase Protection tab is in the position that allows recording is loaded in the
camcorder, demonstration is not available.
O
O
E
F
N
X
F
IT
DEMO MODE
Setting Menu


