


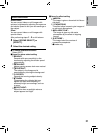

30
This camcorder is designed to be used with
high-definition or NTSC-type color television
signals. It cannot be used with a television of
a different standard.
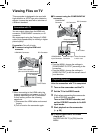
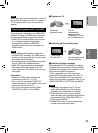
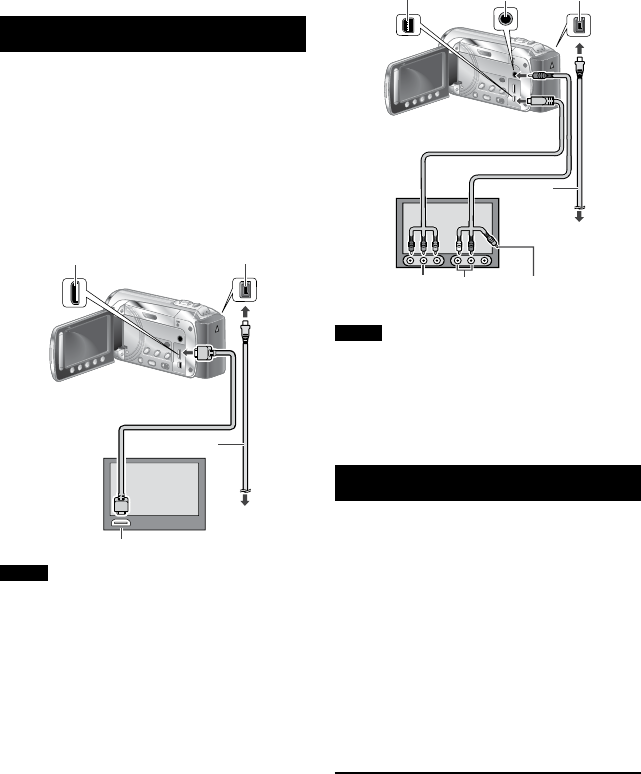
Connection with TV
You can output videos from the HDMI mini
connector, COMPONENT connector, or AV
connector.
We recommend using the Category 2 HDMI
cable (High Speed cable) for viewing in higher
picture quality.
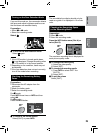
Preparation: Turn off all units.
To connect using the HDMI mini
connector
NOTE
•
When connecting to the HDMI cable, the
image or sound may not appear on the TV
properly depending on the TV connected.
In such cases, perform the following
operations.
1) Disconnect the HDMI cable and connect
it again.
2) Turn off and on the camcorder again.
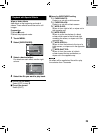
To connect using the COMPONENT/AV
connector
NOTE
• From the MENU, change the settings in
[COMPONENT OUTPUT] according to the
connection.
• From the MENU, change the settings in
[VIDEO OUTPUT] to suit the screen size of
your television.
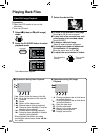
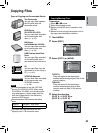
Playback Operation
After the connection with TV is completed
1
Turn on the camcorder and the TV.
2
Set the TV to its VIDEO mode.
3
(Only when connecting the camcorder
to the VCR/DVD recorder)
Turn on the VCR/DVD recorder, and
set the VCR/DVD recorder to its AUX
input mode.
4
Start playback on the camcorder.
(Z p. 28)
To display camcorder’s on-screen
display on TV
Set [DISPLAY ON TV] to [ON] from the
MENU.
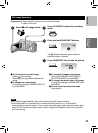
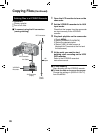
Viewing Files on TV
HDMI Mini Connector
AC Adapter
DC Connector
HDMI Connector
HDMI Cable (optional)
(Mini to full-sized HDMI cable)
To AC Outlet
AV Cable
AC Adapter
To AC Outlet
Video Connector
is not in use.
AV Connector
Component Cable
DC Connector
COMPONENT
Connector
Audio L/R Input
Connector
COMPONENT
Input Connector
USING WITH TV