


18
Setup
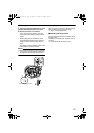
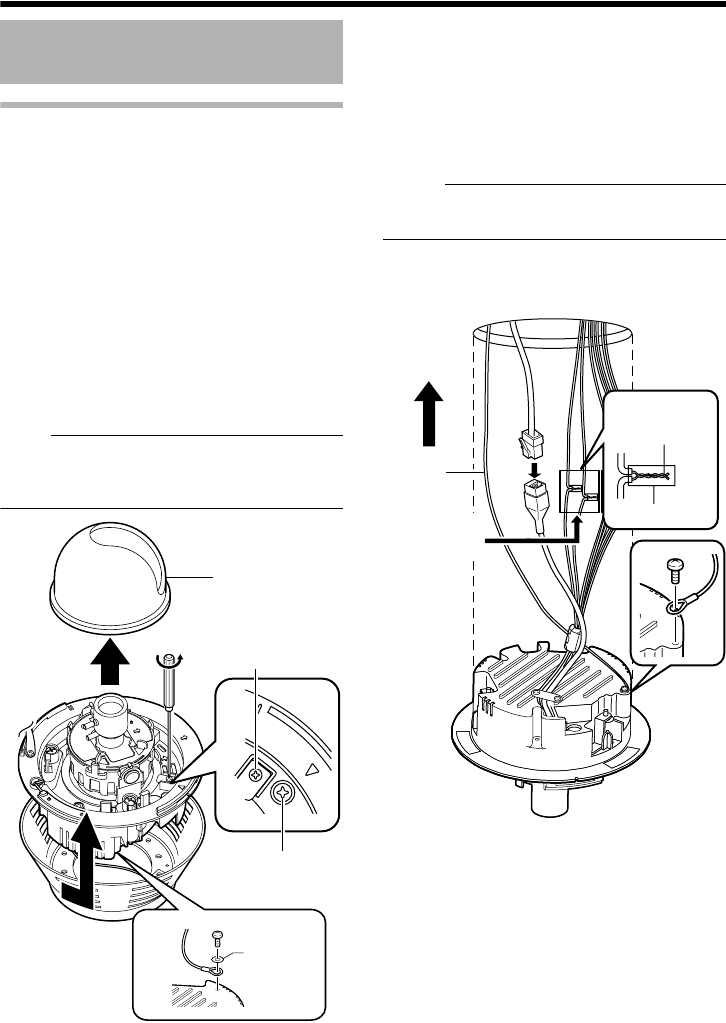
Mounting on a ceiling (continued)
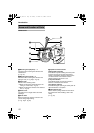
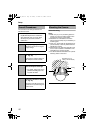
4.Remove the inner dome.
The inner dome is secured by 3 clips. Remove
the inner dome from the clips.
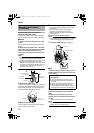
5.Remove the outer case.
(The outer case is not used for this mounting
method.)
A Loosen the camera fastening screws with a
screwdriver.
B Turn the camera in the anti-clockwise
direction and remove the outer case.
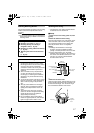
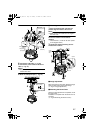
6.Remove the fall-prevention wire.
Remove the fall-prevention wire that is attached
to the camera unit.
7.Loosen the pan fastening screw.
Note:
● The lens section may be damaged if you
operate it without loosening the pan fastening
screw.
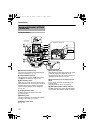
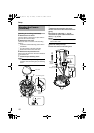
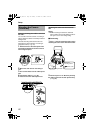
Ⅵ Connection
1.Mount the fall-prevention wire on the
camera. This wire connects the camera to the
ceiling.
2.Connect the LAN cable. (A Pg. 26)
3.Connect the power cable and the alarm
cable. (A Pg. 24, 26)
Memo:
● The power cable must not be connected
when PoE is used.
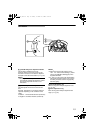
4.Wind the waterproof tape.
5.Insert the camera in the ceiling hole.
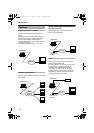
Mounting the Camera
(continued)
B
A
4
6
5
5
7
Camera
Fastening
Screw
Pan fastening screw
Washer
Inner dome
1
3
2
3
4
Solder or crimp
Insulation tape
Fall-
prevention
wire(not
supplied)
Wind the
waterproof tape.
VN-C215_EN.book Page 18 Monday, November 27, 2006 9:52 AM