


5-26 April 29, 2004
Configuring your Camera
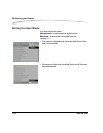
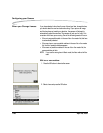
Using the Self Timer
Use the Self Timer when you want to be in a photograph. Use a tripod or
place the camera on a stable surface before using the Self Timer. The Self
Timer allows you 10 seconds to move into position.
If you are using autofocus (see page 8-1), do not stand in front of the lens
when setting the Self Timer.
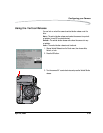
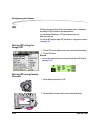
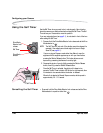
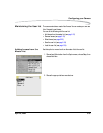
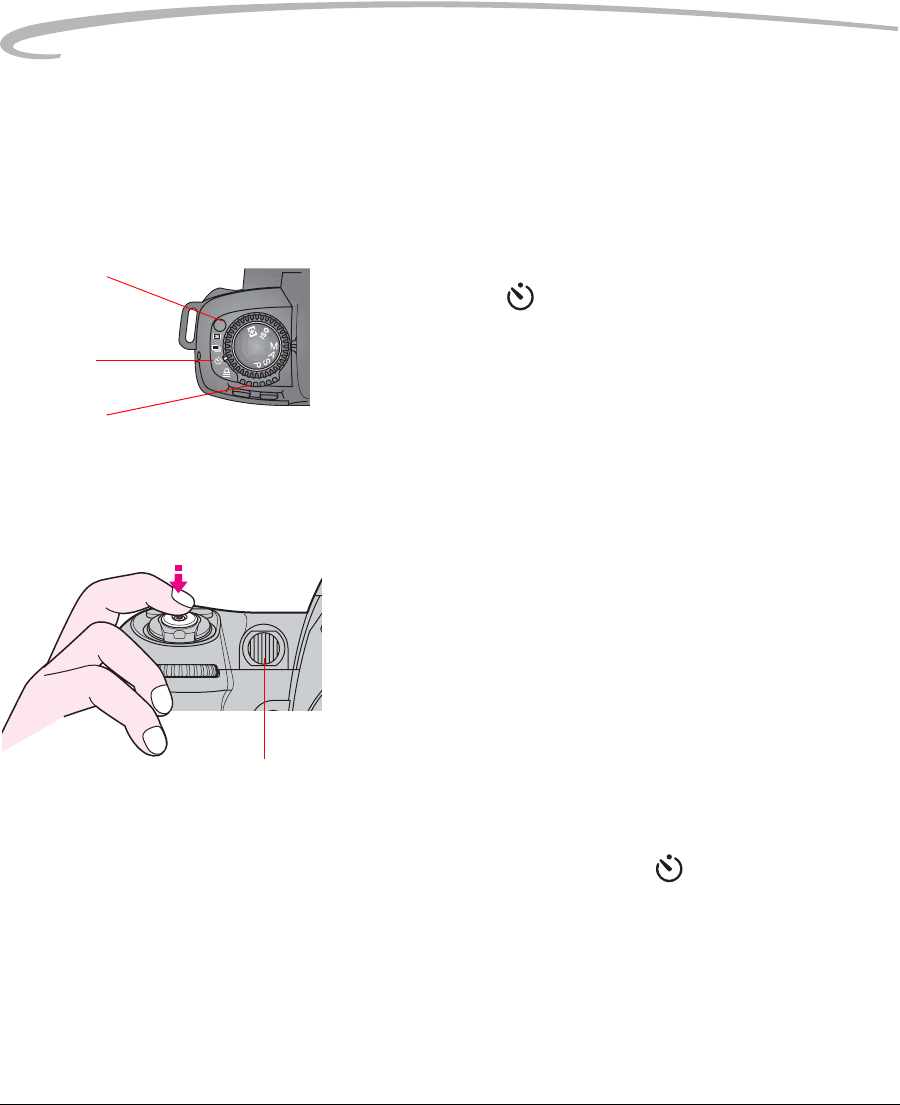
1. Press and hold the Drive Mode Selector Lock release and set the Drive
Mode selector to .
NOTE: The Self Timer will not work if the shutter cannot be released, for
example, if the subject cannot be brought into focus in Single
Servo AF (see page 8-1).
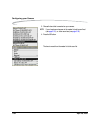
If you are using an Exposure mode other than Manual, cover the
eyepiece with the supplied eyepiece cap or with your hand before
pressing the Shutter Release button. This helps achieve correct
exposure by preventing interference from stray light.
2. Compose the picture, focus by lightly pressing the Shutter Release
button, then fully press the Shutter Release button.
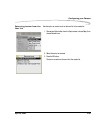
Once the Self Timer is activated, the shutter will release in ten
seconds. The Self Timer indicator LED blinks for eight seconds, then
illuminates for two seconds before the shutter is released.
When buLb is selected in Manual Exposure mode, shutter speed is
approximately 1/8 - 1/15 second.
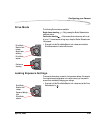
Cancelling the Self Timer • Press and hold the Drive Mode Selector Lock release and set the Drive
Mode selector to a position other than .
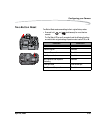
Drive Mode
Selector Lock
release
Drive Mode
selector
Self Timer
Self Timer LED