


46 RECORDING – ADVANCED OPERATION
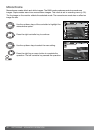
Approximately 30 seconds of audio can be attached to a still image. This function is activated with
the recording or playback menu. See the navigating the recording menu or playback menu sections
on page 35 or 56.
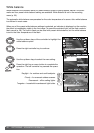
Add audio recording
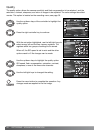
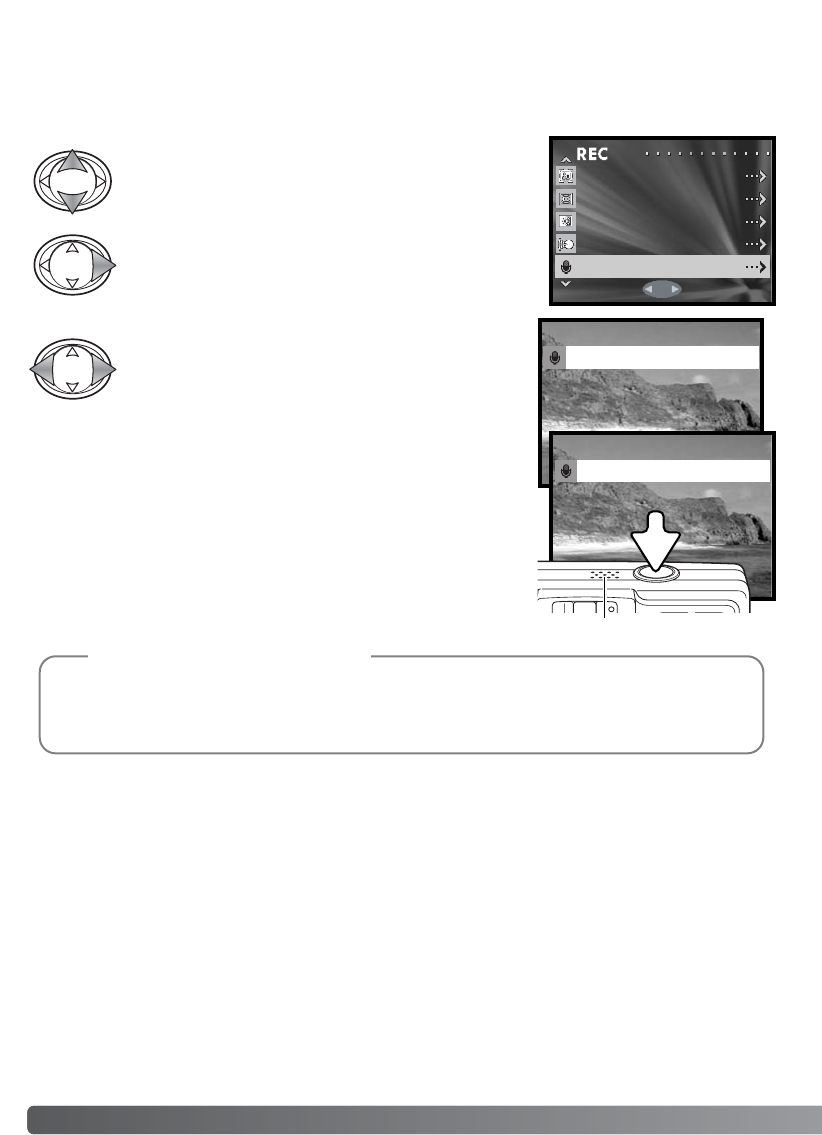
Use the up/down keys of the controller to highlight
the add-rec option on the recording or playback
menu.
Press the right controller key to continue.
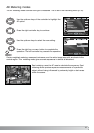
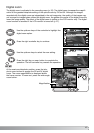
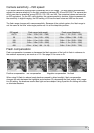
Press the shutter-release button to start recording; the recording
time is displayed on the monitor. The recording will stop when the
shutter-release button is pressed again or the recording time has
elapsed.
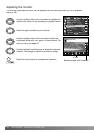
The setup menu allows the add audio recording function to acti-
vate automatically each time a still image is recorded. See page
76.
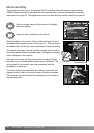
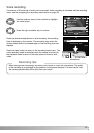
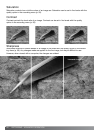
When making audio recordings, be careful not to touch or cover the microphone. The quality
of the recording is proportional to the subject to microphone distance. For best results, hold
the camera approximately 20cm (8in) from your mouth.
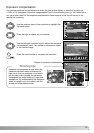
Recording tips
MONOCHROME
MONITOR ADJ.
DIGITAL ZOOM
ADD REC
VOICE
RETURN SELECT
ADD REC
SD
SHUTTER SW : START
00:00
ADD REC
SD
SHUTTER SW : STOP
00:05
Microphone
Use the left/right controller keys to display the image
to which to add the audio track. If an audio track is
already attached or the image is protected, a record-
ing cannot be made. Press the menu button to return
to the recording menu.