Installing the Camera
13
Installing the Camera
Before you install the camera, carefully plan where
and how it will be positioned, and where you will
route the cable that connects the camera to the
power adapter.
• Before starting permanent installation,
verify its performance by observing the
image on a monitor when camera is
positioned in the same location/position
where it will be permanently installed
Installation Warnings:
• Aim the Cameras to best optimize the
viewing area: Select a location for the
camera that provides a clear view of the
area you want to monitor, which is free
from dust, and is not in line-of-sight to a
strong light source or direct sunlight
• Avoid installing the cameras where there
are thick walls or obstructions between the
Cameras and the Receiver
• Select a location for the camera that has
an ambient temperature between
14°F~122°F (-10°C ~ 50°C)
To install the camera:
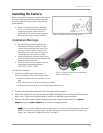
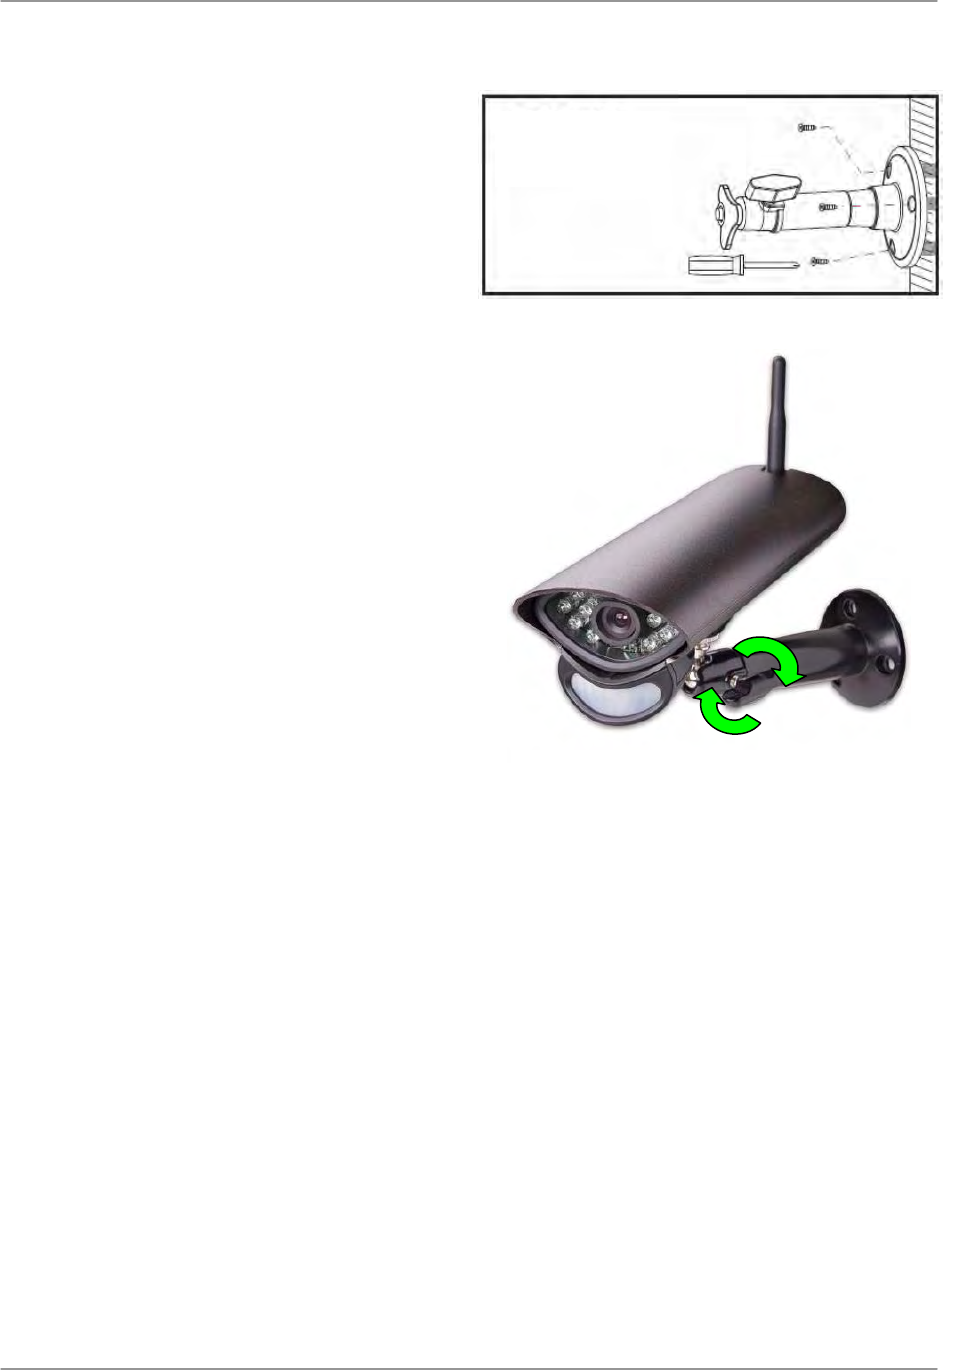
1. Use the included mounting screws to
mount the stand to the mounting surface:
• Mark the position of the screw holes on the
wall
• Drill holes and insert the drywall plugs as needed
• Firmly attach the stand to the wall using the provided screws
2. Screw on the wireless antenna to the rear panel of the camera.
3. Attach the camera to the mounting stand. Adjust the angle of the camera until the desired
view is set. Tighten the thumbscrews to secure the desired camera position.
4. Connect the black power cable extending from the camera to the cable of the power
adapter; plug the power adapter to an outlet or surge protector.
NOTE: You can install additional cameras (maximum of 4 cameras). When adding cameras that
were not included in the original box, you will need to pair the cameras with the receiver. For
details, see “Appendix C: Adding Cameras” on page 49.
Fi
g
ure 2.0 Attach stand to mountin
g
surface
Figure 2.1 Attach the camera to the stand and
tighten thumbscrews


