


Appendix C: Adding Cameras
57
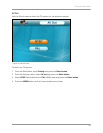
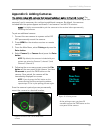
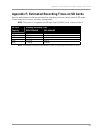
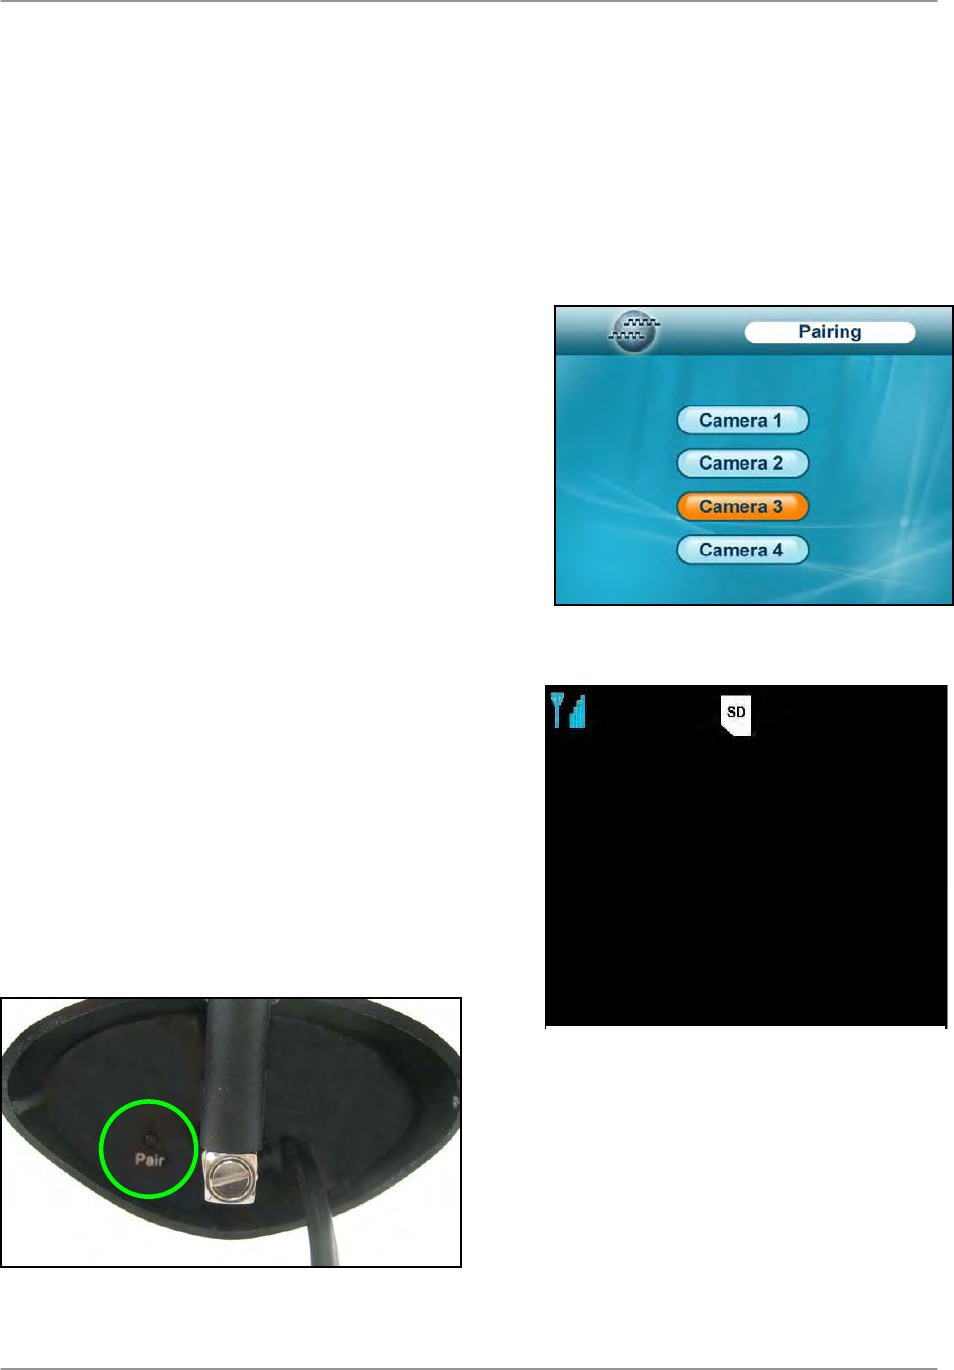
Figure 15.0 Pairing menu
Appendix C: Adding Cameras
The system comes with cameras that have already been paired to the LCD receiver. The
Pairing Function assigns each camera to a different channel on the wireless receiver (up to four
cameras), and is necessary for configuring additional cameras. By default, the cameras
included with the system appear as camera 1 and camera 2 on the LCD receiver.
NOTE: It is highly recommended to pair the cameras to the receiver before permanently
mounting the cameras.
To pair an additional camera:
1. Connect the new camera to a power outlet. DO
NOT permanently mount the camera.
2. Press MENU on the wireless receiver or remote
control.
3. From the Main Menu, select Pairing and press the
Enter button.
4. Select Camera 3, or Camera 4 and press the Enter
button.
NOTE: By default, the cameras included with your
system are paired as Camera 1 (channel 1) and
Camera 2 (channel 2).
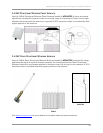
5. Following the on-screen prompt, press the Pair
button on the rear panel of the camera. You have
30 seconds to press the PAIR button on the
camera. Once paired, the camera will be
immediately displayed on-screen.
NOTE: If you do press the Pair button on the
camera during the 30 second pairing window,
repeat steps 2~5 to try the pairing process again.
Once the camera is paired you can permanently
mount the camera to a desired location.
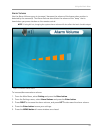
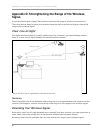
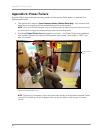
Figure 15.1 Pairing screen
Please Press
Pair Key on
Camera side
30
C
C
a
a
m
m
2
2
At the pairing screen, you have 30
seconds to press the PAIR button on the
rear panel of the camera.
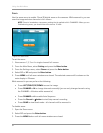
Figure 15.2 Press “Pair” on the back of the
camera