46
Connections
9
Remove the camera from the system
When all marked pictures have been trans-
ferred, the message “TRANSFER COMPLETED”
will be displayed in the camera monitor. Be-
fore disconnecting the cable or turning the cam-
era off, you must remove the camera from the
system as follows:
7
Press the ( ) button
When the camera is connected and turned on,
Nikon View 5 will start automatically (see the
reference CD for details). Once Nikon View 5
has started, press the ( ) button to be-
gin copying the pictures selected in Step 2 to
the computer. The message “PREPARING TO
TRANSFER” will appear in the camera monitor.
8
Wait for the pictures to be transferred to the computer
While pictures being copied to the computer,
the camera monitor will show “TRANSFERRING
IMAGE TO COMPUTER.” Do not turn the cam-
era off, remove the memory card, or discon-
nect the cable while transfer is in progress.
TRANSFERRING
IMAGE TO
COMPUTER
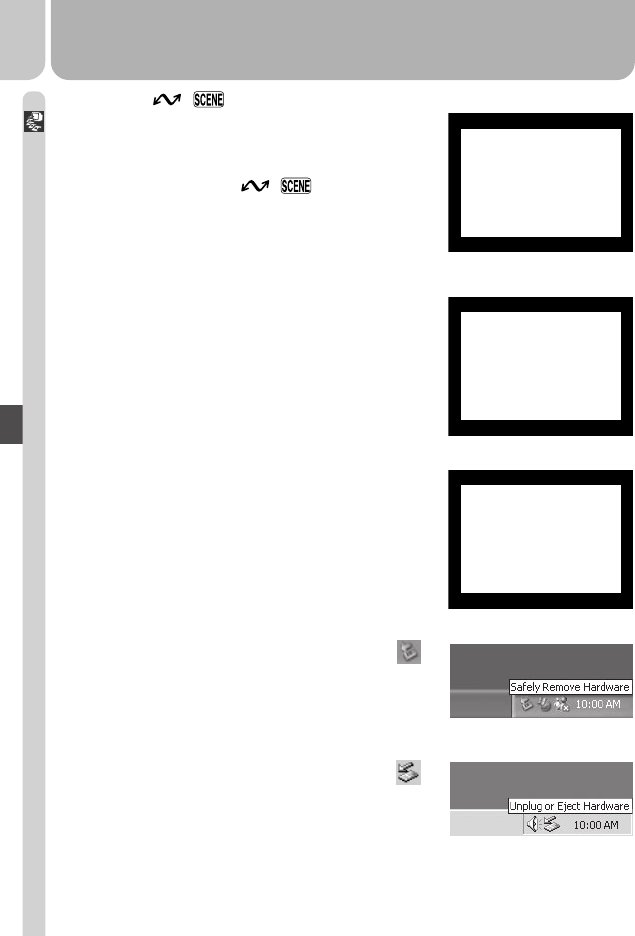
Windows XP
Click the “Safely Remove Hardware” icon ( )
in the taskbar and select Safely remove USB
Mass Storage Device from the menu that ap-
pears.
Windows 2000 Professional
Click the “Unplug or Eject Hardware” icon ( )
in the taskbar and select Stop USB Mass Stor-
age Device from the menu that appears.
