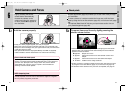
Lightly press the shutter release button to activate
the exposure meter.
1716
Install Batteries and Check Battery Power
BASIC OPERATION
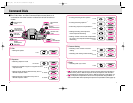
Use four 1.5V AA-type alkaline-
manganese or lithium batteries.
(See page 88 for other power
sources.)
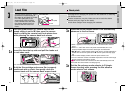
1
1.1
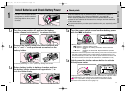
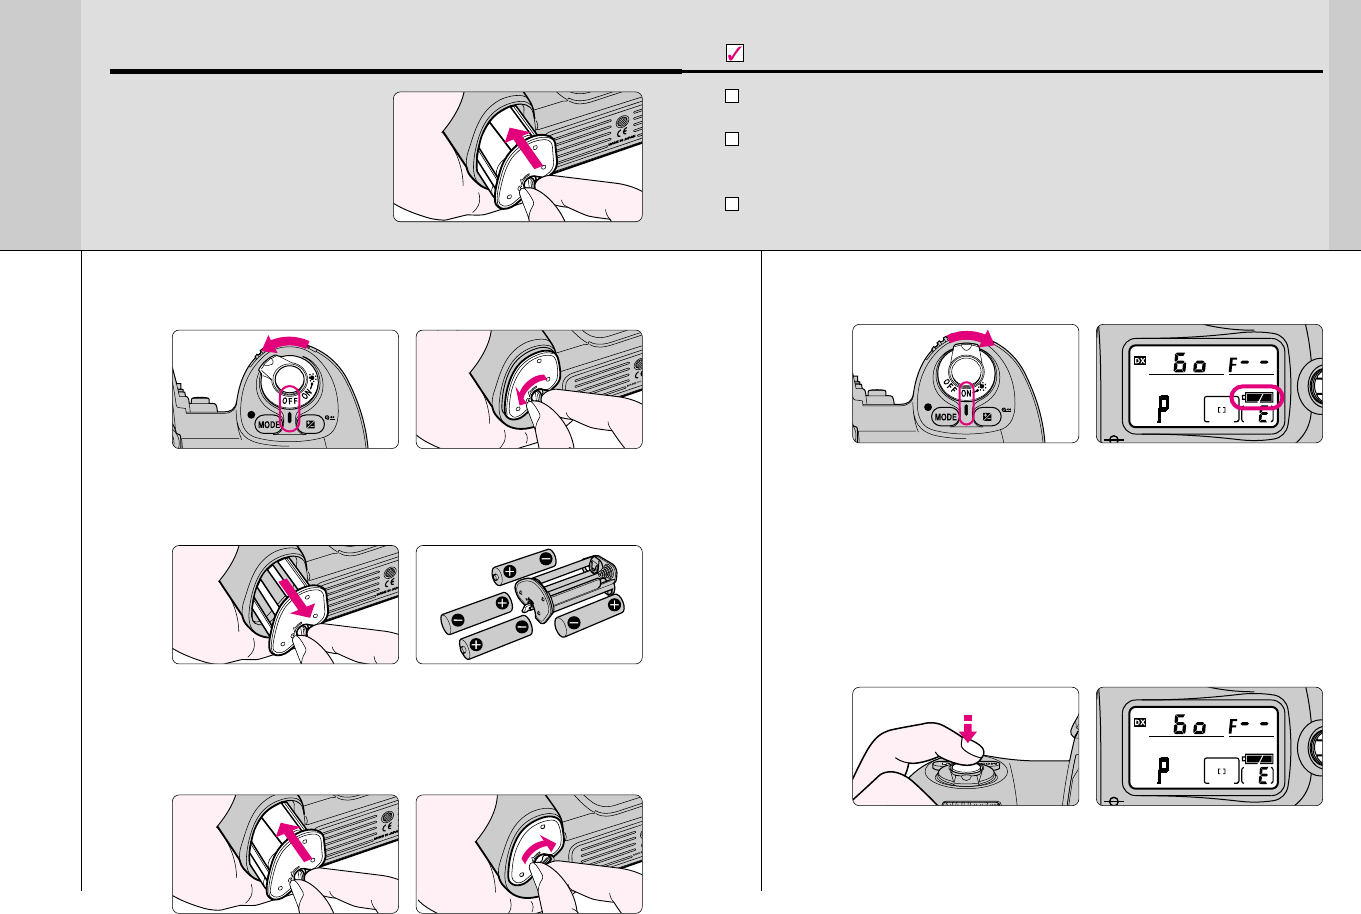
Turn the power switch off, and turn the battery
holder release knob toward ◊ to release the lock.
1.2
•Incorrect positioning of + and – poles may damage the camera.
Remove the battery holder and insert batteries with
the “+” and “–” ends positioned as marked on the
battery holder.
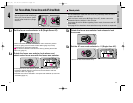
1.4
Turn the power switch on and confirm battery power
with the N indication.
•Battery power
N appears: Sufficient battery power.
M appears: Batteries are nearing exhaustion. Have a fresh set
ready.
M blinks: Batteries are exhausted. Replace batteries. (Shutter
locks.)
• Indications other than exposure mode, battery power, frame counter, focus
area and Custom Setting (when Custom Setting is selected) in the LCD
panel automatically turn off 6 sec. after the power switch is turned on and
the camera remains unused. (All the indications in viewfinder turn off.)
Keep the batteries out of children’s reach. If swallowed, contact a
doctor immediately. (For “Notes on Batteries”, see page 98.)
When replacing batteries, be sure to turn the power switch off and
replace all four batteries at the same time. Always use fresh batteries
of the same brand.
We recommend that you take spare batteries with you, especially when
traveling.
Check points
•Lightly pressing the shutter release button reactivates the exposure meter
and indications in the LCD panel and viewfinder for approx. 6 sec.
· 15: It is possible to change the duration of inactive time before
automatic meter switch-off occurs (page. 74).
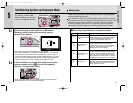
1.5
1.3
Return battery holder to battery chamber and turn
the battery holder release knob opposite to ◊ to
lock the holder firmly.
P500 (E) 02.12.27 5:48 PM Page 16


