


113
EN
8
Printing
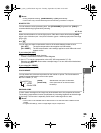
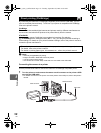
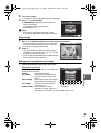
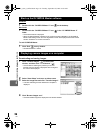
2 Turn on the camera.
• The selection screen for the USB connection is displayed.
3 Use fg to select [PRINT].
• [ONE MOMENT] is displayed and the camera and
printer are connected.
Go to “Making prints using different print
options” (gP. 113).
x Notes
• If the screen is not displayed after a few minutes,
disconnect the USB Cable and start again from Step 1.
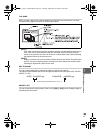
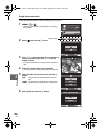
Easy printing
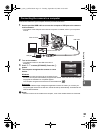
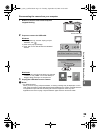
1 Use hi to display the pictures you want to print on the camera.
• Display the image you want to print on the camera and
connect the camera with a printer using a USB cable.
The screen on the right appears shortly.
2 Press i.
• The picture selection screen appears when printing is
completed. To print another picture, use hi to select
the image and press the i button.
• To exit, unplug the USB cable from the camera while the
picture selection screen is displayed.
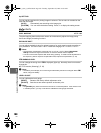
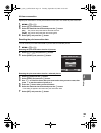
Making prints using different print options
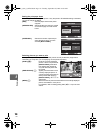
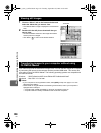
1 Follow the operation guide to set a print option.
Selecting the print mode
Select the type of printing (print mode). The available print
modes are as shown below.
[PRINT] Prints selected pictures.
[ALL PRINT] Prints all the pictures stored in the
card and makes one print for each
picture.
[MULTI PRINT] Prints multiple copies of one image in
separate frames on a single sheet.
[ALL INDEX] Prints an index of all the pictures
stored in the card.
[PRINT ORDER] Prints according to the print
reservation you made. If there is no
picture with print reservation, this is not available. (gP. 110)
MTP
USB
SET
STORAGE
PRINT
EXIT
PC / CUSTOM PRINT
EASY PRINT START
PRINT
ALL PRINT
MULTI PRINT
ALL INDEX
PRINT ORDER
PRINT MODE SELECT
EXIT SET
Follow the operation guide
displayed here.
s0026_e_00_0_unified.book Page 113 Tuesday, September 29, 2009 10:30 AM