


EN
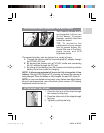
TAKING BASIC PICTURES
1. Make sure the camera is set to Record Mode (that is, in Camera
Capture Mode).
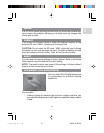
2. Frame and view your subject on the LCD.
3. Press the SHUTTER RELEASE button. The image taken is
displayed on the LCD for approximately a second (Auto Review).
4. Once the Auto Review has finished, you may proceed to take
the next picture.
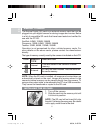
NOTE: The camera’s auto-focus assist light automatically turns on in
dark environments where more lighting is needed for picture taking.
The right green LED will light up and blink slowly during auto-focus,
and stop blinking once auto-focus is ready. The right green LED will
blink quickly to indicate auto-focus is not ready.
NOTE: When memory is full, no more images can be stored. The
camera will beep and the words "Internal Memory Full" or "Memory
Card Full" will appear on the LCD.
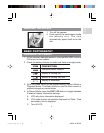
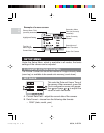
DISPLAYING OR DELETING LAST IMAGE TAKEN
1. Set the camera to Playback Mode.
2. Use
and press
or
to view the last image taken.
3. You may choose to delete the image by pressing
and DISP /
OK to confirm deletion. The Trash icon is shown on the LCD.
4. Press DISP / OK again to return to shooting.
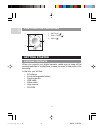
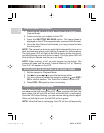
SELECTING A FLASH MODE
While in Record Mode, use
and press
to turn on the camera flash
and observe the flash icon on the LCD. When a picture with flash has
been taken, the left red LED will blink while the flash is recharging.
Once the LED stops blinking, you can resume taking pictures again.
When no flash light is set, the left LED will turn green.
NOTE: When the flash is recharging, the LCD will turn off temporarily.
7
PV100 Eng R7 a OP 9/9/04, 2:45 PM8