


EN
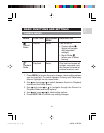
NOTE: In Movie Mode, once the SHUTTER RELEASE button is
pressed and recording starts, zooming cannot be further adjusted for
the duration of the recording.
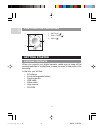
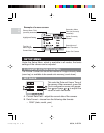
USING THE SELF-TIMER
The Self-Timer function counts down 10 seconds before the camera
automatically takes a picture by itself. This is useful when you want to
be in the picture and there is no one else to press the SHUTTER
RELEASE button.
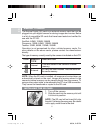
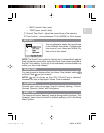
1. Slide the Mode Switch to Record Mode.
2. Use
and press
to activate the Self-Timer function. The Self-
Timer lamp at the front of the camera beside Lens lights up and
the Self-Timer icon appears on the LCD.
TIP: If you wish to cancel the Self-Timer function at this stage,
press
again and the icon on the LCD will disappear.
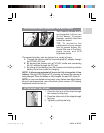
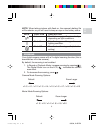
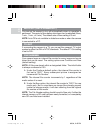
3. Press the SHUTTER RELEASE button. Audible beeps can be
heard and the Self-Timer lamp will start blinking. The number
displayed next to the LCD’s Self-Timer icon will appear and start
counting down from 10 seconds to 0 seconds.
4. Press the SHUTTER RELEASE button again anytime during
count down between 10 seconds to 4 seconds and the Self-
Timer will jump to count down from 3 seconds to 0 seconds.
TIP: Press the SHUTTER RELEASE button at this stage during count
down from 3 seconds to 1 second to cancel the Self-Timer function.
NOTE: The Self-timer is set to start count down from 10 seconds only.
NOTE: Once a picture has been taken, the Self-Timer will automatically
disable.
9
PV100 Eng R7 a OP 9/9/04, 2:45 PM10